Graveyard Pudding Cups
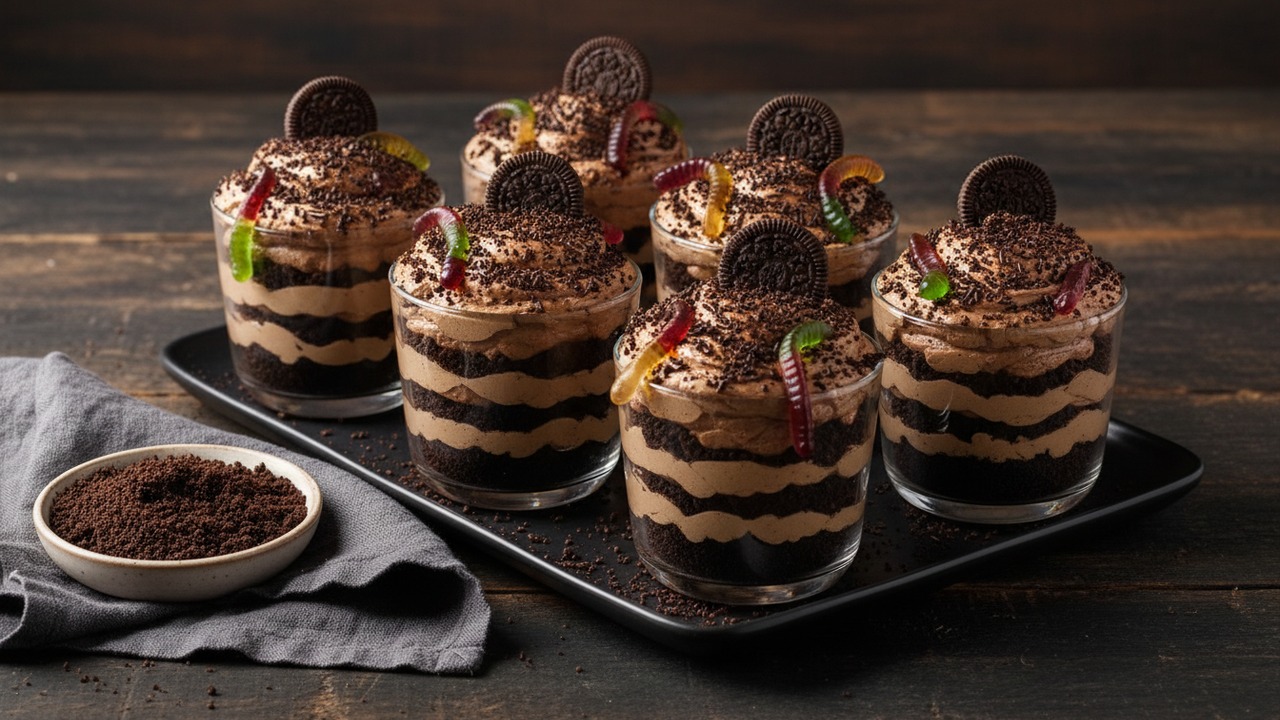
Chocolate pudding layered with crushed Oreos becomes a spooky graveyard in these individual cups — complete with gummy worms and cookie 'tombstones' for a fun Halloween finish. Quick, no-bake, and easy to customize for classroom parties or neighborhood gatherings.
Jake Woods's note
"Oreo dirt pudding cups are a perennial top search for Halloween desserts for kids and perfect for parties and classroom treats. These are simple to make ahead and always a crowd-pleaser — swap decorations to suit any spooky theme."
About This Recipe
These Graveyard Pudding Cups are the kind of festive dessert that looks like you spent hours fussing but comes together with a handful of pantry staples and 30 minutes of hands-on time. The instant chocolate pudding gives you a glossy, deeply chocolate base, and folding in thawed whipped topping turns it into a light, mousse-like filling that contrasts perfectly with Oreo crumbs for “dirt.” Bite after bite you get creamy chocolate, sandy crunch, a chewy gummy worm surprise and the snap of a chocolate wafer tombstone — textural play that makes each cup more fun than a plain bowl of pudding.
This version works because it balances speed with small finishing touches: whole milk for richness, reserved cookie crumbs for a convincing topsoil, and wafer cookies pressed at an angle so they read like real tombstones. It’s ideal for classroom parties, last-minute neighborhood gatherings, or a spooky family movie night — and it’s forgiving enough that kids can help assemble while you pour the pudding. Make the layers a day ahead and add the worms and tombstones just before serving for the best look and crunch.
Ingredients for Graveyard Pudding Cups
- 2 packages Instant chocolate pudding mix (3.9-oz packages)
- 4 cups Cold whole milk
- 8 oz Thawed whipped topping (Cool Whip or similar)
- 24 cookies Oreo cookies, crushed to fine crumbs
- 24 worms Gummy worms (for decorating)
- 8 cookies Chocolate wafer or rectangular cookies (tombstones)
- 2 tbsp Chocolate sprinkles (optional, for extra soil look)
How to Make Graveyard Pudding Cups
Step 1: Make the chocolate pudding
In a medium bowl, whisk the instant chocolate pudding mix with the cold whole milk for about 2 minutes until thickened. Let the pudding rest for 5 minutes so it sets slightly before folding.For this step
- 2 packagesInstant chocolate pudding mix (3.9-oz packages)
- 4 cupsCold whole milk
Step 2: Fold in whipped topping
Gently fold the whipped topping into the set chocolate pudding until fully combined and airy, creating a mousse-like filling. This lightens the texture and makes the cups scoopable for layering.For this step
- 8 ozThawed whipped topping (Cool Whip or similar)
Step 3: Prepare the Oreo 'dirt'
Place the Oreo cookies in a zip-top bag and crush to fine crumbs with a rolling pin or pulse in a food processor until sand-like. Reserve about 1/3 of the crumbs for final topping and use the rest for layering.For this step
- 24 cookiesOreo cookies, crushed to fine crumbs
Step 4: Assemble the graveyard cups
Spoon about 2 tablespoons of Oreo crumbs into the bottom of eight 8-oz cups or small jars to form the first soil layer. Add a layer of pudding (about 1/4 cup), repeat with another Oreo layer and another pudding layer, finishing with a generous sprinkle of reserved crumbs. Decorate each cup with 3 gummy worms and a chocolate wafer 'tombstone' (press into the top); optionally add chocolate sprinkles for extra texture. This recipe makes 8 pudding cups.For this step
- 24 wormsGummy worms (for decorating)
- 8 cookiesChocolate wafer or rectangular cookies (tombstones)
- 2 tbspChocolate sprinkles (optional, for extra soil look)
Step 5: Chill to set
Cover the assembled cups with plastic wrap and chill in the refrigerator at least 30 minutes to let flavors meld and layers settle. For best texture and ease of serving, you can make them up to 24 hours ahead.Step 6: Serve and store
Serve chilled straight from the fridge; provide spoons for scooping and enjoy. Store leftovers covered in the fridge for up to 48 hours (tombstones may soften over time).


- In a medium bowl, whisk the instant chocolate pudding mix with the cold whole milk for about 2 minutes until thickened. Let the pudding rest for 5 minutes so it sets slightly before folding.
- Gently fold the whipped topping into the set chocolate pudding until fully combined and airy, creating a mousse-like filling. This lightens the texture and makes the cups scoopable for layering.
- Place the Oreo cookies in a zip-top bag and crush to fine crumbs with a rolling pin or pulse in a food processor until sand-like. Reserve about 1/3 of the crumbs for final topping and use the rest for layering.
- Spoon about 2 tablespoons of Oreo crumbs into the bottom of eight 8-oz cups or small jars to form the first soil layer. Add a layer of pudding (about 1/4 cup), repeat with another Oreo layer and another pudding layer, finishing with a generous sprinkle of reserved crumbs. Decorate each cup with 3 gummy worms and a chocolate wafer 'tombstone' (press into the top); optionally add chocolate sprinkles for extra texture. This recipe makes 8 pudding cups.
- Cover the assembled cups with plastic wrap and chill in the refrigerator at least 30 minutes to let flavors meld and layers settle. For best texture and ease of serving, you can make them up to 24 hours ahead.
- Serve chilled straight from the fridge; provide spoons for scooping and enjoy. Store leftovers covered in the fridge for up to 48 hours (tombstones may soften over time).
Graveyard Pudding Cups Tips
Fold, don’t whisk
Gently fold the thawed whipped topping into the pudding to keep the mixture airy and avoid deflating the mousse-like texture.
Chill pudding first
Let the instant pudding rest for the full 5 minutes so it thickens before folding; thinner pudding will cause tombstones to sink.
Keep crumbs varied
Pulse most Oreos to a fine sand but reserve a few coarser bits for texture so the “dirt” feels more realistic when you bite through it.
Insert tombstones last
Add wafer cookies and gummy worms right before serving so the wafers stay crisp and the worms don’t sweat into the pudding.
Chilled cups help
Pop your serving cups in the fridge or freezer for a few minutes before layering to help each layer set neatly as you assemble.
Graveyard Pudding Cups Variations and Substitutions
Dairy-free coconut
Use instant dairy-free chocolate pudding, full‑fat canned coconut cream (whipped) and gluten-free sandwich cookies to make allergy-friendly cups with the same texture contrast.
Boozy adult version
Stir 1–2 tablespoons Kahlúa or dark rum into the pudding before folding in the whipped topping for a subtle adult lift — skip if serving to kids.
Pumpkin spice twist
Add 1–2 teaspoons pumpkin pie spice to the pudding mix and swap gummy worms for cinnamon gummy candies for a fall-flavored graveyard.
Peanut butter layer
Thin a few tablespoons of creamy peanut butter with warm milk and dollop a thin layer between pudding and cookie crumbs for a peanut-butter-and-chocolate combo.
How to Store and Make Graveyard Pudding Cups Ahead
Store assembled cups covered in the refrigerator for up to 48 hours; the pudding and crumbs will stay safe, but the wafer tombstones will soften over time. For best presentation, assemble the cups up to 24 hours ahead and add the tombstones and gummy worms within an hour of serving.
What to Serve With Graveyard Pudding Cups
Serve these cups chilled on a large tray with disposable spoons for easy passing at a party, and tuck napkins beneath each cup to catch crumbs. Pair with cold milk or sparkling apple cider for kids, and offer hot coffee or a spiced rum cocktail for adults to balance the sweetness.
Graveyard Pudding Cups FAQs
Can I make these ahead of time?
Yes — you can assemble the layers up to 24 hours in advance, but wait to insert the cookie tombstones and gummy worms until right before serving so they stay crisp and vibrant.
Will low‑fat or plant milks work?
Instant pudding will set with low‑fat or plant milks, but the texture will be lighter and less creamy; for best richness with dairy-free options, use full‑fat canned coconut milk or a rich non-dairy milk.
How do I stop tombstones from sinking?
Make sure the pudding has thickened and been chilled at least 30 minutes before adding the wafers, and press them in at a slight angle so they rest partly on the top layer rather than trying to penetrate deep into soft filling.
Can I use regular chocolate cookies instead of Oreos?
Yes — any chocolate sandwich or crisp chocolate cookie will work; adjust crushing time so you still have some larger crumbs for texture.
Why do you fold in whipped topping?
Folding incorporates air and lightens the instant pudding into a mousse-like filling; vigorous stirring will deflate the whipped topping and make the mixture dense.
Can I double or triple the recipe?
Absolutely — scale the ingredients proportionally and prepare puddings in separate bowls if necessary so they set evenly; assembly time will increase but technique remains the same.
About the author
Jake WoodsHello, I'm Jake. I started this recipe site with the idea that I hated recipe websites that overwhelm you with long stories and ads just to see plain content that's not helpful. My goal is to provide you with quality recipes, simple ideas and a fun cooking experience. There's lots of fun things to cook, and I think as you browse the site you'll find that TopShelf.Recipes is the place for quality recipes on the web.
See all recipes by Jake Woods →Ratings & Reviews
Did you make this recipe?
Be the first to share your experience.
Nutrition Facts
Per serving: about 2 cups
Nutrition values are estimated from USDA ingredient data and may vary based on preparation, brands, and portion sizes. Values are provided for informational purposes only.
Keep Reading
Guides & articles for this recipe

Recipes
No-Bake Funny Halloween Treats: 15 Quick Recipes
15 no-bake, funny Halloween treats that busy hosts can assemble in minutes — kid-friendly sweets, savory bites, and easy cocktails that don’t need an oven. Built for last-minute parties, with pantry-staple shortcuts and quick decoration ideas.
Guides
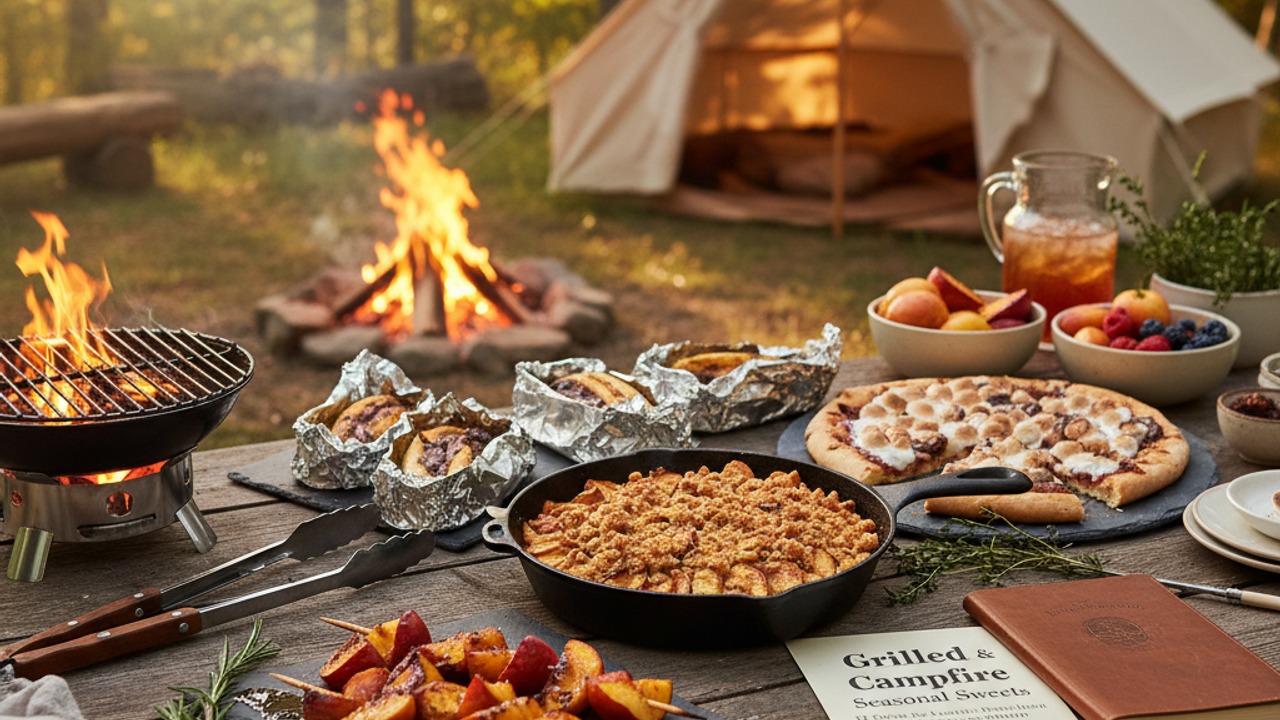
Grilled & Campfire Seasonal Sweets: 12 Crowd‑Favorite Desserts and How to Make Them Year‑Round
A season-by-season guide to 12 grill- and campfire-friendly desserts with flame-safe techniques, make-ahead strategies, vegetarian and gluten-free swaps, plus serving and storage tips so your outdoor sweets shine any time of year.

Guides
Summer Weeknight Grilling Playbook: 4-Week Rotating Meal Plan with Quick Seasonal Recipes, Make‑Ahead Sides & Grill‑First Desserts
A practical, four-week summer grilling playbook built for busy weeknights: 12 fast mains, 8 make‑ahead sides, 4 grill-forward desserts, weekly shopping lists, prep timelines, and smart tips for backyard, tailgate, or campsite cooking. Get the rhythm of easy, seasonal grilling that keeps dinner fresh and fast.
More from Desserts
View all Desserts recipes →
Yuzu Matcha Gelato

Sicilian Pistachio Gelato
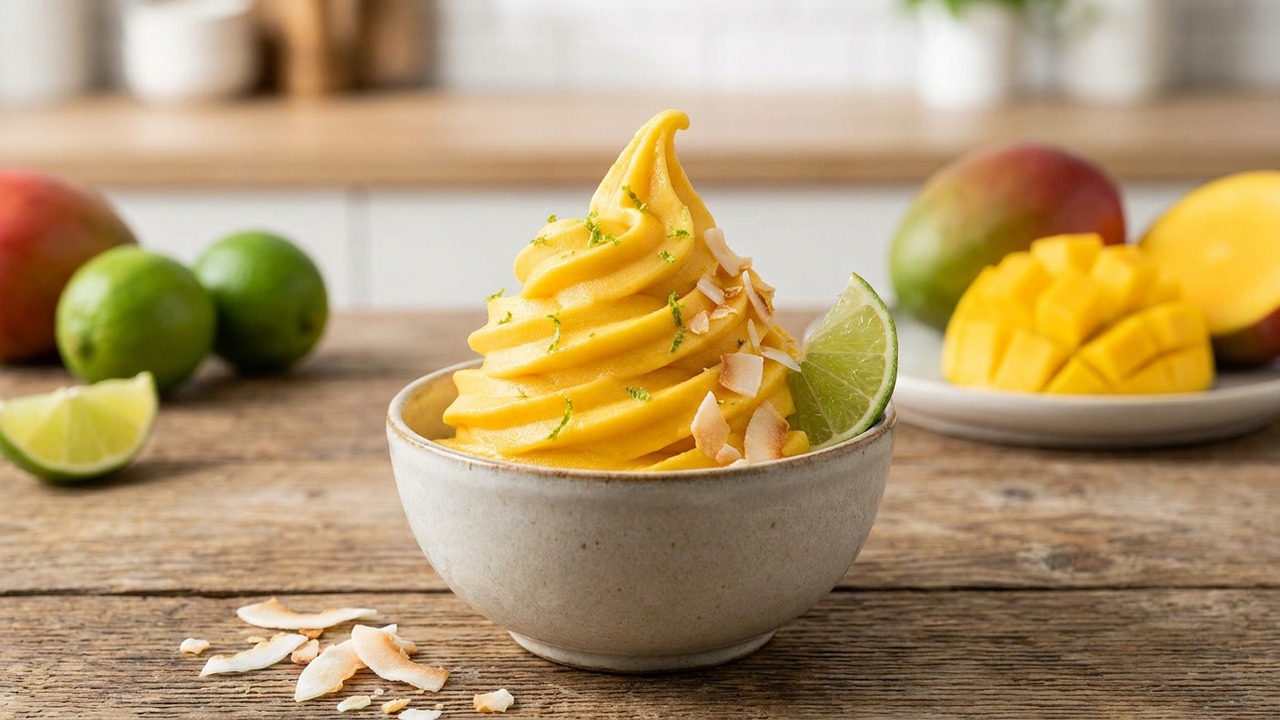
Ninja Slushy Soft Serve Mango Sorbet Bowl with Lime
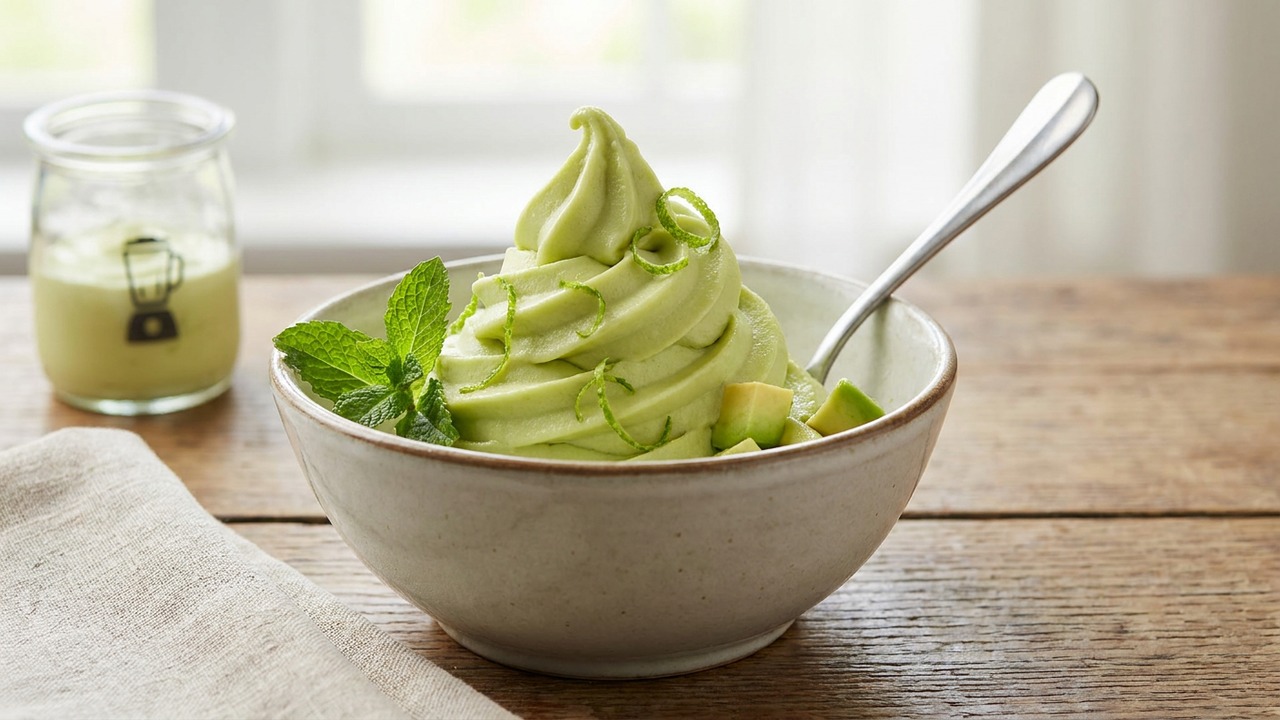
Ninja Keto Avocado Lime Soft Serve — Low Sugar Slushy

Easy Peanut Butter Bars

Chocolate Peanut Butter Chex Mix

Molten Lemon Cake

Boozy Red White Blue Popsicles (Vodka Ice Pops for Adults)

Salted Caramel Stuffed Brownies with Crispy Edges and Sea Salt
Ask me anything about this recipe — substitutions, scaling, techniques, timing.
Powered by AI · 6 questions per 5 minutes, 30 per day