Juicy Lucy Cheese-Stuffed Burgers (Minnesota-Style)
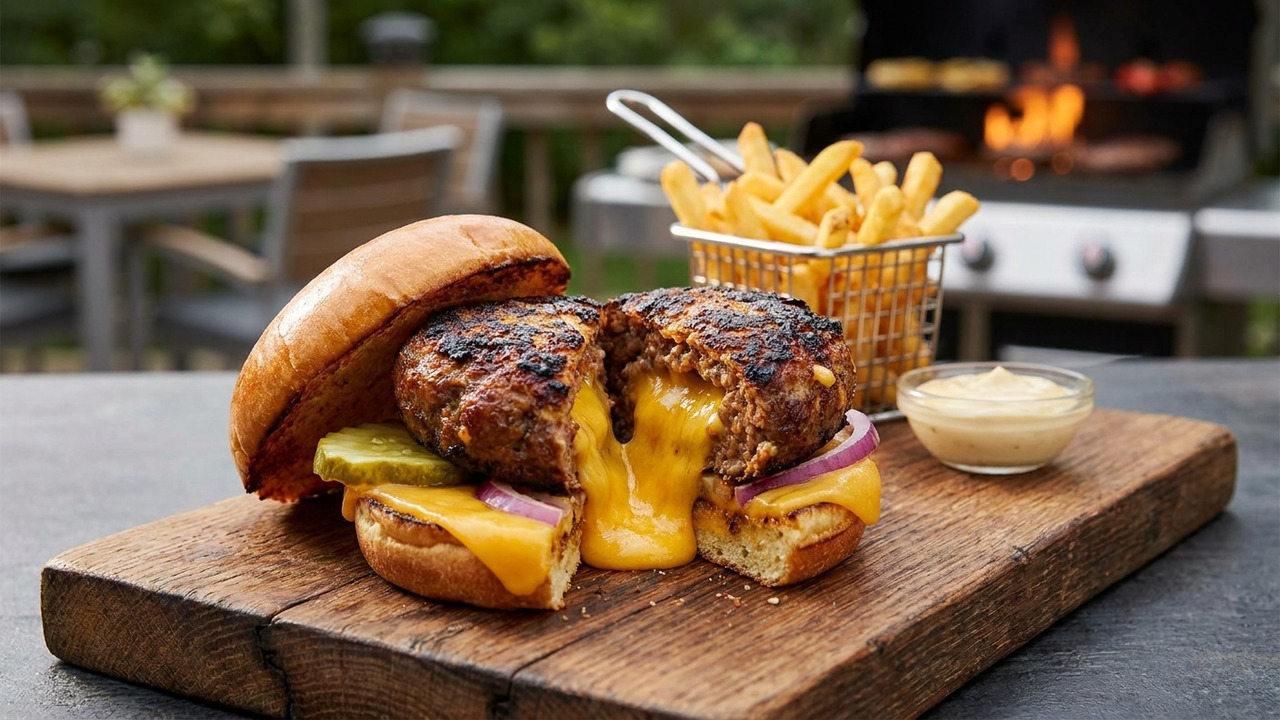
A Midwest classic: loose, juicy beef patties sealed around molten cheddar for an explosive, cheesy center. These grilled Juicy Lucy burgers deliver crisped exterior, a lava core of cheese, and simple seasonings that let the beef and cheese shine.
About This Recipe
The Juicy Lucy is a Midwest lightning bolt of comfort — a loose, hand-formed beef patty wrapped around a molten core of sharp cheddar so every bite yields a lava-like gush of cheese. This version leans into that contrast: a deeply seared exterior from a hot grill gives textural contrast to the unctuous interior, while minimalist seasoning lets high-quality beef and cheddar take center stage. Chilling the cheese and briefly firming the sealed patties before they hit the grates are small, practical steps that dramatically reduce leaks and produce a consistently molten core.
This recipe is for the home griller who wants a reliably gooey center without fuss. Use 80/20 ground beef for the right balance of juiciness and binding, cut a block of sharp cheddar into chilled cubes for predictable melting, and resist the urge to overwork the meat — gentle handling and a tight crimp are what protect that precious cheese. Serve immediately and a little messy: the point is the eruption of hot cheese, so have sturdy buns, napkins, and eager friends ready.
Ingredients for Juicy Lucy Cheese-Stuffed Burgers (Minnesota-Style)
- 1 1/2 lb Ground beef (80/20)
- 8 oz Sharp cheddar cheese (block), cut into 4 equal cubes
- 1 1/2 tsp Kosher salt
- 1 tsp Freshly ground black pepper
- 1 tsp Garlic powder
- 1 tsp Onion powder
- 4 each Burger buns
- 2 tbsp Unsalted butter (softened, for toasting)
- 1 tbsp Neutral oil (vegetable or canola) for grill grates
How to Make Juicy Lucy Cheese-Stuffed Burgers (Minnesota-Style)
Step 1: Prep cheese and season the beef
Cut the cheddar block into four roughly equal 2-oz (56 g) cubes and chill briefly so they hold shape. Divide the ground beef into eight roughly equal portions, then season the portions (or the surface of formed patties) with kosher salt, black pepper, garlic powder and onion powder, being careful not to overwork the meat.For this step
- 8 ozSharp cheddar cheese (block), cut into 4 equal cubes
- 1 1/2 tspKosher salt
- 1 tspFreshly ground black pepper
- 1 tspGarlic powder
- 1 tspOnion powder
Step 2: Form and seal the cheese-stuffed patties
Flatten four portions into thin patties, place a chilled cheese cube in the center of each, then top with the remaining four beef portions and crimp the edges tightly to seal—press and smooth seams so no cheese can escape. Make the finished patties about 3/4 inch thick and refrigerate on a tray, covered, for 15–20 minutes to firm up; this helps prevent leaks on the grill.Step 3: Preheat and prepare the grill
Preheat a gas or charcoal grill to medium-high (about 400–450°F / 200–230°C). When hot, lightly oil the grates using a folded paper towel dipped in neutral oil held with tongs to prevent sticking and promote even searing.For this step
- 1 tbspNeutral oil (vegetable or canola) for grill grates
Step 4: Grill the Juicy Lucys and toast buns
Place the chilled, sealed patties on the hot grates and grill covered for 5–7 minutes, then flip once and grill another 4–6 minutes until the outside is deeply browned and internal temperature reaches 160°F (71°C). During the last 1–2 minutes, split the buns, brush cut sides with softened butter and place buttered-side-down on the grill until lightly toasted and golden.For this step
- 4 eachBurger buns
- 2 tbspUnsalted butter (softened, for toasting)
Step 5: Rest, assemble and serve
Transfer cooked patties to a plate and rest for 3–5 minutes to let juices redistribute but not long enough for the cheese to harden. Assemble each burger on a toasted bun and add preferred toppings (pickles, lettuce, tomato, onion and condiments), then serve immediately so you get that molten-cheese center.

- Cut the cheddar block into four roughly equal 2-oz (56 g) cubes and chill briefly so they hold shape. Divide the ground beef into eight roughly equal portions, then season the portions (or the surface of formed patties) with kosher salt, black pepper, garlic powder and onion powder, being careful not to overwork the meat.
- Flatten four portions into thin patties, place a chilled cheese cube in the center of each, then top with the remaining four beef portions and crimp the edges tightly to seal—press and smooth seams so no cheese can escape. Make the finished patties about 3/4 inch thick and refrigerate on a tray, covered, for 15–20 minutes to firm up; this helps prevent leaks on the grill.
- Preheat a gas or charcoal grill to medium-high (about 400–450°F / 200–230°C). When hot, lightly oil the grates using a folded paper towel dipped in neutral oil held with tongs to prevent sticking and promote even searing.
- Place the chilled, sealed patties on the hot grates and grill covered for 5–7 minutes, then flip once and grill another 4–6 minutes until the outside is deeply browned and internal temperature reaches 160°F (71°C). During the last 1–2 minutes, split the buns, brush cut sides with softened butter and place buttered-side-down on the grill until lightly toasted and golden.
- Transfer cooked patties to a plate and rest for 3–5 minutes to let juices redistribute but not long enough for the cheese to harden. Assemble each burger on a toasted bun and add preferred toppings (pickles, lettuce, tomato, onion and condiments), then serve immediately so you get that molten-cheese center.
Juicy Lucy Cheese-Stuffed Burgers (Minnesota-Style) Tips
Chill the Cheese Cubes
Cold cheese holds its shape during assembly and for the first minutes on the grill, reducing leaks as the meat forms its crust.
Don't Overwork Meat
Handle the beef as little as possible when forming and sealing patties to keep them tender; compacting too much makes a dense burger.
Double‑Seal the Edges
Crimp the seam firmly with your fingers then press the excess meat down to create an even, tight seal that resists bursting on the grill.
Preheat And Oil Grates
A properly preheated 400–450°F grate creates the crust that locks juices in; oil the grates with a paper towel to ensure a clean release.
Rest Briefly, Not Long
Let the burgers rest 3–5 minutes to redistribute juices but serve quickly so the cheese stays molten rather than congealing.
Juicy Lucy Cheese-Stuffed Burgers (Minnesota-Style) Variations and Substitutions
Smoky Gouda Twist
Swap sharp cheddar for smoked Gouda cubes for a deeper, smoky flavor that pairs exceptionally well with a charred crust.
Bacon & Blue
Wrap each cheese cube with a strip of crisped bacon before enclosing, or use a small ball of blue cheese for a tangy, savory center.
Ground Turkey or Chicken
Use 93/7 ground turkey or chicken but add 1–2 tablespoons of olive oil and a beaten egg to the meat to improve binding and prevent dryness.
Plant‑Based Option
Use a firm plant-based ground 'beef' and a vegan cheddar block; be extra careful with sealing since many plant cheeses melt differently.
How to Store and Make Juicy Lucy Cheese-Stuffed Burgers (Minnesota-Style) Ahead
Leftover Juicy Lucys keep in an airtight container in the refrigerator for up to 2 days, though the cheese core will solidify as they cool. For best results, reheat gently in a 325°F oven on a wire rack until warmed through, or briefly sear in a skillet covered with a lid to re-melt the interior; avoid the microwave which can make the bun soggy and the meat rubbery. You can freeze sealed, uncooked patties for up to 3 months; thaw in the refrigerator before grilling.
What to Serve With Juicy Lucy Cheese-Stuffed Burgers (Minnesota-Style)
Serve these burgers with hand-cut fries or a crisp vinegar slaw to cut through the richness, plus dill pickles for acidity and crunch. For drinks, pair with a clean American lager or a citrus-forward IPA to offset the cheese; a simple cola or iced tea also works well on a sunny backyard night. Present them on sturdy toasted buns and provide plenty of napkins — they’re meant to be a delicious, gloriously messy experience.
Juicy Lucy Cheese-Stuffed Burgers (Minnesota-Style) FAQs
How do I prevent cheese from leaking out?
Keep cheese cubes well chilled, press a thin layer of meat over the cheese before crimping the edges, and double-seal the seam by pinching and smoothing the meat; a short chill before grilling firms the patties and reduces leaks.
Can I use pre-shredded cheese instead of a block?
Pre-shredded cheese contains anti-caking agents that alter melting behavior, so use a block of cheese cut into cubes for a predictable, molten center.
What internal temperature should I cook to?
Cook to 160°F (71°C) for ground beef to ensure safety; because the cheese is enclosed, it will be molten by the time the center reaches this temperature.
Can I assemble these ahead of time?
You can form and seal the patties and refrigerate them up to 24 hours before grilling; if making farther ahead, freeze the sealed patties to maintain shape and thaw in the fridge before cooking.
My cheese oozed out on the grill — what went wrong?
Most likely the seam wasn't sealed tightly, the cheese wasn't chilled, or the patties were too thin; re-form the edges, chill briefly, and avoid pressing down while grilling to prevent ruptures.
About the author
Jake WoodsHello, I'm Jake. I started this recipe site with the idea that I hated recipe websites that overwhelm you with long stories and ads just to see plain content that's not helpful. My goal is to provide you with quality recipes, simple ideas and a fun cooking experience. There's lots of fun things to cook, and I think as you browse the site you'll find that TopShelf.Recipes is the place for quality recipes on the web.
See all recipes by Jake Woods →Ratings & Reviews
Did you make this recipe?
Be the first to share your experience.
Nutrition Facts
Per serving: 1 burger
Nutrition values are estimated from USDA ingredient data and may vary based on preparation, brands, and portion sizes. Values are provided for informational purposes only.
Keep Reading
Guides & articles for this recipe
Tips & Techniques
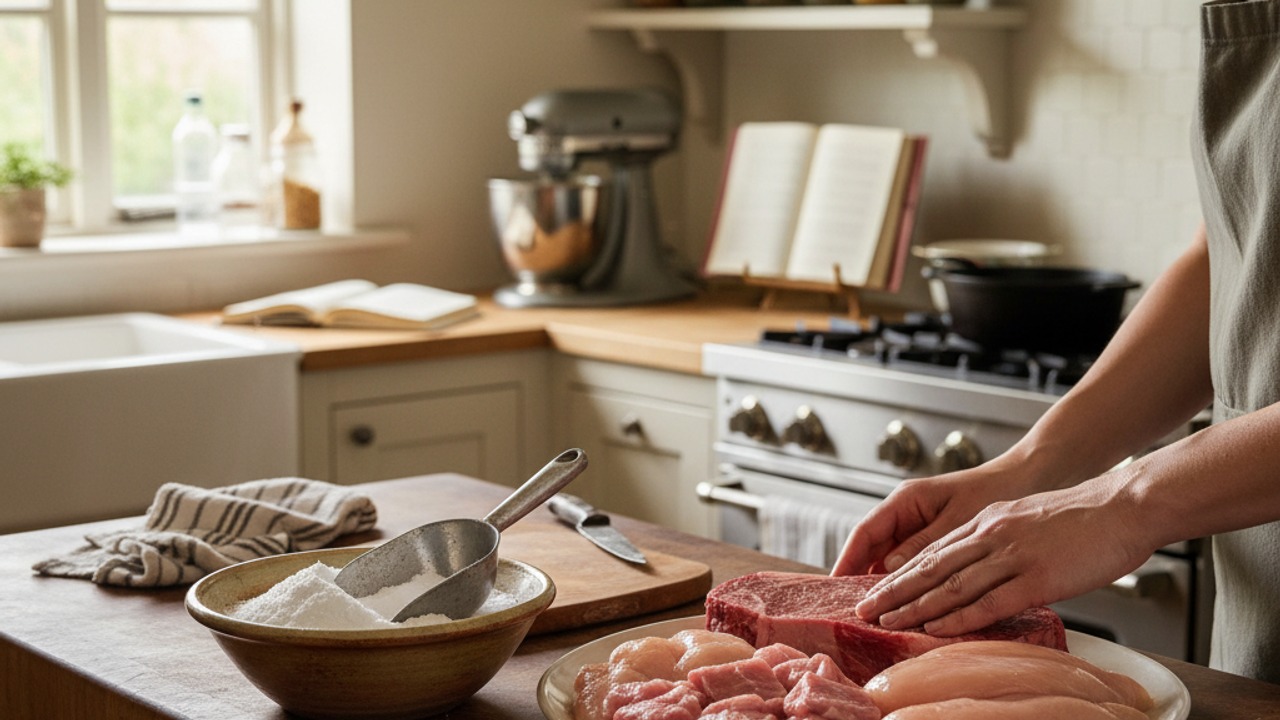
Baking Soda and Tenderized Beef
Learn how baking soda can tenderize, boost browning, and improve moisture for ground beef and other meats. This practical guide covers the science, step-by-step techniques, common mistakes, and recipes to try.

Healthy Eating
Gluten-Free Weeknight Grilling Plan
A 7-day gluten-free weeknight grilling plan with quick, family-friendly recipes, prep-ahead timelines, and a printable shopping list that spotlights late-summer produce and pantry staples. Includes clear cross-contamination safety tips and simple swaps to keep dinners fast and crowd-pleasing.

Cocktails & Drinks
Shakerless Cocktails for Backyard Grilling
Easy, tool-free cocktail recipes designed for backyard grilling and outdoor hangs. Find single-serve and batch formulas, quick portable infusions, improvised gear hacks, and simple cocktail pairings for grilled meats and vegetables.
More from Grilling
View all Grilling recipes →
Tandoori Yogurt Marinated Grilled Chicken (Tandoori Style on the Grill)

Labor Day Grilled Lobster Rolls with Charred Scallion Brown Butter & Lemon‑Herb Aioli

Bulgogi Smash Burger

Campfire‑Smoked Potato Salad with Mustard‑Bacon Vinaigrette — A Labor Day Grilling Side for Steak

Hanger Steak with Shallot Sauce
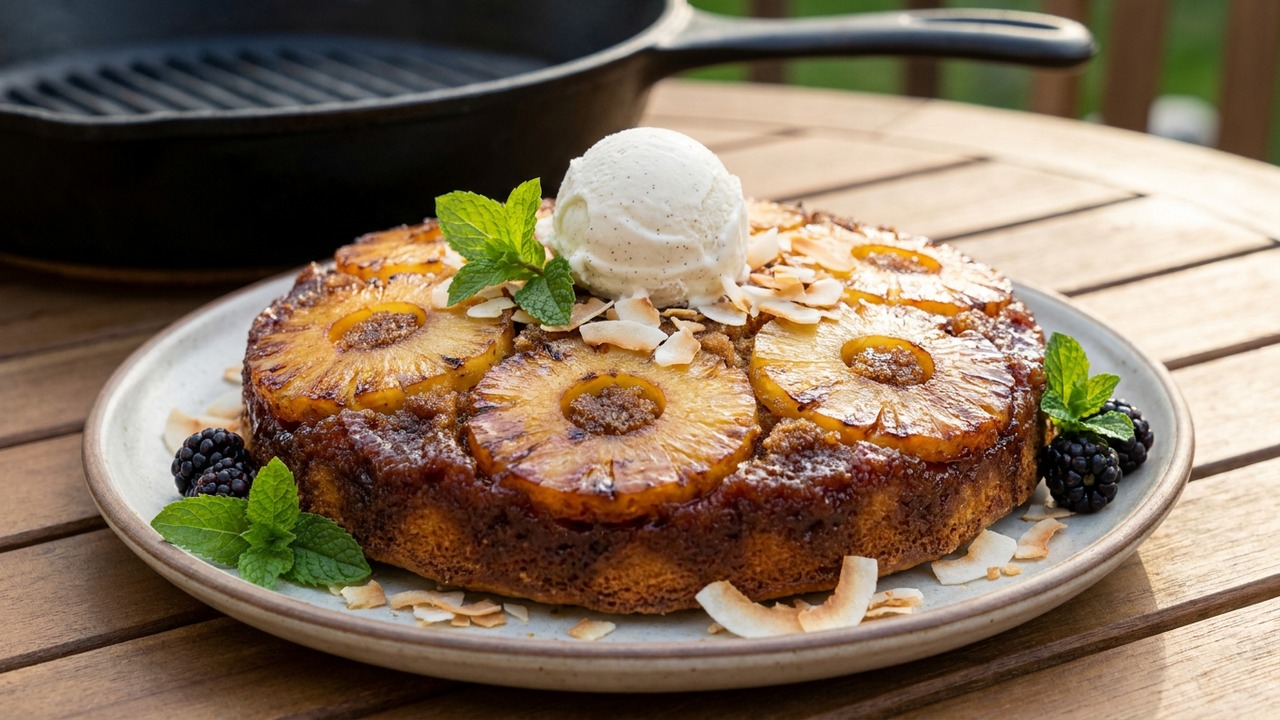
Grilled Pineapple Upside-Down Cake

Spicy Grilled Shrimp Skewers with Garlic Lime Marinade

Honey Garlic Grilled Thin-Sliced Chicken Breasts

Coffee and Porcini Dry-Rub Steaks with RUB PRIME STEAK Finish
Ask me anything about this recipe — substitutions, scaling, techniques, timing.
Powered by AI · 6 questions per 5 minutes, 30 per day