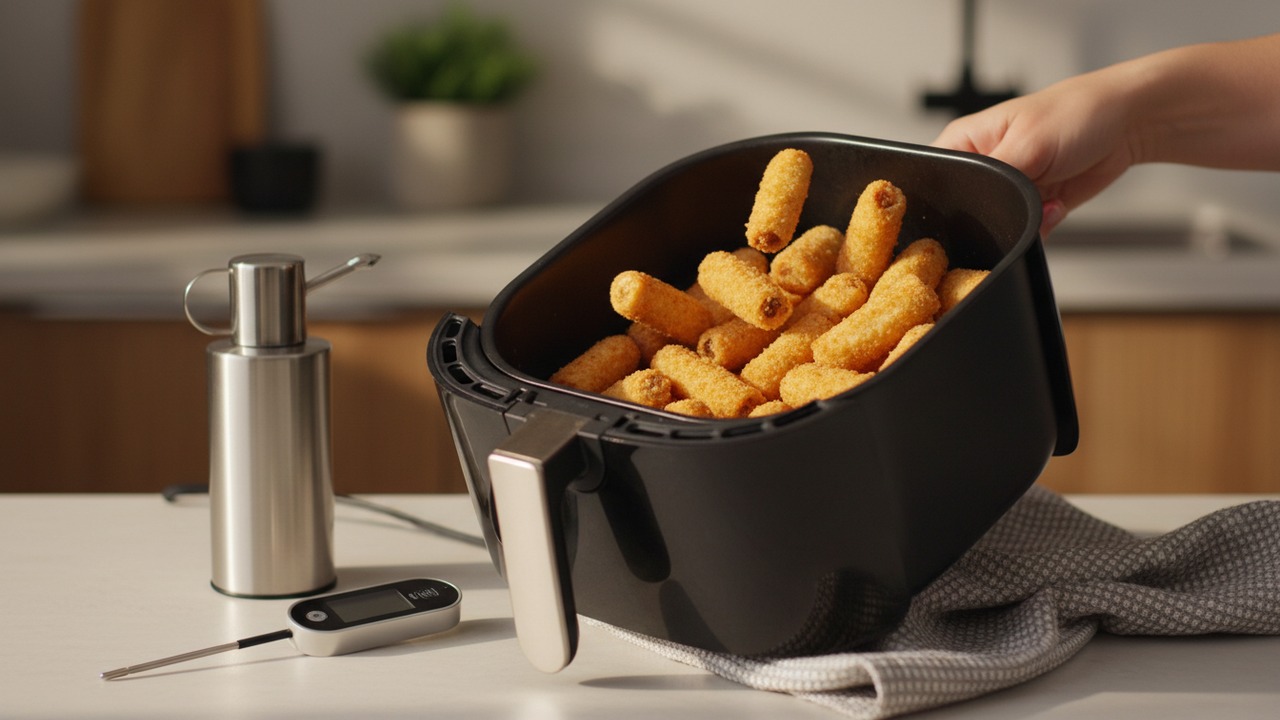
Equipment

Air Fryer Thanksgiving Appetizers

Quick, crispy starters that are optimized for air fryers instead of oven-only methods. This plan lays out why air-fried appetizers work for holiday crowds and how to deliver 15 easy, crowd-pleasing recipes with timing, scaling, and holding tips.

Editorially curated
Air Fryer Thanksgiving Appetizers

Air Fryer Basics & Timing

Air Fryer Basics & Timing
Single layers and a mid-cook shake give the most consistent crisp.

The first rule for air-fryer appetizers is single-layer thinking. Crowding the basket cuts airflow and softens edges; a single layer of bite-sized pieces will brown in the time listed, while a double layer or stacked tray often needs 20–40% more time and a lower chance of even crisping. If your fryer has a mesh tray or crisper plate, use it for small rounds and nuggets; for larger shapes try one even layer and finish the second batch immediately after shaking the first for a continuous flow.

Temperature-wise, the air fryer behaves like a small convection oven. Many oven recipes convert well by lowering the listed oven temperature by about 20–25°F and trimming time by 20–30%, though results vary by fryer model and the food’s density. Denser fillings and breaded items may take a little longer at slightly lower heat to avoid an overbrowned exterior and an undercooked center. Keep an eye on color rather than just clock time.

Flip, shake, or brush oil at predictable checkpoints. For breaded or battered bites, flip once halfway through for even color; for small items, a vigorous shake at the midpoint usually suffices. A thin brush or spritz of oil before cooking promotes crispness without greasing the basket. Preheat briefly when possible so the food hits hot air immediately. Test doneness by piercing the largest bite in the batch and checking temperature or texture — avoid overcooking small pieces, which dry quickly.
15 Crowd-Pleasing Recipes

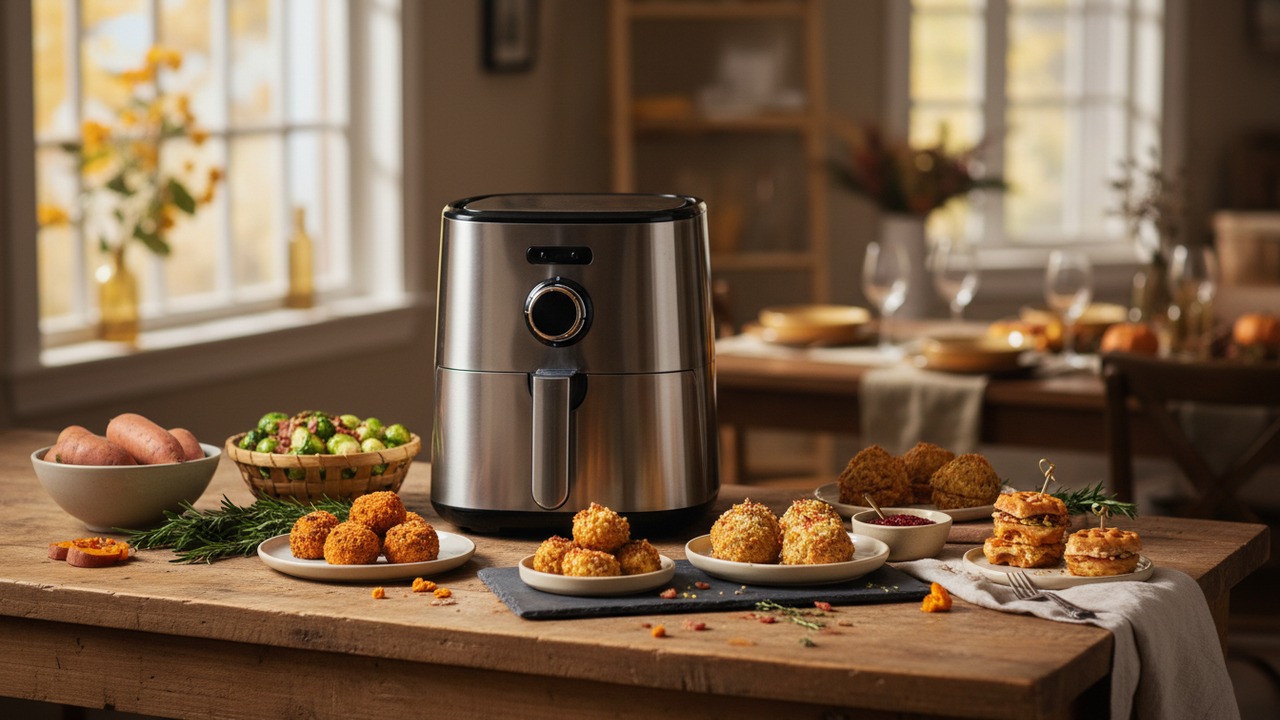
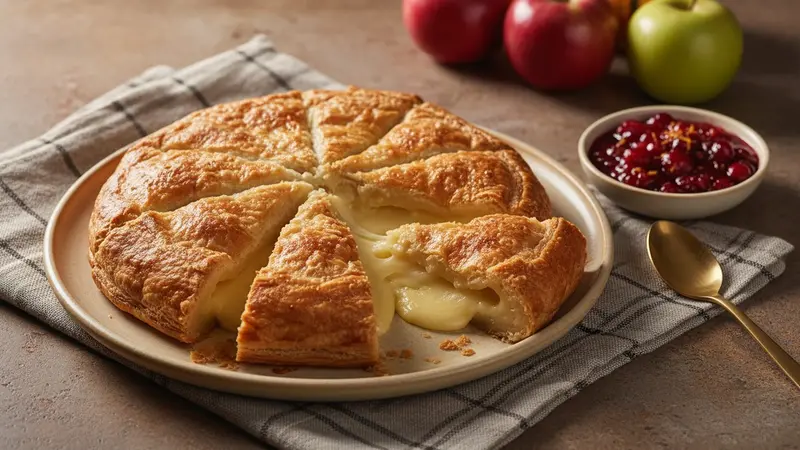
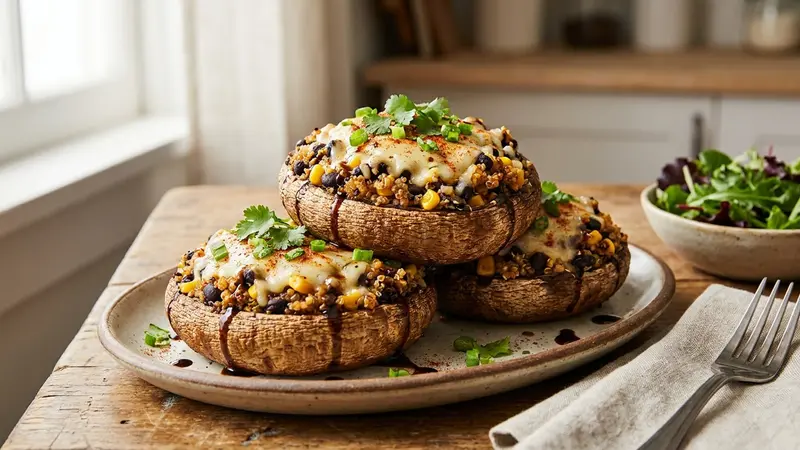
Think of the 15 starters in five easy types so you can mix and match for texture and temperature: fried classics, wrapped or stuffed bites, vegetable-forward crisps, pastry bites, and vegetarian-friendly options. Fried classics are things like small taquitos or mini croquettes; wrapped or stuffed bites include empanadas and a baked Brie en croûte; vegetable-forward crisps cover air-fried Brussels leaves or stuffed mushrooms like the Air Fryer Stuffed Portobellos; pastry bites are quick puffs and turnovers; vegetarian options slot into any category with plant-forward fillings.

One-line air-fryer tips for each type: Fried classics — use a single layer and a quick shake so all edges color; Wrapped/stuffed — seal edges well and finish at moderate heat to melt fillings without burning pastry; Vegetable crisps — dry thoroughly first and flip once; Pastry bites — egg wash lightly and monitor browning; Vegetarian options — press thin where needed so dense fillings heat through. Timing ranges typically run 6–14 minutes per batch for small bites, 12–18 for stuffed caps, and 10–20 for puff pastry rounds, depending on fryer size.

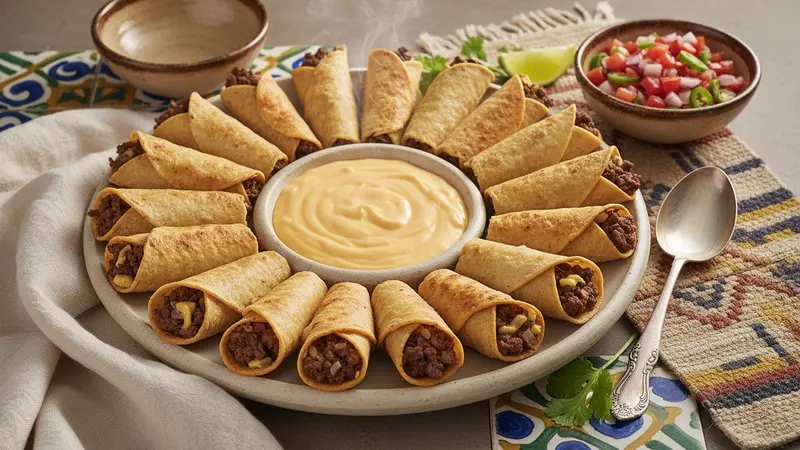
Basket-capacity notes help plan runs: a 3–6 quart basket will usually hold 8–12 small pieces in a single layer, so multiply that by your guest count to estimate batches. Where the air-fryer version differs from oven approaches, expect faster browning and shorter times; puff pastry may need a slightly lower temp to avoid overbrowning before the interior warms, and stuffed mushrooms often crisp quicker on top than they cook through, so allow a brief rest after cooking. Selected recipes that illustrate these categories include Baked Brie en Croûte with Cranberry Orange Compote, Air Fryer Stuffed Portobellos, and Crispy Beef Taquito Bites.

Feeding a Crowd: Scaling & Batch Timing

Feeding a Crowd: Scaling & Batch Timing
Batch math and hot swaps keep the fryer working efficiently.

Start by sizing your batches. Estimate how many bite-sized pieces fit in a single layer of your basket — a 3–6 quart unit typically holds roughly 8–12 small items at once, while larger baskets or oven-style air fryers can do 15–24. Divide your guest count by that single-layer capacity to get the number of batches, then add a few extra pieces per batch for seconds and to cover any that brown faster.

Group recipes by temperature and crisp time to cut downtime. Run items that finish at 400°F together, then switch to items needing 350°F; if a recipe wants 375°F, treat it as flexible and move it with the closer group that minimizes total cycling. A good practical order is: items that need a quick, high-heat finish (fried nuggets), then moderate-heat stuffed or pastry items, and lastly anything that benefits from a brief rest before serving.

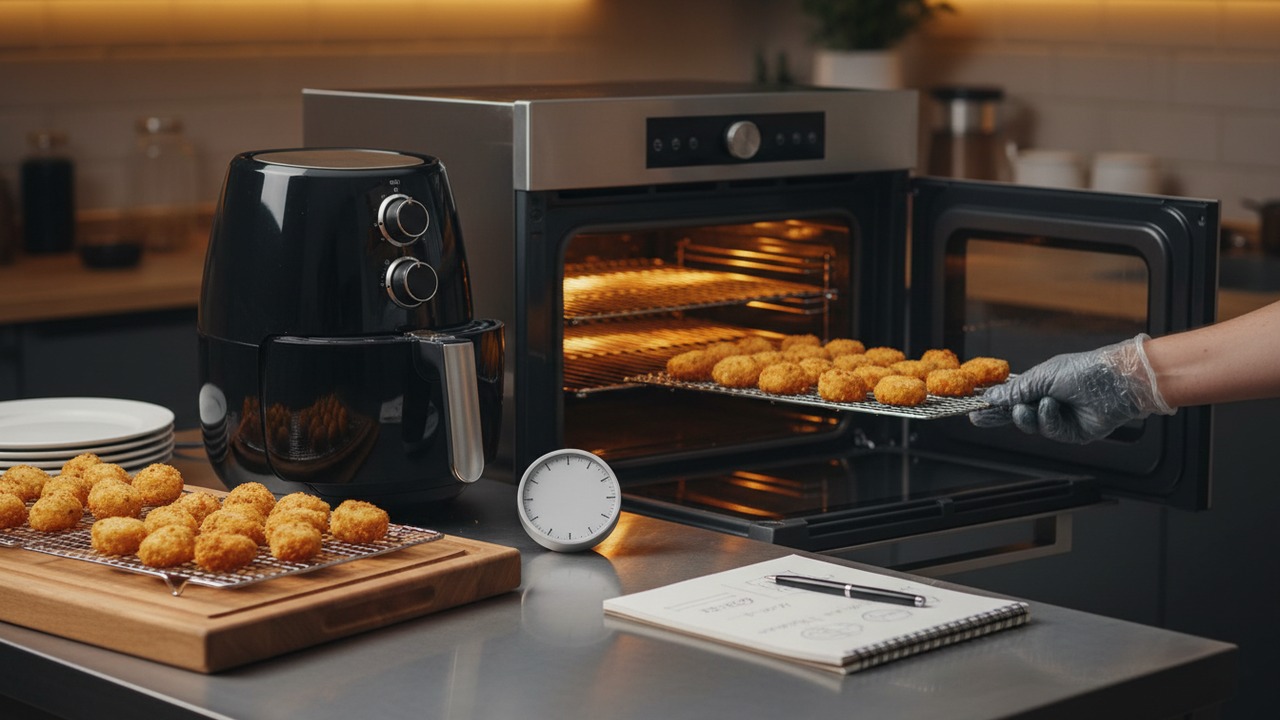
Staging is about keeping crispness without overcooking. Hold early batches on wire racks in a low oven (about 200°F) so steam doesn’t collapse crusts. Use insulated carriers or towels-wrapped hotel pans if you must hold longer. For service, work in cycles: cook two baskets back-to-back, unload to racks, then return the emptied basket for the next run so the fryer stays hot and you avoid long preheat waits between batches.

Make-Ahead, Holding, and Recrisping

Prep smart by separating components. Make compotes, dips, and fillings a day ahead and keep them chilled. Par-cook starchy insides — for example, precook potato or grain fillings and briefly cool — so the finish in the air fryer is mainly about crisping the exterior and warming through. For pastry bites, assemble but don’t egg-wash until just before cooking to avoid soggy dough during storage.

To hold finished bites without losing texture, rest them in a single layer on wire racks set over baking sheets so air circulates underneath; tenting with foil traps steam and softens crusts, so avoid that. If you have to hold longer than 15–20 minutes, set the oven to about 200°F and place the racks inside; this keeps things warm and delays sogginess. For sauces and wet toppings, serve on the side whenever possible.

Recrisping is an air fryer’s strong suit. For most items, 3–6 minutes at 350–400°F brings back crunch without drying interiors; check at the low end for smaller pieces. The oven can work too but takes longer and risks more moisture transfer — use a hot oven on a wire rack for 8–12 minutes. Avoid microwaving if you care about crispness; it will make breading and pastry limp quickly.

Dips, Plating, and Serving Tips

Dips, Plating, and Serving Tips
A practical detail from the dips, plating, and serving tips section.

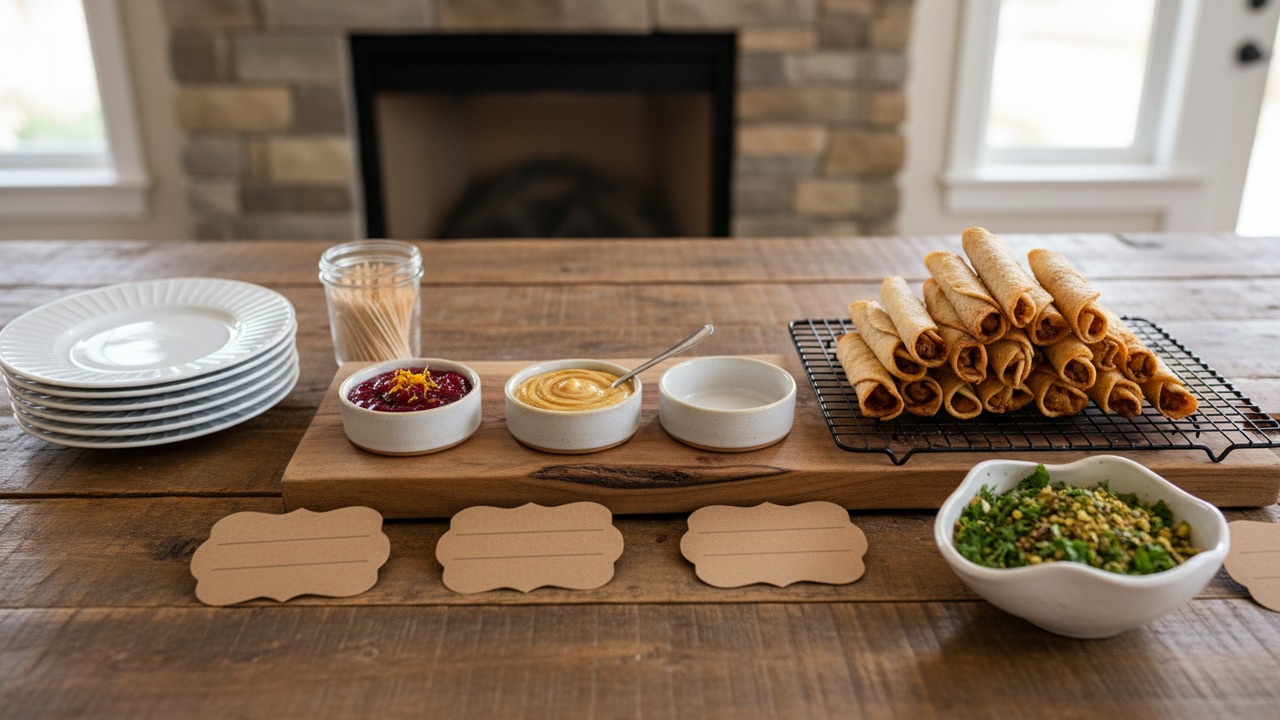
Pair textures with contrasting dips and small garnishes. Creamy, tangy dips like mustard-maple or herbed yogurt cut through fried richness; warm cheese dips and a simple cranberry-orange compote reinforce holiday flavors. Offer one cool, bright dip (yogurt-herb or cranberry relish) and one warm, savory dip (cheese or buttery garlic) so guests can pick a contrasting bite. Toasted nuts or citrus zest sprinkled on top adds immediate interest.

Plating for a buffet is a problem of steam and crowd flow. Keep delicate items on wire racks over shallow trays and label each tray with the main ingredient and allergens so guests can self-serve without hesitation. Place sauced or juicy bites toward the end of the line with small ramekins for dipping to avoid soggy trays. Use short toothpicks or small skewers for bite-sized items to make eating easier without flattening the crisp.

Small finishing moves matter: finish hot bites with a sprinkle of flaky salt, a squeeze of lemon, or a scattering of chopped herbs right before service. For travel or setup, pack dips in sealed containers and add them to the table at the last minute. These modest steps keep air-fried starters crunchy, flavorful, and easy for guests to graze.

Comments

Leave a comment

0/2000

No comments yet — be the first to share your thoughts.

Keep exploring

More to read

All articles →