No-Bake Lemon Bars
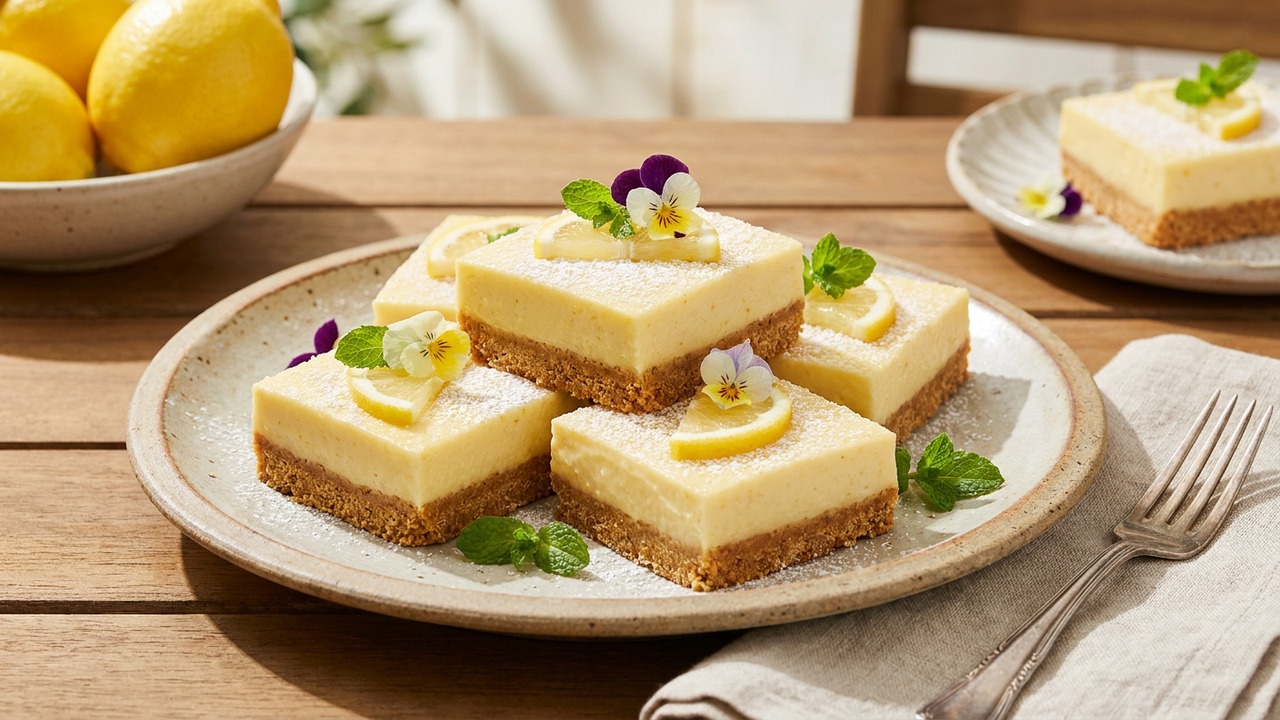
Bright, tangy no-bake lemon bars with a buttery graham crust and a silky lemon-cream filling that sets in the fridge — no oven required. Perfect for summer picnics, potlucks, or when you want a refreshing dessert without turning on the stove.
Jake Woods's note
"These no-bake lemon bars are a quick, make-ahead dessert that stays bright and fresh in warm weather — ideal for picnics or al fresco dinners. Home cooks will love how little hands-on time is required for a show-stopping citrus finish."
About This Recipe
Bright, silky and impossibly simple, these no-bake lemon bars are built around a buttery graham crust and a lemon-cream filling that sets in the fridge instead of the oven. The sweetness and body of sweetened condensed milk keeps the filling smooth and glossy, while just enough cream cheese anchors the lemon for a pleasantly tangy finish; a little lemon zest adds the perfumed lift that makes each bite feel fresh. The gelatin is the quiet hero — it gives sliceability without turning the filling rubbery, so you get a luscious, mousse-like texture that holds its shape on the plate.
This version is for anyone who wants an impressive, travel-friendly dessert without turning on a hot oven: think summer picnics, potlucks, and last-minute company. It’s forgiving — cream cheese just needs to be soft and the crust simply well-pressed — but the details matter (accurate gelatin blooming and fully strained juice will keep the filling perfectly smooth). Make it a day ahead for best texture; it slices cleaner and tastes brighter after a night in the fridge.
Ingredients for No-Bake Lemon Bars
- 1 1/2 cups Graham cracker crumbs
- 2 tbsp Granulated sugar
- 6 tbsp Unsalted butter, melted
- 8 oz Cream cheese, softened
- 14 oz Sweetened condensed milk
- 1/2 cup Fresh lemon juice (about 2–3 lemons)
- 1 tbsp Lemon zest
- 2 1/4 tsp Unflavored gelatin (1 packet)
- 3 tbsp Cold water (to bloom gelatin)
How to Make No-Bake Lemon Bars
Step 1: Make the crust
Line an 8x8-inch (20x20 cm) square pan with parchment, leaving an overhang for easy removal. In a medium bowl, combine graham cracker crumbs and granulated sugar, then stir in melted butter until evenly moistened. Press the mixture firmly and evenly into the bottom of the prepared pan to form the crust, then refrigerate while you prepare the filling (about 20–30 minutes) so it firms up.For this step
- 1 1/2 cupsGraham cracker crumbs
- 2 tbspGranulated sugar
- 6 tbspUnsalted butter, melted
Step 2: Bloom and dissolve the gelatin
Sprinkle the unflavored gelatin over the cold water in a small bowl and let it sit undisturbed for 5 minutes to bloom. After blooming, heat gently (in 10–15 second bursts in the microwave or over a very low stovetop heat) just until the gelatin dissolves to a clear liquid — do not boil. Let it cool slightly while you mix the filling.For this step
- 2 1/4 tspUnflavored gelatin (1 packet)
- 3 tbspCold water (to bloom gelatin)
Step 3: Prepare the lemon-cream filling
In a medium bowl, beat the softened cream cheese until smooth and lump-free. Add the sweetened condensed milk, fresh lemon juice, and lemon zest and beat until fully combined and silky. Slowly drizzle in the dissolved gelatin while mixing to ensure it incorporates evenly; continue to mix until the filling is homogeneous and smooth.For this step
- 8 ozCream cheese, softened
- 14 ozSweetened condensed milk
- 1/2 cupFresh lemon juice (about 2–3 lemons)
- 1 tbspLemon zest
Step 4: Assemble and chill to set
Pour the lemon-cream filling over the chilled graham crust and smooth the top with an offset spatula. Cover and refrigerate for at least 4 hours (or overnight) until the filling is fully set and firm to the touch.Step 5: Slice and serve
Use the parchment overhang to lift the bars from the pan and place on a cutting board. Trim edges if desired and cut into 8 equal bars. Optionally dust with powdered sugar or garnish with thin lemon slices before serving; keep refrigerated and enjoy within 3–4 days.


- Line an 8x8-inch (20x20 cm) square pan with parchment, leaving an overhang for easy removal. In a medium bowl, combine graham cracker crumbs and granulated sugar, then stir in melted butter until evenly moistened. Press the mixture firmly and evenly into the bottom of the prepared pan to form the crust, then refrigerate while you prepare the filling (about 20–30 minutes) so it firms up.
- Sprinkle the unflavored gelatin over the cold water in a small bowl and let it sit undisturbed for 5 minutes to bloom. After blooming, heat gently (in 10–15 second bursts in the microwave or over a very low stovetop heat) just until the gelatin dissolves to a clear liquid — do not boil. Let it cool slightly while you mix the filling.
- In a medium bowl, beat the softened cream cheese until smooth and lump-free. Add the sweetened condensed milk, fresh lemon juice, and lemon zest and beat until fully combined and silky. Slowly drizzle in the dissolved gelatin while mixing to ensure it incorporates evenly; continue to mix until the filling is homogeneous and smooth.
- Pour the lemon-cream filling over the chilled graham crust and smooth the top with an offset spatula. Cover and refrigerate for at least 4 hours (or overnight) until the filling is fully set and firm to the touch.
- Use the parchment overhang to lift the bars from the pan and place on a cutting board. Trim edges if desired and cut into 8 equal bars. Optionally dust with powdered sugar or garnish with thin lemon slices before serving; keep refrigerated and enjoy within 3–4 days.
No-Bake Lemon Bars Tips
Soften cream cheese
Let the cream cheese sit at room temperature until very soft, then beat until completely lump-free for a velvety filling.
Bloom gelatin properly
Sprinkle gelatin over cold water and wait 5 minutes before gently warming; dissolving it to a clear liquid ensures an even set without grainy bits.
Firmly press crust
Pack the graham mixture tightly with the back of a measuring cup and chill for 20–30 minutes so the crust won’t crumble when sliced.
Use fresh lemon juice
Fresh juice and zest brighten the flavor; strain if you dislike pulp so the filling stays silky and smooth.
Heat your knife
Run a sharp knife under hot water, dry it, then slice to get clean edges between bars; wipe the blade between cuts for neat squares.
No-Bake Lemon Bars Variations and Substitutions
Gluten-free almond crust
Substitute equal parts finely ground almond meal for the graham crumbs and increase butter by 1 tablespoon if needed to help the crust bind, then press and chill as directed.
Vegan/agar-agar option
Use dairy-free cream cheese and full-fat canned coconut milk (in place of condensed milk use a sweetened coconut condensed milk or make a reduced coconut syrup), and swap gelatin for agar-agar (simmer according to package instructions as agar needs boiling and will set firmer).
Key lime bars
Replace lemon juice and zest with key lime juice and zest for a tarter, more floral profile; you can reduce the added sugar in the crust if you want a brighter contrast.
Blueberry compote swirl
Gently fold a few spoonfuls of a thick blueberry compote into the filling before it fully sets and swirl with a skewer for a pretty, fruity variation.
How to Store and Make No-Bake Lemon Bars Ahead
Store the bars tightly covered in the refrigerator for up to 3–4 days; keeping them tucked into an airtight container prevents them from absorbing fridge odors and keeps the filling from drying at the edges. Freezing is possible but not ideal — freeze wrapped well for up to 1 month and thaw overnight in the fridge, noting the gelatin texture may become slightly softer after thawing.
What to Serve With No-Bake Lemon Bars
Serve chilled with a small dollop of lightly sweetened whipped cream and a few fresh berries or a thin slice of lemon for contrast. For drinks, pair with sparkling wine or a citrus-forward cocktail in warm weather, or a lightly brewed green tea or espresso to balance the sweetness.
No-Bake Lemon Bars FAQs
Can I omit the gelatin?
Not if you want firm, sliceable bars — without gelatin the sweetened condensed milk and cream cheese won’t set firmly in the refrigerator. If you prefer to avoid gelatin, you can make a cooked lemon curd (requires eggs and stovetop cooking) and chill it until thickened, but the texture will be different.
My filling is a bit runny after chilling — what went wrong?
Likely the gelatin wasn’t fully dissolved, was under-measured, or the filling was assembled while the gelatin was too cool and clumped. Reheat a small amount of gelatin gently, whisk it into the filling again, and refrigerate until set.
Can I use bottled lemon juice?
Fresh lemon juice is strongly recommended for brightness and flavor; bottled juice tends to be flatter and can make the filling taste less vibrant, though it will still set.
How do I prevent a grainy filling?
Beat the cream cheese thoroughly until silky before adding other ingredients, and fully dissolve the gelatin into a clear liquid; also avoid over-mixing after the condensed milk is added to keep the texture smooth.
Why sweetened condensed milk?
It supplies sweetness, body and a satiny mouthfeel that pairs well with tart lemon while keeping the recipe no-bake — it also helps stabilize the filling so it sets with less gelatin than a milk-based custard would require.
About the author
Jake WoodsHello, I'm Jake. I started this recipe site with the idea that I hated recipe websites that overwhelm you with long stories and ads just to see plain content that's not helpful. My goal is to provide you with quality recipes, simple ideas and a fun cooking experience. There's lots of fun things to cook, and I think as you browse the site you'll find that TopShelf.Recipes is the place for quality recipes on the web.
See all recipes by Jake Woods →Ratings & Reviews
Did you make this recipe?
Be the first to share your experience.
Nutrition Facts
Per serving: 1 bar (95g)
Nutrition values are estimated from USDA ingredient data and may vary based on preparation, brands, and portion sizes. Values are provided for informational purposes only.
Keep Reading
Guides & articles for this recipe
Guides
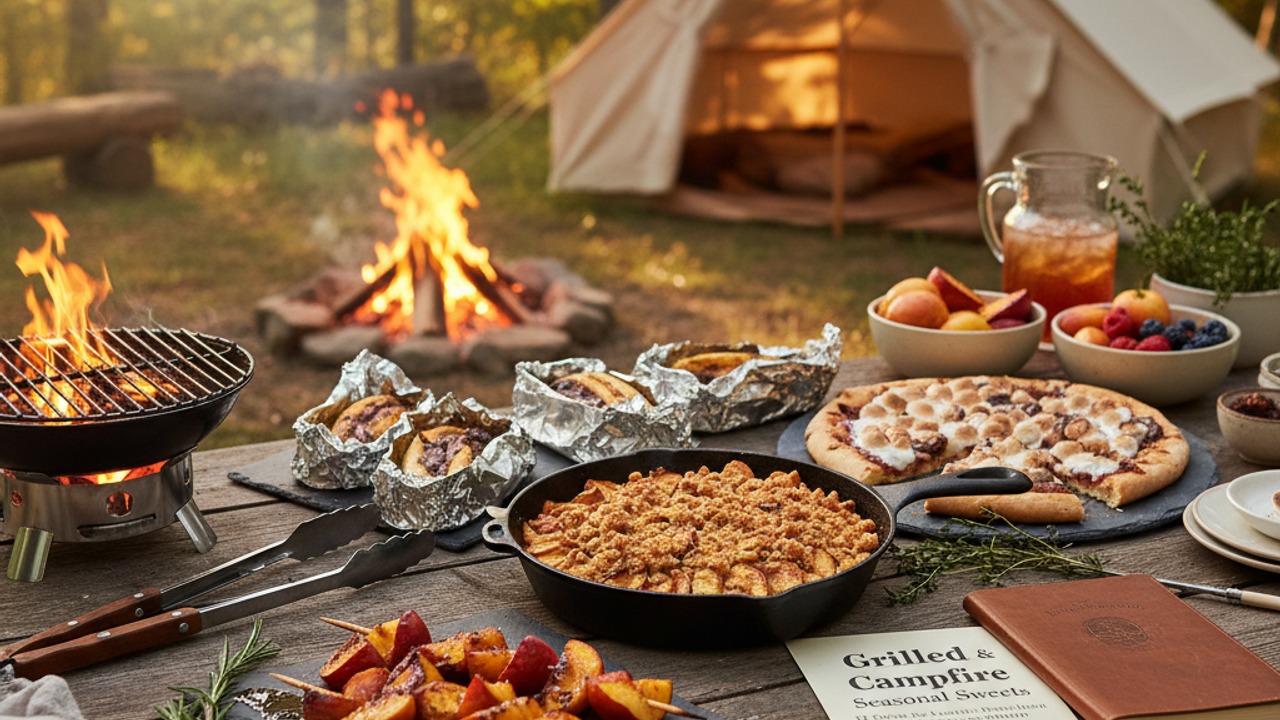
Grilled & Campfire Seasonal Sweets: 12 Crowd‑Favorite Desserts and How to Make Them Year‑Round
A season-by-season guide to 12 grill- and campfire-friendly desserts with flame-safe techniques, make-ahead strategies, vegetarian and gluten-free swaps, plus serving and storage tips so your outdoor sweets shine any time of year.

Guides
Summer Weeknight Grilling Playbook: 4-Week Rotating Meal Plan with Quick Seasonal Recipes, Make‑Ahead Sides & Grill‑First Desserts
A practical, four-week summer grilling playbook built for busy weeknights: 12 fast mains, 8 make‑ahead sides, 4 grill-forward desserts, weekly shopping lists, prep timelines, and smart tips for backyard, tailgate, or campsite cooking. Get the rhythm of easy, seasonal grilling that keeps dinner fresh and fast.

Healthy Eating
Gluten-Free Weeknight Grilling Plan
A 7-day gluten-free weeknight grilling plan with quick, family-friendly recipes, prep-ahead timelines, and a printable shopping list that spotlights late-summer produce and pantry staples. Includes clear cross-contamination safety tips and simple swaps to keep dinners fast and crowd-pleasing.
More from Desserts
View all Desserts recipes →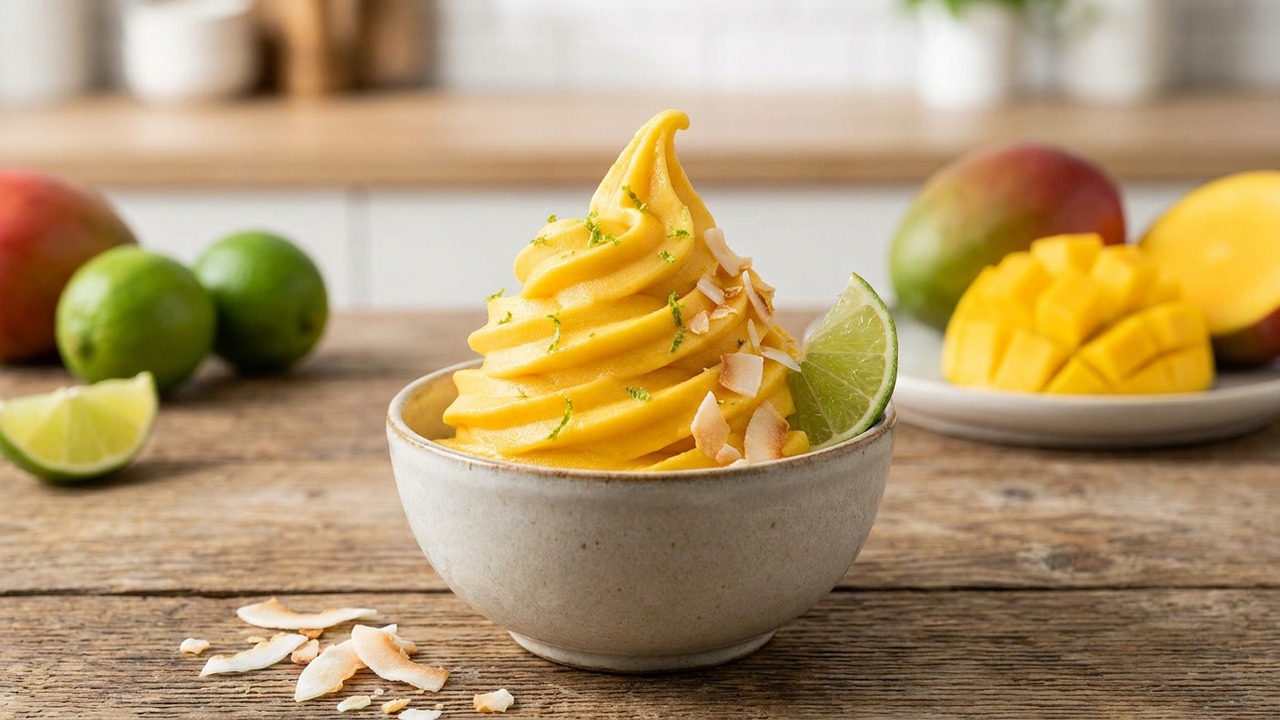
Ninja Slushy Soft Serve Mango Sorbet Bowl with Lime

Yuzu Matcha Gelato
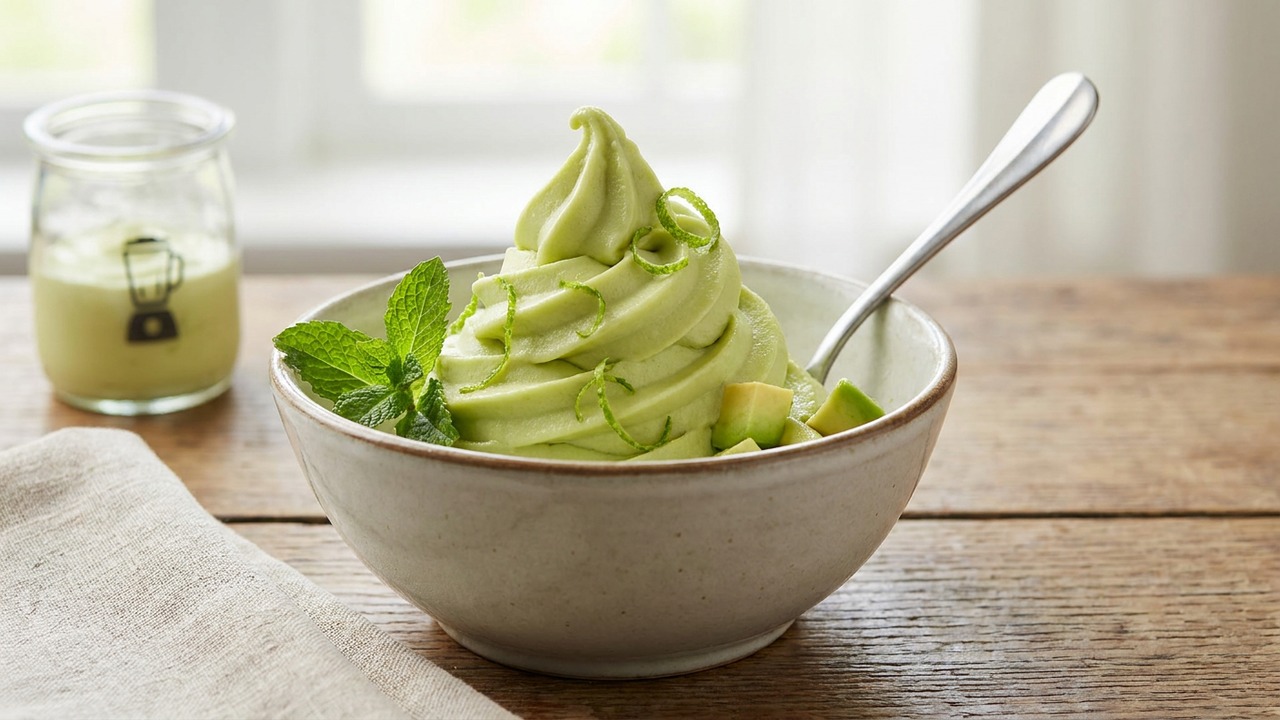
Ninja Keto Avocado Lime Soft Serve — Low Sugar Slushy

Easy Peanut Butter Bars

Chocolate Peanut Butter Chex Mix

Molten Lemon Cake

Boozy Red White Blue Popsicles (Vodka Ice Pops for Adults)

Salted Caramel Stuffed Brownies with Crispy Edges and Sea Salt

Poached Pears with Pistachio
Ask me anything about this recipe — substitutions, scaling, techniques, timing.
Powered by AI · 6 questions per 5 minutes, 30 per day