Rotisserie Turkey
A juicy, evenly roasted rotisserie turkey made on a gas grill for a crisp skin and tender meat. Step-by-step instructions cover herb butter, spit setup, grill configuration, and temperature targets so home cooks can roast a reliably perfect bird.
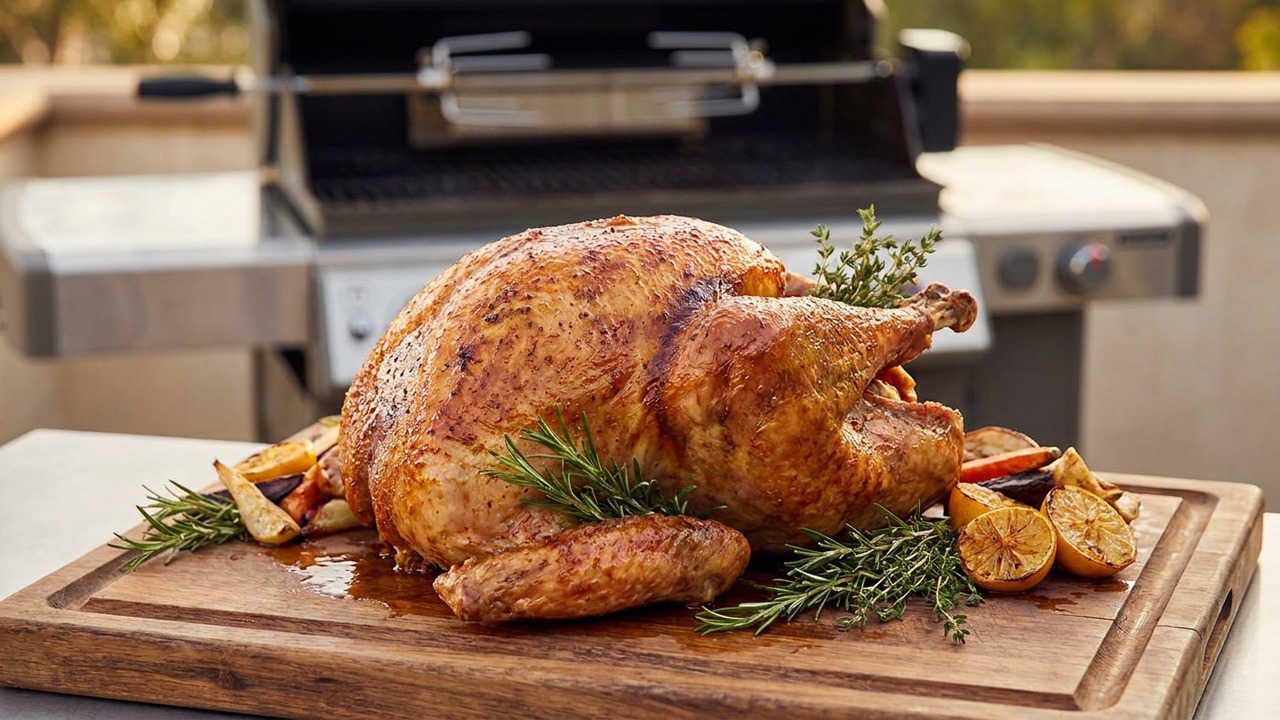
Jake Woods's note
"This rotisserie turkey delivers restaurant-quality, evenly roasted results with minimal babysitting — it’s a fantastic centerpiece for holidays or any weekend gathering. Home cooks will love the crisp skin and deeply flavored meat from the herb butter and steady rotation."
About This Recipe
Rotisserie turkey on a gas grill is one of those cooking techniques that rewards a little setup with spectacular results: crisp, bronzed skin and uniformly juicy meat from breast to thigh. This version leans into a short dry-brine and a lemon-garlic herb butter—half slipped under the breast skin and half massaged over the exterior—so you get fragrant aromatics right at the meat surface and protected moisture where it matters most. Rotisserie cooking does the heavy lifting by continually basting the bird with its own rendered juices, which keeps white meat from drying out while the exterior crisps evenly.
What makes this recipe reliable is its emphasis on balance and temperature control: center the spit, compact the bird with thoughtful trussing, and maintain an indirect grill zone at 325–350°F so the turkey cooks steadily rather than blasting at the surface. Use an instant-read thermometer in the thigh for a true doneness cue, rest the bird 20–30 minutes so juices settle, and save the drippings for a vivid gravy. This is ideal for cooks who have a rotisserie kit and want a hands-off centerpiece that still tastes handcrafted and seasonal.
Ingredients for Rotisserie Turkey
- 12 lb Whole turkey (neck and giblets removed)
- 3 tbsp Kosher salt
- 2 tsp Freshly ground black pepper
- 1 cup Unsalted butter (softened)
- 6 cloves Garlic, minced
- 2 tbsp Fresh rosemary and thyme, chopped (combined)
- 1 each Lemon (zest + 1 halved for cavity)
- 1 roll Butcher's (trussing) twine or rotisserie fork hardware
How to Make Rotisserie Turkey
Step 1: Prep and dry-brine the turkey
Pat the turkey very dry with paper towels and remove neck and giblets. Rub the turkey inside and out with kosher salt and freshly ground black pepper; for best flavor, refrigerate uncovered on a rack for 4–24 hours to dry-brine (overnight recommended) or proceed after 30 minutes if short on time.For this step
- 12 lbWhole turkey (neck and giblets removed)
- 3 tbspKosher salt
- 2 tspFreshly ground black pepper
Step 2: Make herb butter and season cavity
Combine softened butter, minced garlic, chopped rosemary and thyme, and lemon zest in a bowl until smooth. Gently loosen the skin over the breasts and spread half the herb butter under the skin; rub the remaining butter over the exterior. Place the halved lemon (and any optional aromatics like a quartered onion or extra herbs) into the cavity.For this step
- 1 cupUnsalted butter (softened)
- 6 clovesGarlic, minced
- 2 tbspFresh rosemary and thyme, chopped (combined)
- 1 eachLemon (zest + 1 halved for cavity)
Step 3: Truss and mount on the rotisserie spit
Secure the turkey on the rotisserie spit so the spit runs through the center of the bird from tail to neck; use the forks and tighten snugly. Tuck the wings and tie the legs with twine to create a compact, balanced profile so the motor will run smoothly and the bird spins evenly.For this step
- 1 rollButcher's (trussing) twine or rotisserie fork hardware
Step 4: Set up your gas grill for indirect rotisserie heat
Preheat the grill to a steady medium heat (aim for a grill grate temperature of 325–350°F / 160–175°C). Turn off the burners beneath where the turkey will sit and light the side burners to maintain indirect heat; place a drip pan under the bird to catch juices and prevent flare-ups.Step 5: Roast on the rotisserie until done
Start the rotisserie motor and let the turkey rotate continuously. Cook until an instant-read thermometer inserted into the thickest part of the thigh registers 165°F (74°C); plan roughly 10–12 minutes per pound as a guideline but rely on temperature for doneness. If the skin is browning too quickly, tent loosely with foil or reduce heat slightly.Step 6: Rest and carve
Remove the turkey from the spit and transfer to a cutting board; tent loosely with foil and rest for 20–30 minutes to let juices redistribute. Carve and serve, reserving pan juices for gravy or to spoon over slices for extra flavor.


- Pat the turkey very dry with paper towels and remove neck and giblets. Rub the turkey inside and out with kosher salt and freshly ground black pepper; for best flavor, refrigerate uncovered on a rack for 4–24 hours to dry-brine (overnight recommended) or proceed after 30 minutes if short on time.
- Combine softened butter, minced garlic, chopped rosemary and thyme, and lemon zest in a bowl until smooth. Gently loosen the skin over the breasts and spread half the herb butter under the skin; rub the remaining butter over the exterior. Place the halved lemon (and any optional aromatics like a quartered onion or extra herbs) into the cavity.
- Secure the turkey on the rotisserie spit so the spit runs through the center of the bird from tail to neck; use the forks and tighten snugly. Tuck the wings and tie the legs with twine to create a compact, balanced profile so the motor will run smoothly and the bird spins evenly.
- Preheat the grill to a steady medium heat (aim for a grill grate temperature of 325–350°F / 160–175°C). Turn off the burners beneath where the turkey will sit and light the side burners to maintain indirect heat; place a drip pan under the bird to catch juices and prevent flare-ups.
- Start the rotisserie motor and let the turkey rotate continuously. Cook until an instant-read thermometer inserted into the thickest part of the thigh registers 165°F (74°C); plan roughly 10–12 minutes per pound as a guideline but rely on temperature for doneness. If the skin is browning too quickly, tent loosely with foil or reduce heat slightly.
- Remove the turkey from the spit and transfer to a cutting board; tent loosely with foil and rest for 20–30 minutes to let juices redistribute. Carve and serve, reserving pan juices for gravy or to spoon over slices for extra flavor.
Rotisserie Turkey Tips
Dry-brine timing window
Salt at least 30 minutes before cooking, but for best flavor and crisp skin leave the turkey uncovered in the fridge 8–24 hours; the longer window seasons deeper and dries the skin for better browning.
Loosen the skin gently
Work with your hands or a small spoon to separate skin from breast meat without tearing, creating a pocket for butter that keeps the meat moist and deposits flavor directly against the muscle.
Balance the spit carefully
Position the spit through the bird's center and add the forks snugly; an off-center turkey wobbles and strains the motor, so trim or tuck extra cavity aromatics to keep weight even.
Control grill heat
Aim for a steady 325–350°F and use side burners for the heat sources; if skin browns too fast, lower indirect heat or tent briefly with foil to avoid premature charring.
Use a shallow drip pan
A pan under the bird catches drippings, prevents flare-ups, and can be filled with a splash of stock or wine to collect fat-flavored juices for gravy.
Rotisserie Turkey Variations and Substitutions
Citrus-forward herb butter
Swap the lemon zest for equal parts orange and lemon and add a tablespoon of finely chopped parsley for a brighter, slightly sweeter citrus profile that pairs well with root vegetables.
Smoky paprika butter
Stir 1–2 teaspoons smoked paprika into the butter and rub a light coating of olive oil on the skin to deepen color and add a warm, smoky accent without needing a smoker.
Dairy-free compound oil
Replace the butter with an equal amount of extra-virgin olive oil blended with garlic, herbs, and lemon zest; push some under the skin and brush the exterior for a crisp, dairy-free finish.
Turkey breast on the spit
For smaller gatherings, mount a bone-in turkey breast on the spit and follow the same temperatures; reduce cooking time and rely on the thigh or deepest meat for final temp checks.
How to Store and Make Rotisserie Turkey Ahead
After carving, refrigerate turkey slices and pan juices separately in airtight containers within two hours. Use leftover turkey within 3–4 days; reheat gently in a 275–300°F oven covered with foil, basting with reserved juices or a little stock to restore moisture. For longer storage, freeze portions wrapped tightly for up to 3 months and thaw overnight in the fridge before reheating.
What to Serve With Rotisserie Turkey
Serve slices with pan gravy made from the drippings, a classic mashed potato or a celery-root purée, and a bright side like roasted Brussels sprouts with lemon or an apple-cranberry relish to cut the richness. For drinks, a medium-bodied Chardonnay or a fruity Pinot Noir complements the herb-buttered flavors; for beer lovers, a Belgian dubbel or amber ale works nicely. Present the carved breast and thigh on a warm platter with a spoonful of pan juices poured over to keep the slices glossy.
Rotisserie Turkey FAQs
Can I use a frozen turkey for this recipe?
No; the bird must be fully thawed before mounting on the rotisserie. Thaw in the refrigerator — plan roughly 24 hours per 4–5 pounds — so the meat cooks evenly and you can dry-brine it properly.
What if my rotisserie motor struggles with the weight?
Check balance first and trim excess fat or cavity aromatics; if it still strains, use heavy-duty rotisserie hardware rated for larger birds or remove the rotisserie and roast indirectly on the grill grates instead.
Where should I take the thermometer temperature?
Insert an instant-read thermometer into the thickest part of the thigh without touching bone; 165°F (74°C) is the safe internal temperature target, but expect a few degrees of carryover while the bird rests.
Do I need to baste while it rotates?
No—rotisserie rotation constantly bastes the meat with its own juices. Basting is unnecessary and will prolong cooking by opening the grill more often; instead, protect overly browned spots with foil.
Can I prepare herb butter ahead of time?
Yes — compound butter can be made up to 48 hours ahead and kept chilled; you can even rub it on the bird right before mounting to save time on the day of cooking.
How do I prevent the breast from drying out?
Slip plenty of herb butter under the breast skin and keep the grill at moderate indirect heat; rely on thigh temperature for doneness rather than breast temperature, and allow a 20–30 minute rest to redistribute juices.
About the author
Jake WoodsHello, I'm Jake. I started this recipe site with the idea that I hated recipe websites that overwhelm you with long stories and ads just to see plain content that's not helpful. My goal is to provide you with quality recipes, simple ideas and a fun cooking experience. There's lots of fun things to cook, and I think as you browse the site you'll find that TopShelf.Recipes is the place for quality recipes on the web.
See all recipes by Jake Woods →Ratings & Reviews
Did you make this recipe?
Be the first to share your experience.
Nutrition Facts
Per serving: about 1 cup
Nutrition values are estimated from USDA ingredient data and may vary based on preparation, brands, and portion sizes. Values are provided for informational purposes only.
Keep Reading
Guides & articles for this recipe

Healthy Eating
Gluten-Free Weeknight Grilling Plan
A 7-day gluten-free weeknight grilling plan with quick, family-friendly recipes, prep-ahead timelines, and a printable shopping list that spotlights late-summer produce and pantry staples. Includes clear cross-contamination safety tips and simple swaps to keep dinners fast and crowd-pleasing.

Cocktails & Drinks
Shakerless Cocktails for Backyard Grilling
Easy, tool-free cocktail recipes designed for backyard grilling and outdoor hangs. Find single-serve and batch formulas, quick portable infusions, improvised gear hacks, and simple cocktail pairings for grilled meats and vegetables.

Healthy Eating
Lean Labor Day Grilling Menu
A Labor Day grilling guide that swaps heavy BBQ classics for lighter, flavorful options—think lean proteins, charred vegetables, and low‑sugar sauces. Includes make-ahead meal prep, portioning tips, and a short shopping checklist for healthy, crowd-pleasing cookouts.
More from Grilling
View all Grilling recipes →
Tandoori Yogurt Marinated Grilled Chicken (Tandoori Style on the Grill)

Labor Day Grilled Lobster Rolls with Charred Scallion Brown Butter & Lemon‑Herb Aioli

Bulgogi Smash Burger

Campfire‑Smoked Potato Salad with Mustard‑Bacon Vinaigrette — A Labor Day Grilling Side for Steak

Hanger Steak with Shallot Sauce
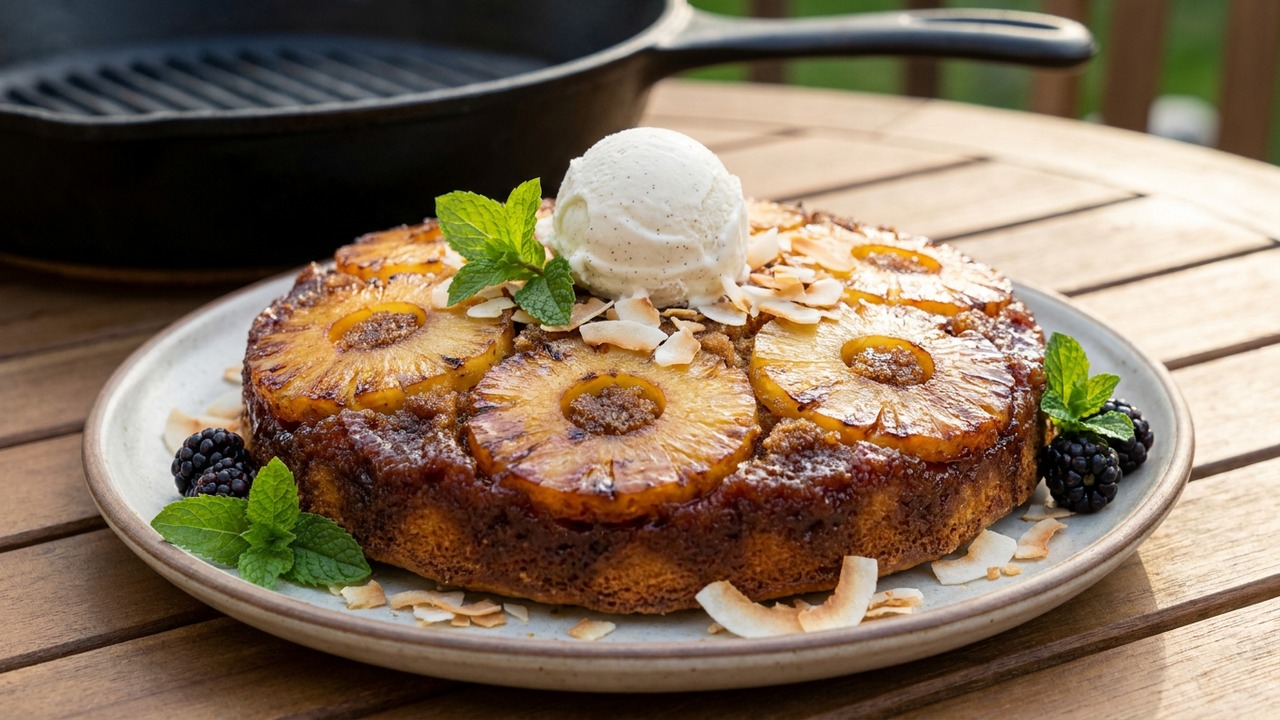
Grilled Pineapple Upside-Down Cake

Spicy Grilled Shrimp Skewers with Garlic Lime Marinade

Honey Garlic Grilled Thin-Sliced Chicken Breasts

Coffee and Porcini Dry-Rub Steaks with RUB PRIME STEAK Finish
Ask me anything about this recipe — substitutions, scaling, techniques, timing.
Powered by AI · 6 questions per 5 minutes, 30 per day