Worm And Grub Sugar Cookies
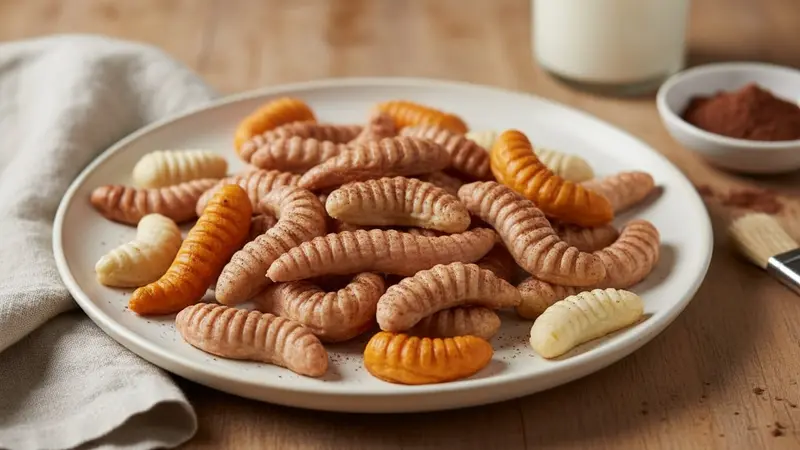
Hand-molded sugar cookies shaped like creepy-crawly worms and plump grubs — perfect for a Halloween spread. Firm sugar-cookie dough is tinted, sculpted, chilled to hold anatomical details, baked until just set, then lightly shaded in the grooves for realistic depth.
Jake Woods's note
"These cookies are a showstopper for Halloween parties — each piece is quick to shape and the cocoa shading makes the ridges look eerily realistic. Home bakers will love how sturdy the dough is for sculpting and how forgiving the chilling step is."
About This Recipe
These Worm and Grub Sugar Cookies are a deliberately sculptural take on a Halloween classic — a firm, buttery sugar-cookie dough that’s tinted, hand-shaped and baked until just set so every ridge and segment stays crisp. The texture is pleasantly biscuitlike: firm at the edges with a touch of chew in the center thanks to the light corn syrup, which also keeps the dough pliable while you work. A dry dusting of unsweetened cocoa in the grooves gives realistic depth without adding moisture, so the critters read convincingly creepy rather than cartoonish. This is a recipe that trades speed for showmanship: it’s about the satisfaction of shaping and the payoff when someone picks one up and actually pauses.
The method is intentionally tuned for sculpting — a slightly stiffer dough, gel colors so you don’t water it down, and two chillings (before shaping and again after) so pieces hold detail in the oven. Work in small, uniform portions (about 15–18 g each) for even baking, and pull the trays when the edges are set and cookies are still pale to protect the definition. It’s a fun afternoon project for families, a playful centerpiece for a spooky dessert board, and an easy way for serious bakers to show off a little decorative restraint.
Ingredients for Worm And Grub Sugar Cookies
- 3 cups All-purpose flour
- 1 teaspoon Baking powder
- 1/2 teaspoon Salt
- 1 cup Unsalted butter
- 3/4 cup Granulated sugar
- 1 large Large egg
- 1 teaspoon Vanilla extract
- 2 tablespoons Light corn syrup
- 1 teaspoon Gel food coloring (orange and pink)
- 1 tablespoon Unsweetened cocoa powder
How to Make Worm And Grub Sugar Cookies
Step 1: Make a firm, chillable sugar-cookie dough
Active 15 min · Passive 30 min
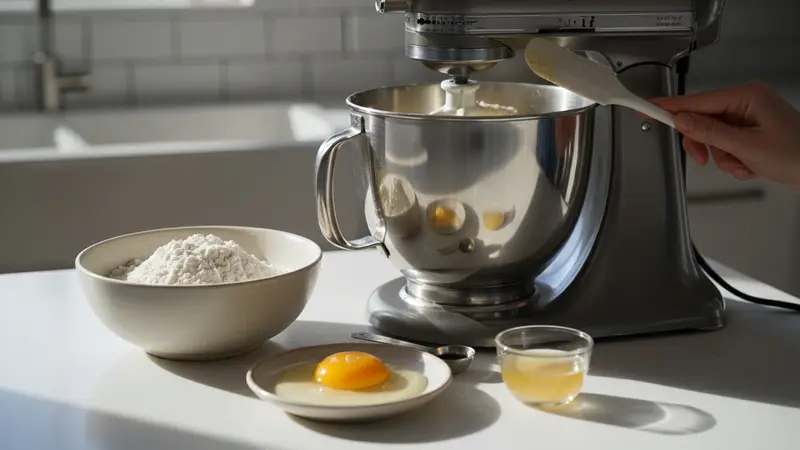
Whisk together the All-purpose flour, Baking powder, and Salt in a medium bowl and set aside. In a stand mixer or with a large bowl and hand mixer, cream the Unsalted butter and Granulated sugar until light and slightly fluffy, about 2–3 minutes; beat in the Large egg, Vanilla extract, and Light corn syrup until combined. Add the dry ingredients and mix just until a firm, slightly tacky dough comes together — it should be moldable and not too soft. Form the dough into a flat disk, wrap tightly in plastic, and refrigerate for 30 minutes to firm up so shapes hold during sculpting.For this step
- 3 cupsAll-purpose flour
- 1 teaspoonBaking powder
- 1/2 teaspoonSalt
- 1 cupUnsalted butter
- 3/4 cupGranulated sugar
- 1 largeLarge egg
- 1 teaspoonVanilla extract
- 2 tablespoonsLight corn syrup
Step 2: Divide, tint, and hand-shape worms and grubs
Active 30 min · Passive 20 min
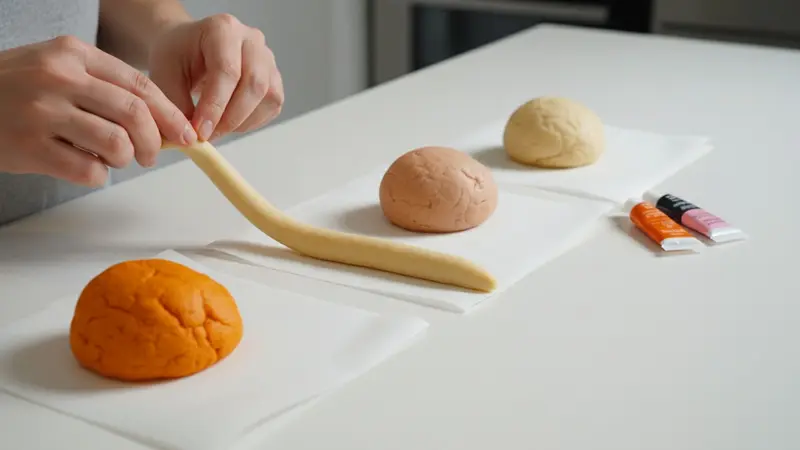
Divide the chilled dough into portions and tint small batches using Gel food coloring (orange and pink): reserve about one-third of the dough to tint orange, one-third for a light pinkish-brown, and leave the remainder natural cream for grubs. Working with small pieces (about 15–18 g each), roll about 24 longer tapered cylinders for worms (roughly 1½–2" long) by rolling and slightly tapering one end, and shape about 12 short, thicker pieces for grubs (roughly 1" long) by rolling into stubby cylinders. This recipe yields about 36 pieces total. Create anatomical detail now: for grubs, press deep, parallel horizontal indentations across the width with the dull edge of a butter knife or the blunt end of a toothpick to form ridges; for worms, roll gently to make subtle sections then press segmented lines at regular intervals with the toothpick. Place shaped pieces on a parchment-lined sheet in a single layer and chill for 20 minutes to firm the shapes before baking.For this step
- 1 teaspoonGel food coloring (orange and pink)
Step 3: Bake just until set to preserve detail
Active 5 min · Passive 12 min
Preheat the oven to 350°F (175°C) and position racks in the middle. Bake chilled shaped cookies on their parchment-lined sheets for 10–12 minutes — bake until edges are set but cookies remain pale so the sculpted ridges and segments stay crisp; rotate pans halfway through if baking multiple trays. Remove from the oven and let rest on the baking sheet 5 minutes so pieces firm further, then transfer to a wire rack to cool briefly before shading.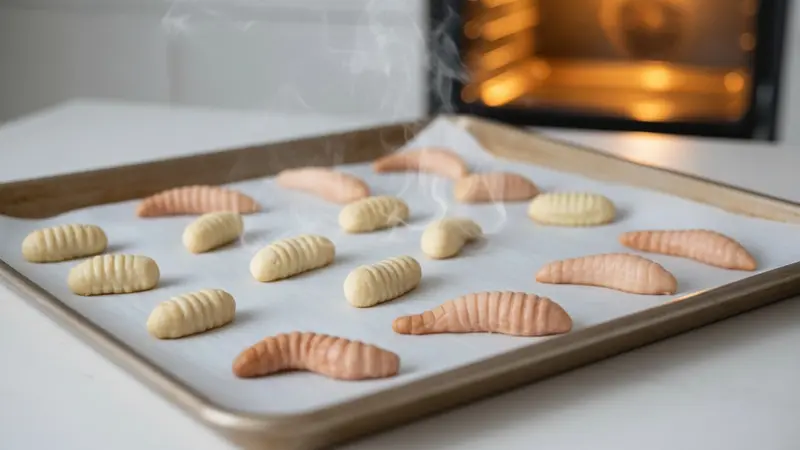
Step 4: Shade grooves and finish
Active 10 min · Passive 15 min
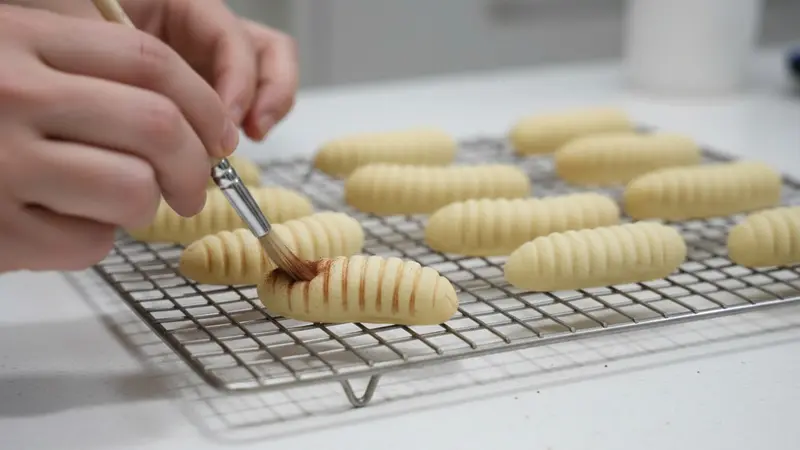
When cookies are cool enough to handle (about 5 minutes on the rack), use a very small, dry pastry brush or a clean, dry fingertip to pick up a tiny amount of Unsweetened cocoa powder and press it gently into the grooves and segments to create subtle shading — work sparingly so the overall matte cookie color remains visible and only the crevices darken. Tap off excess cocoa with the brush and allow cookies to finish cooling on the rack for another 15 minutes so the cocoa sets in the grooves. Arrange on a wooden board for serving to echo the reference styling and enjoy — these keep 3–4 days in an airtight container.For this step
- 1 tablespoonUnsweetened cocoa powder
- Whisk together the All-purpose flour, Baking powder, and Salt in a medium bowl and set aside. In a stand mixer or with a large bowl and hand mixer, cream the Unsalted butter and Granulated sugar until light and slightly fluffy, about 2–3 minutes; beat in the Large egg, Vanilla extract, and Light corn syrup until combined. Add the dry ingredients and mix just until a firm, slightly tacky dough comes together — it should be moldable and not too soft. Form the dough into a flat disk, wrap tightly in plastic, and refrigerate for 30 minutes to firm up so shapes hold during sculpting.
- Divide the chilled dough into portions and tint small batches using Gel food coloring (orange and pink): reserve about one-third of the dough to tint orange, one-third for a light pinkish-brown, and leave the remainder natural cream for grubs. Working with small pieces (about 15–18 g each), roll about 24 longer tapered cylinders for worms (roughly 1½–2" long) by rolling and slightly tapering one end, and shape about 12 short, thicker pieces for grubs (roughly 1" long) by rolling into stubby cylinders. This recipe yields about 36 pieces total. Create anatomical detail now: for grubs, press deep, parallel horizontal indentations across the width with the dull edge of a butter knife or the blunt end of a toothpick to form ridges; for worms, roll gently to make subtle sections then press segmented lines at regular intervals with the toothpick. Place shaped pieces on a parchment-lined sheet in a single layer and chill for 20 minutes to firm the shapes before baking.
- Preheat the oven to 350°F (175°C) and position racks in the middle. Bake chilled shaped cookies on their parchment-lined sheets for 10–12 minutes — bake until edges are set but cookies remain pale so the sculpted ridges and segments stay crisp; rotate pans halfway through if baking multiple trays. Remove from the oven and let rest on the baking sheet 5 minutes so pieces firm further, then transfer to a wire rack to cool briefly before shading.
- When cookies are cool enough to handle (about 5 minutes on the rack), use a very small, dry pastry brush or a clean, dry fingertip to pick up a tiny amount of Unsweetened cocoa powder and press it gently into the grooves and segments to create subtle shading — work sparingly so the overall matte cookie color remains visible and only the crevices darken. Tap off excess cocoa with the brush and allow cookies to finish cooling on the rack for another 15 minutes so the cocoa sets in the grooves. Arrange on a wooden board for serving to echo the reference styling and enjoy — these keep 3–4 days in an airtight container.
Worm And Grub Sugar Cookies Tips
Chill the dough well
Give the disk a full 30 minutes in the fridge and chill shaped pieces another 20 minutes so edges don’t slump in the oven; in warm kitchens increase chill times.
Portion by weight
Use 15–18 g portions for consistent shape and baking time — small differences here make a big visual impact.
Use gel colors only
Gel food coloring gives vivid hues without loosening the dough; knead until color is even but avoid overworking the dough.
Make crisp ridges
Press grooves with the blunt end of a toothpick or the dull side of a butter knife and don’t erase them while moving pieces — sharper impressions hold up better.
Brush cocoa carefully
Use a very small dry pastry brush and press cocoa into crevices, tapping off excess rather than brushing across the surface to avoid smudging.
Bake until pale
Remove cookies as soon as edges set and centers look only slightly firm — further browning will soften the carved detail.
Worm And Grub Sugar Cookies Variations and Substitutions
Chocolate dough
Replace 2–3 tablespoons of flour with unsweetened cocoa powder and add an extra tablespoon of sugar for balance to make deep-brown chocolate worms.
Gluten‑free swap
Use a cup‑for‑cup gluten‑free flour blend that contains xanthan gum, chilling the dough a little longer because GF blends can feel softer at first.
Vegan version
Use a vegan butter and a flax egg (1 tbsp ground flax + 3 tbsp water) in place of the egg; the corn syrup remains useful for pliability.
Iced or glossy finish
After shading, pipe tiny royal-icing eyes or dip the tapered ends briefly in melted candy coating for a glossy, creepier effect.
How to Store and Make Worm And Grub Sugar Cookies Ahead
Store cooled cookies in an airtight container at room temperature for 3–4 days with layers separated by parchment. Baked cookies freeze well up to 2 months — layer between sheets of parchment and thaw at room temperature, then refresh shading if needed. You can also freeze shaped, unbaked pieces on a sheet pan, transfer to a bag once solid, and bake straight from frozen (add a minute or two to the bake time). Reheat baked cookies for 2–3 minutes in a 300°F oven if you want them slightly warm before serving.
What to Serve With Worm And Grub Sugar Cookies
Arrange the cookies on a wooden board with crushed Oreo “soil,” gummy insects, and small bowls of chocolate ganache for dipping to enhance the creepy aesthetic. For drinks, pair with cold milk or a rich dark‑chocolate hot cocoa for kids, and a robust espresso or a dry sparkling wine for adult guests. Use small tongs or cocktail picks so people can grab without smudging the cocoa shading.
Worm And Grub Sugar Cookies FAQs
Why is there corn syrup in the dough?
Light corn syrup adds a bit of chew and it keeps the dough pliable so you can sculpt without cracking; it also helps pieces hold a gentle sheen and resist over‑drying.
My cookies spread—what happened?
Spread usually means the dough was too warm, over‑creamed, or had too much liquid (including liquid food coloring); chill the dough longer, work in small batches, and stick to gel coloring to prevent thinning.
Can I use liquid food coloring instead of gel?
You can, but liquid color will thin the dough and increase spread; if you must use it, add a tablespoon more flour and chill the dough longer to compensate.
Can I bake from frozen shaped pieces?
Yes — freeze shaped pieces on a tray until solid, store in a bag, and bake from frozen; add 1–2 minutes to the bake time and keep an eye on color to preserve detail.
Why use cocoa powder for shading instead of icing?
Dry cocoa gives realistic depth without adding moisture that would blur carved details; icing can make grooves lose their crisp edges and looks more cartoonish.
Are these cookies crisp or soft?
They’re designed to be firm with a slight chew in the center due to the corn syrup; bake a minute longer if you prefer a crisper bite, but that will reduce the sharpness of the sculpted ridges.
About the author
Jake WoodsHello, I'm Jake. I started this recipe site with the idea that I hated recipe websites that overwhelm you with long stories and ads just to see plain content that's not helpful. My goal is to provide you with quality recipes, simple ideas and a fun cooking experience. There's lots of fun things to cook, and I think as you browse the site you'll find that TopShelf.Recipes is the place for quality recipes on the web.
See all recipes by Jake Woods →Ratings & Reviews
Did you make this recipe?
Be the first to share your experience.
Nutrition Facts
Per serving: 1 serving
Nutrition values are estimated from USDA ingredient data and may vary based on preparation, brands, and portion sizes. Values are provided for informational purposes only.
Keep Reading
Guides & articles for this recipe
Recipes
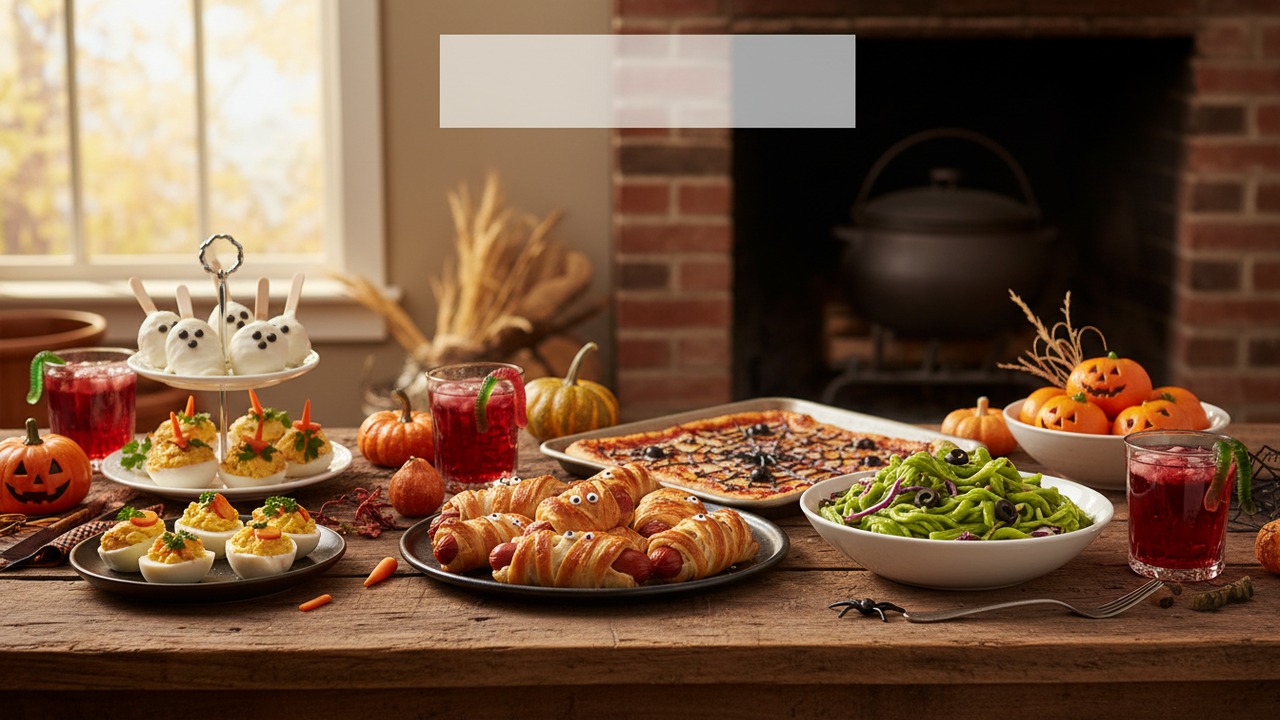
Fun Kid-Friendly Halloween Recipes
Easy, playful Halloween recipes that kids can help make or will happily eat. From no-bake classroom treats to spooky grilled sweets, this roundup groups tried ideas for parties, after-school snacks, and trick-or-treat gatherings.
Tips & Techniques
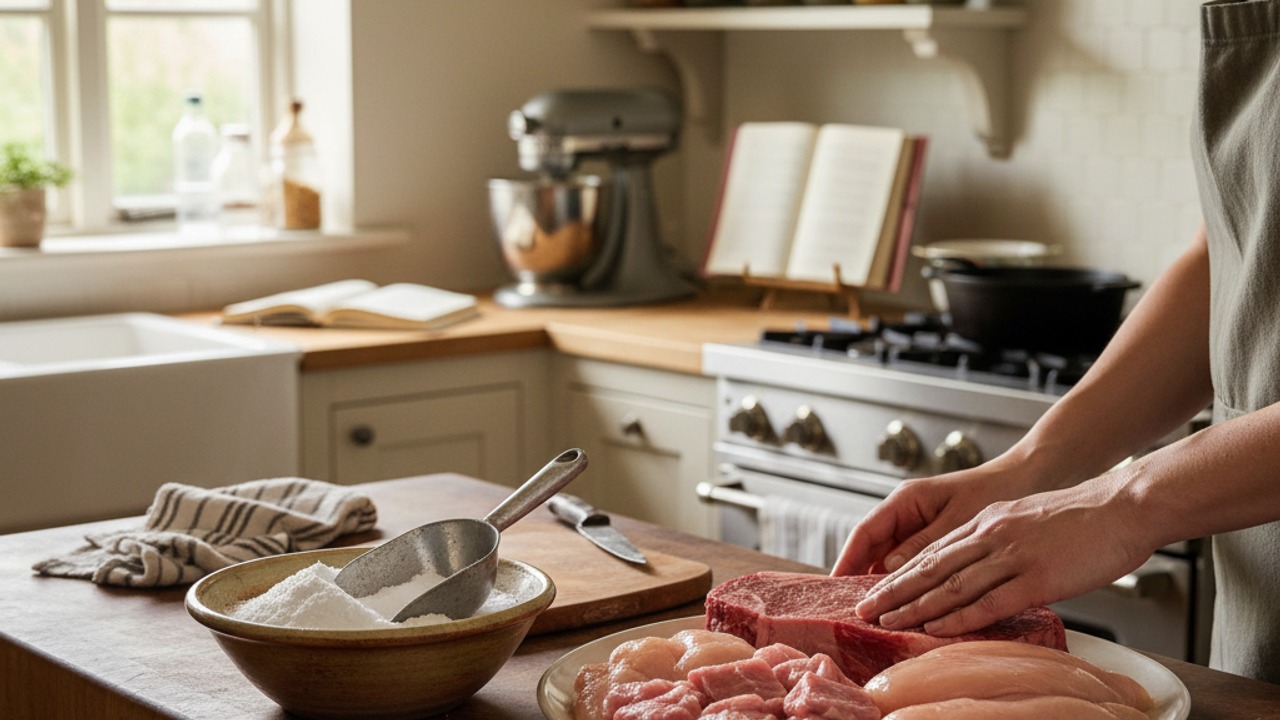
Baking Soda and Tenderized Beef
Learn how baking soda can tenderize, boost browning, and improve moisture for ground beef and other meats. This practical guide covers the science, step-by-step techniques, common mistakes, and recipes to try.
Recipes
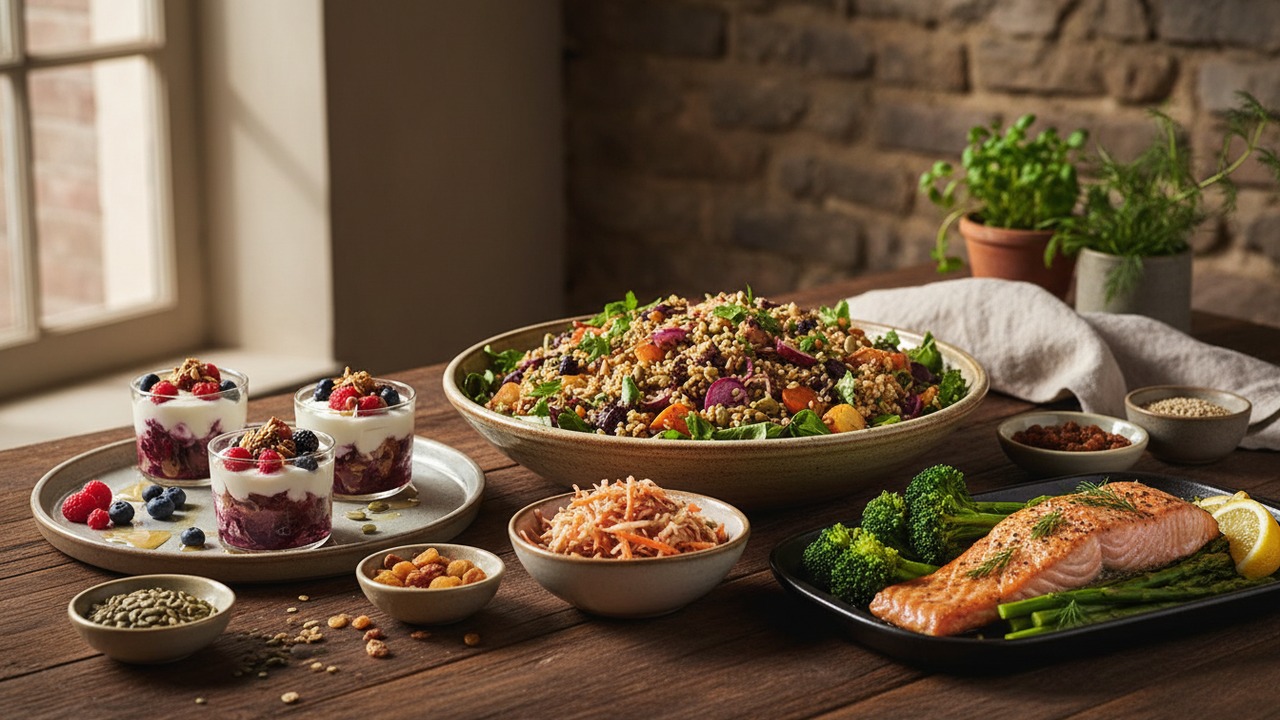
Gut-Healthy Recipe Roundup
A practical collection of recipes that emphasize fiber, prebiotics, and fermented foods to support a diverse microbiome. Mix breakfasts, snacks, bowls and mains to build meals that feel good to eat and are gentle on digestion.
More from Baking
View all Baking recipes →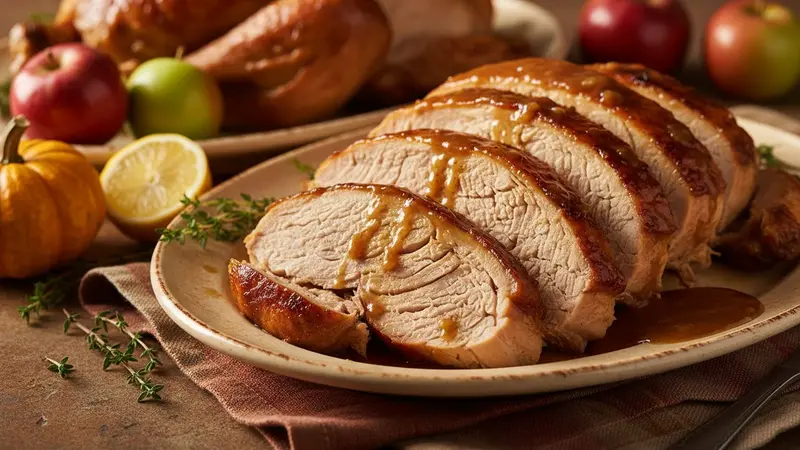
Oven Roasted Thanksgiving Turkey
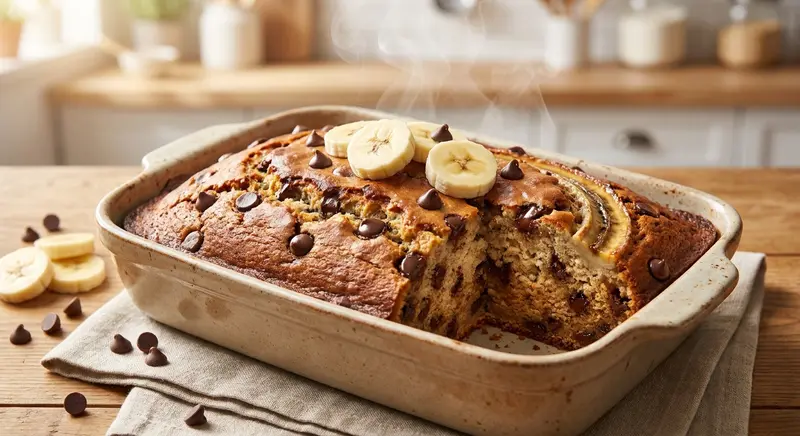
Chocolate Chip Banana Bread

Sheet Pan Lemon Pepper Chicken and Potatoes (Simple Weeknight Dinner)
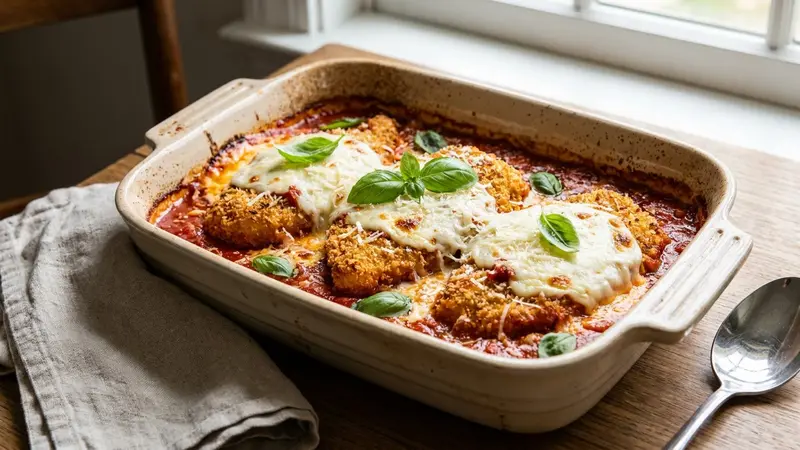
Baked Panko-Crusted Chicken Parmesan (Family-Friendly Oven Dinner)
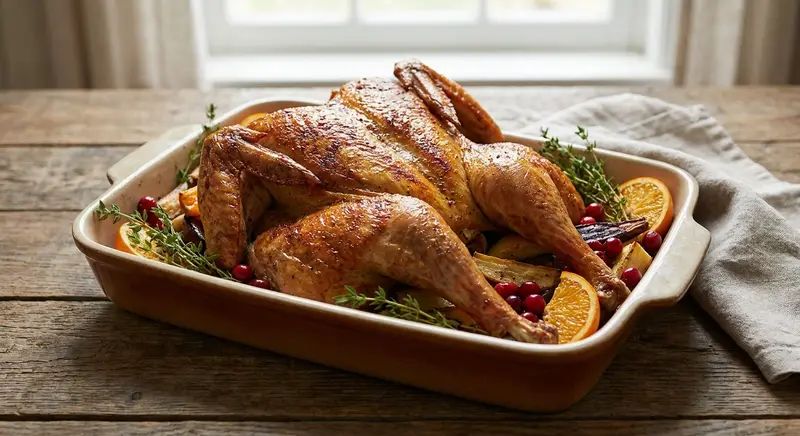
Spatchcock Turkey
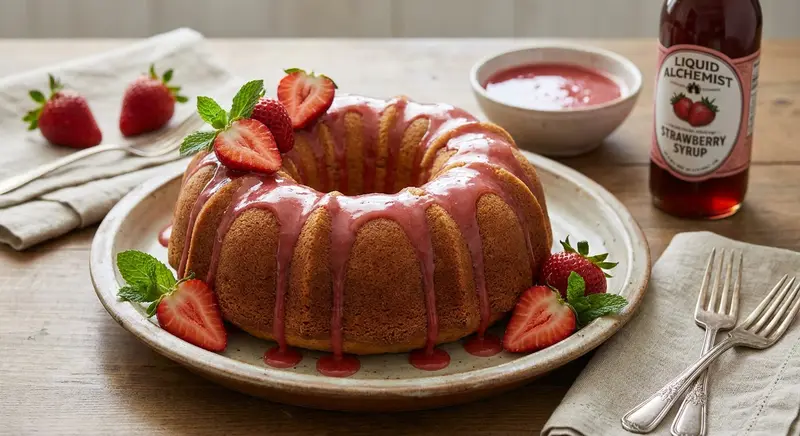
Liquid Alchemist Strawberry Syrup Glazed Bundt Cake
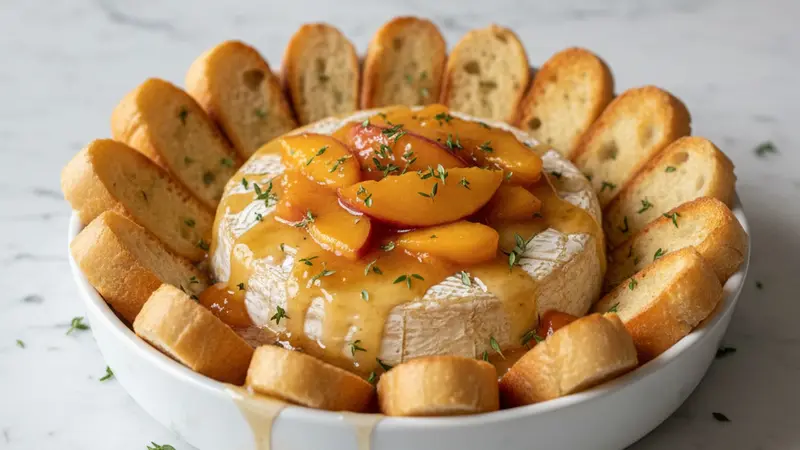
Baked Brie Peach Compote
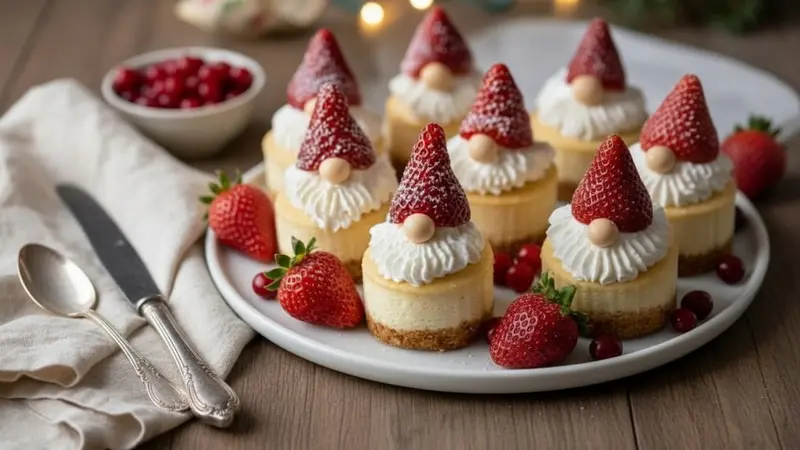
Santa Strawberry Cheesecake Cups
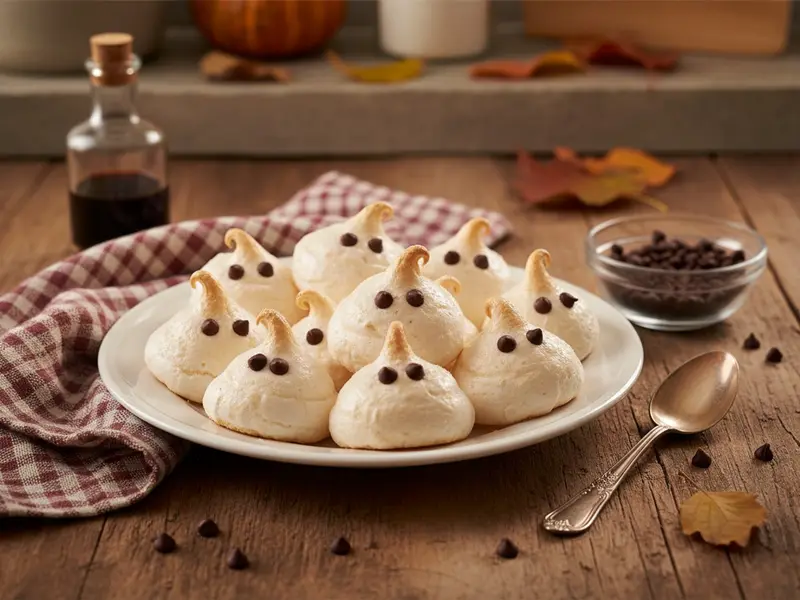
Ghost Meringues
Ask me anything about this recipe — substitutions, scaling, techniques, timing.
Powered by AI · 6 questions per 5 minutes, 30 per day