Santa Strawberry Cheesecake Cups
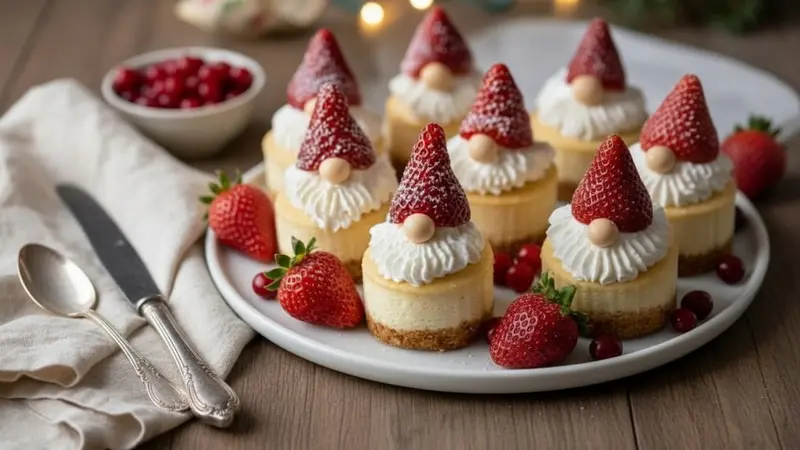
Festive mini cheesecakes styled as Santa/gnome faces: a graham-cracker base, creamy baked cheesecake body, a ring of stabilized white cream for beard and ruff, a malted-milk-ball nose, and a hulled strawberry hat. Perfect for holiday parties—make ahead, chill, then finish with piping and a dusting of powdered sugar 'snow.'
Ingredient Spotlight
Malted milk balls (small, ~5 g each) for noses
Malted milk balls are candy pieces with a crunchy, malted-milk center coated in chocolate (common brands include Whoppers in the U.S. and Maltesers in the U.K.). They taste sweet and chocolatey with a distinctive toasted‑malt note rather than a fruity flavor, and they’re used as candies or small decorative elements in baking. Find them in the candy or baking aisle of most supermarkets, bulk candy stores, or online; for a substitute, use mini chocolate chips, mini M&Ms, chocolate-covered sunflower seeds, or small fondant/chocolate pearls for a similar size and look.
Ingredient Spotlight
Red currants (or small red berries) for garnish
Red currants are small, tart berries popular in European cuisines (especially in the U.K., France, Germany, and Scandinavia) and are prized for their bright, acidic flavor and jewel‑like appearance. Fresh red currants are fairly uncommon in many U.S. supermarkets and are most often found at farmers’ markets, specialty grocers, or sold frozen; they’re used for jams, sauces, and elegant garnishes. Good substitutes for visual effect and a bright tart note include pomegranate arils, halved small red grapes, raspberries, or a small spoonful of red currant/jam or cranberry sauce if you don’t need fresh berries.
Jake Woods's note
"These little Santa/gnome cheesecakes are as fun to assemble as they are to eat — they’re terrific for holiday platters and cookie swaps. Make the cheesecakes ahead, then pipe and finish just before serving for the freshest look."
About This Recipe
Santa Strawberry Cheesecake Cups are the kind of party dessert that looks impossibly clever while staying genuinely simple to make. Mini baked cheesecakes give a dense, creamy base with a buttery graham crust, and the stabilized whipped-cream 'beard' is rich enough to hold a whole berry without sliding off—so the finished gnome faces travel well across a buffet. The tartness and fresh juice of the hulled strawberries contrasts with the malted-milk-ball nose and the sweet, slightly tangy cream cheese, delivering a playful mix of textures: crisp crust, silky cheesecake, pillowy cream and juicy berry.
This recipe is built for holiday hosting: you can bake and chill the cheesecakes a day ahead, then pipe the beards and assemble just before guests arrive so the strawberries stay bright. Little details—reserving a bit of cream cheese to stabilize the whipped cream, running a knife around each tart after baking, and chilling the crusts—are what keep the cups crack-free and picture-perfect. Serve them on a platter dusted with powdered sugar 'snow' and expect both kids and adults to gravitate toward these tiny, festive bites.
Plan your timing
Ingredients for Santa Strawberry Cheesecake Cups
- 1 cup Graham cracker crumbs
- 4 tbsp Unsalted butter, melted
- 16 oz Cream cheese (total)
- 1/3 cup Granulated sugar
- 1 large Large egg
- 1 cup Heavy cream
- 3 tbsp Powdered sugar (total)
- 18 medium Strawberries (medium), hulled
- 12 pieces Malted milk balls (small, ~5 g each) for noses
- 1/3 cup Red currants (or small red berries) for garnish
How to Make Santa Strawberry Cheesecake Cups
Step 1: Make and press the crust
Active 12 min
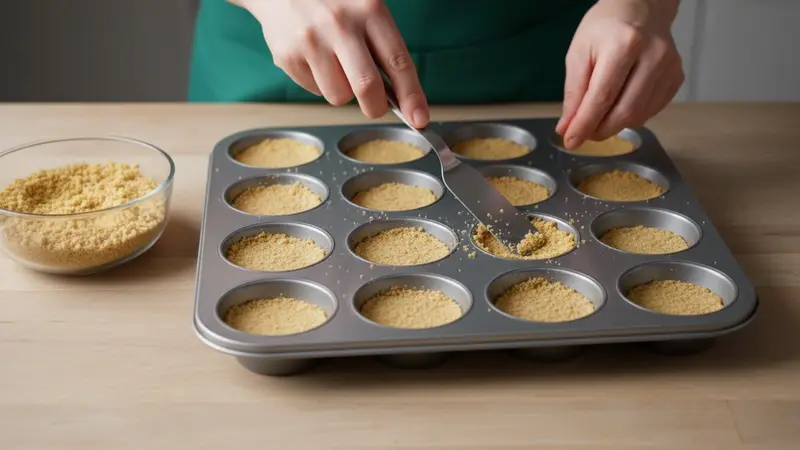
Preheat the oven to 325°F (163°C). Stir the graham cracker crumbs and the melted unsalted butter until evenly moistened, then divide the crumb mixture among the wells of a 12-cup muffin tin and press firmly and evenly to form compact cylindrical bases (this recipe makes 12 mini cheesecakes). Chill the pressed crusts in the refrigerator while you prepare the filling so the crust firms up, about 5 minutes.For this step
- 1 cupGraham cracker crumbs
- 4 tbspUnsalted butter, melted
Step 2: Prepare the cheesecake filling
Active 12 min
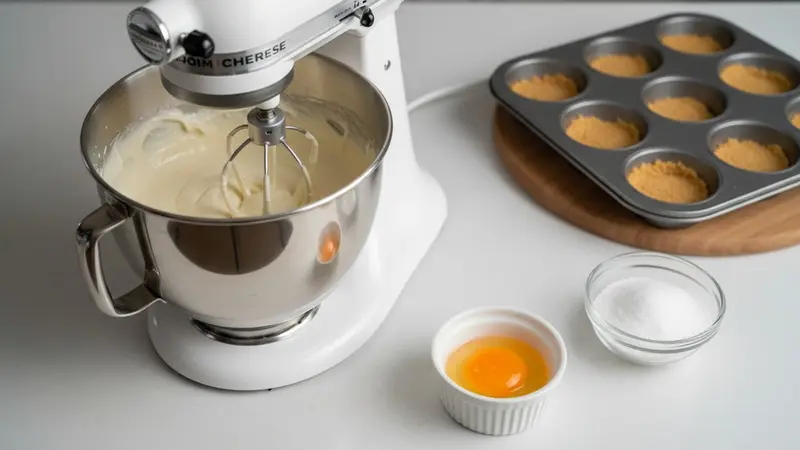
Using a stand mixer or large bowl and hand mixer, beat 14 oz of the cream cheese (reserve about 2 oz / 4 tbsp of the cream cheese for the topping) until smooth. Add the granulated sugar and beat until incorporated, then add the large egg and continue to beat just until the batter is smooth and homogenous; scrape down the bowl as needed. Spoon or pipe the filling evenly into the 12 crusted wells (each will be roughly 1 heaping tablespoon of batter), leaving a small mound so the center settles slightly when baked.For this step
- 16 ozCream cheese (total)
- 1 largeLarge egg
Step 3: Bake the mini cheesecakes
Active 3 min · Passive 18 min
Place the muffin tin on a middle rack and bake at 325°F (163°C) for about 18 minutes, or until the edges are set and the centers still have a slight jiggle. Remove from oven and run a small offset spatula or butter knife around each cake to loosen from the tin; this prevents cracking as they cool. Let rest on a cooling rack for about 5 minutes before the next step.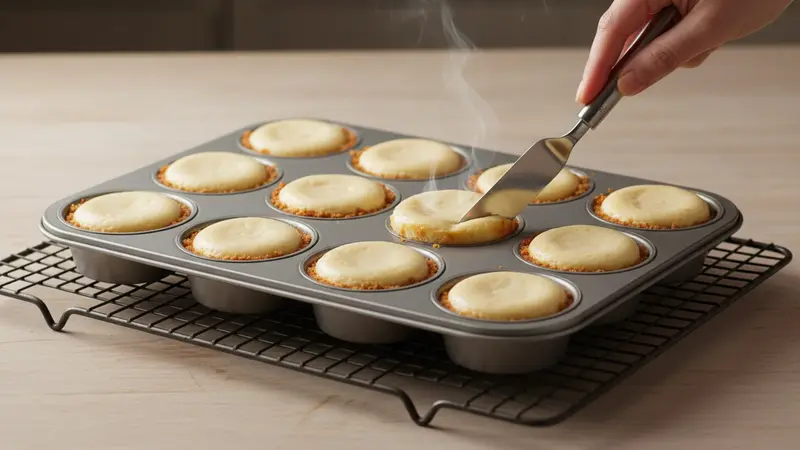
Step 4: Cool and chill until fully set
Active 5 min · Passive 120 min
After the short rest, transfer the tin (uncovered) to the refrigerator and chill the cheesecakes until fully set and cold, at least 2 hours or up to overnight. Chilling stabilizes the texture and makes the tops firm enough to pipe the 'beard' decoration. Keep the reserved ~2 oz (4 tbsp) cream cheese cold and slightly softened to use in the topping.Step 5: Make a stabilized white topping (beard & ruff)
Active 10 min
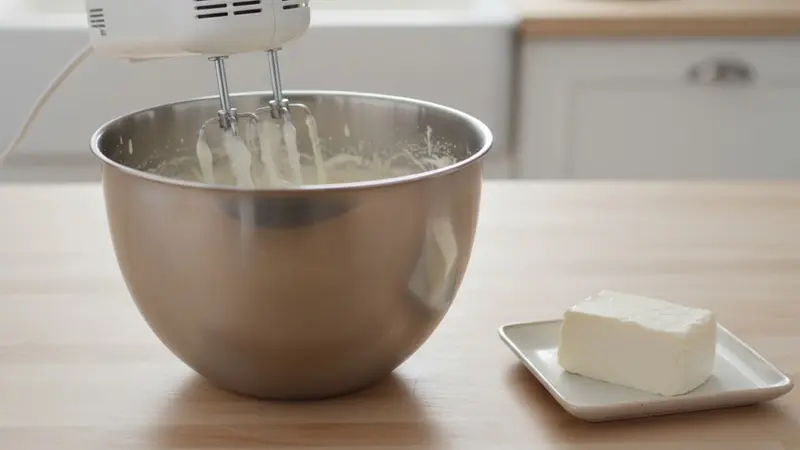
To make a stable white 'beard' that will support fruit, whip the heavy cream and 2 tablespoons of the powdered sugar in a chilled bowl until it begins to thicken, then add the reserved 2 oz (about 4 tbsp) softened cream cheese and continue whipping to medium-stiff peaks; if desired, add the final 1 tablespoon of powdered sugar later for dusting. The small addition of cream cheese stabilizes the whipped cream so it will hold its piped star-ruff shape and support a whole strawberry hat without collapsing. Transfer the stabilized cream to a piping bag fitted with a medium star tip.For this step
- 1 cupHeavy cream
Step 6: Assemble Santas and finish with 'snow'
Active 15 min
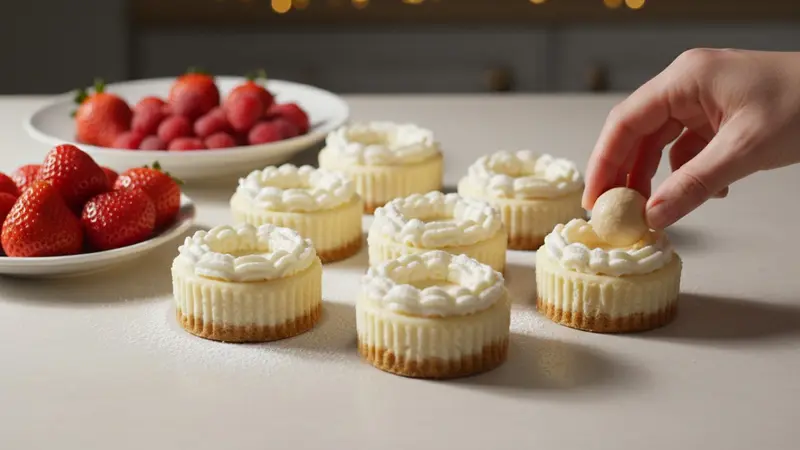
Hull each strawberry (remove the green cap and a small cone of flesh so the strawberry sits point-up) and pat dry; keep about 12 strawberries for hats and the remaining strawberries for platter garnish. Pipe a ring of ruffled stabilized white cream on the top of each chilled mini-cheesecake using the star tip, leaving a slight center depression to tuck the malted milk ball. Press one malted milk ball gently into that center (this becomes the nose), then set a hulled strawberry, pointed side up, on top of the cream to create the red hat. Arrange the finished mini-cheesecakes on a serving platter, garnish the platter with the remaining whole strawberries and the red currants, and finish with a light dusting of the remaining 1 tablespoon powdered sugar to mimic snow just before serving. Makes about 6 servings.
For this step
- 18 mediumStrawberries (medium), hulled
- 12 piecesMalted milk balls (small, ~5 g each) for noses
- 1/3 cupRed currants (or small red berries) for garnish
- Preheat the oven to 325°F (163°C). Stir the graham cracker crumbs and the melted unsalted butter until evenly moistened, then divide the crumb mixture among the wells of a 12-cup muffin tin and press firmly and evenly to form compact cylindrical bases (this recipe makes 12 mini cheesecakes). Chill the pressed crusts in the refrigerator while you prepare the filling so the crust firms up, about 5 minutes.
- Using a stand mixer or large bowl and hand mixer, beat 14 oz of the cream cheese (reserve about 2 oz / 4 tbsp of the cream cheese for the topping) until smooth. Add the granulated sugar and beat until incorporated, then add the large egg and continue to beat just until the batter is smooth and homogenous; scrape down the bowl as needed. Spoon or pipe the filling evenly into the 12 crusted wells (each will be roughly 1 heaping tablespoon of batter), leaving a small mound so the center settles slightly when baked.
- Place the muffin tin on a middle rack and bake at 325°F (163°C) for about 18 minutes, or until the edges are set and the centers still have a slight jiggle. Remove from oven and run a small offset spatula or butter knife around each cake to loosen from the tin; this prevents cracking as they cool. Let rest on a cooling rack for about 5 minutes before the next step.
- After the short rest, transfer the tin (uncovered) to the refrigerator and chill the cheesecakes until fully set and cold, at least 2 hours or up to overnight. Chilling stabilizes the texture and makes the tops firm enough to pipe the 'beard' decoration. Keep the reserved ~2 oz (4 tbsp) cream cheese cold and slightly softened to use in the topping.
- To make a stable white 'beard' that will support fruit, whip the heavy cream and 2 tablespoons of the powdered sugar in a chilled bowl until it begins to thicken, then add the reserved 2 oz (about 4 tbsp) softened cream cheese and continue whipping to medium-stiff peaks; if desired, add the final 1 tablespoon of powdered sugar later for dusting. The small addition of cream cheese stabilizes the whipped cream so it will hold its piped star-ruff shape and support a whole strawberry hat without collapsing. Transfer the stabilized cream to a piping bag fitted with a medium star tip.
Hull each strawberry (remove the green cap and a small cone of flesh so the strawberry sits point-up) and pat dry; keep about 12 strawberries for hats and the remaining strawberries for platter garnish. Pipe a ring of ruffled stabilized white cream on the top of each chilled mini-cheesecake using the star tip, leaving a slight center depression to tuck the malted milk ball. Press one malted milk ball gently into that center (this becomes the nose), then set a hulled strawberry, pointed side up, on top of the cream to create the red hat. Arrange the finished mini-cheesecakes on a serving platter, garnish the platter with the remaining whole strawberries and the red currants, and finish with a light dusting of the remaining 1 tablespoon powdered sugar to mimic snow just before serving. Makes about 6 servings.
Santa Strawberry Cheesecake Cups Tips
Chill Crust Before Filling
Pressing and chilling the graham crust for at least 5 minutes firms the base so it won’t crumble when you spoon in the batter or when guests pick up a cup.
Beat Cream Cheese Gently
Bring cream cheese to room temperature and beat just until smooth—overbeating incorporates air and can cause the cheesecakes to crack or sink as they cool.
Loosen Cakes Immediately
Run a thin knife or offset spatula around each cup as soon as they come out of the oven to release steam; this small step reduces surface cracks as the filling settles.
Use Cold Tools For Whipping
Chill the bowl and whisk briefly before whipping the heavy cream for a faster, more stable medium-stiff peak that holds the strawberry hat.
Assemble Just Before Serving
Add the piped beard, malted milk ball and strawberry within a few hours of serving to prevent berry juices from softening the whipped topping.
Santa Strawberry Cheesecake Cups Variations and Substitutions
No‑Bake Cheesecake Cups
Skip the oven: make a no-bake filling by whipping the cream to stiff peaks and folding it into sweetened room-temperature cream cheese with lemon zest, then chill until firm.
Gluten‑Free Almond Crust
Replace graham crumbs with finely ground almond meal mixed with a touch of brown sugar and butter for a naturally gluten‑free, slightly nutty base.
Chocolate Hat Twist
Swap strawberries for halved chocolate-dipped strawberries or use a small chocolate-dipped strawberry on top for an indulgent variation that still reads festive.
Citrus‑Sparked Filling
Fold 1–2 teaspoons of lemon or orange zest into the cheesecake batter for a bright lift that pairs beautifully with the berries.
Nut‑Free Nose Swap
If malted milk balls aren’t an option, use a small round candy, a chocolate-covered espresso bean, or a tiny toasted marshmallow as the nose.
How to Store and Make Santa Strawberry Cheesecake Cups Ahead
Store assembled cups in an airtight container in the refrigerator for up to 48 hours, though the strawberries are best eaten within a day to avoid sogginess. You can bake and chill the cheesecakes up to 48 hours ahead; keep the stabilized whipped cream and fresh strawberries separate and assemble just before serving. These are not suitable for reheating—remove from fridge 15–20 minutes before serving to take the chill off and let flavors bloom.
What to Serve With Santa Strawberry Cheesecake Cups
Arrange the Santa cups on a large platter with extra hulled strawberries and red currants scattered around for color. Pair with a bright beverage—sparkling rosé or a hot mulled cider works nicely—or offer strong coffee or espresso to cut the richness. For a plated dessert, drizzle a little salted caramel or berry coulis beside each cup for an elegant touch.
Santa Strawberry Cheesecake Cups FAQs
Can I make these vegan or dairy‑free?
A direct baked vegan swap is tricky, but you can make a no-bake dairy-free version using soaked cashews blended with coconut cream, a stabilizer like melted agar-agar, and coconut whipped cream for the beard; use a coconut-oil graham replacement for the crust.
Why did my mini cheesecakes crack on top?
Cracking usually comes from overbaking or rapid temperature changes—remove them while the centers still jiggle slightly, run a knife around the edge after baking, and cool gradually before refrigerating to minimize cracks.
How do I keep the whipped-cream beard from collapsing?
Whip the heavy cream to medium-stiff peaks and fold in the reserved softened cream cheese as directed; chilling the bowl and using the cream-cheese stabilizer will help the stars keep their shape under the strawberry.
Can I prepare the whole dessert a day ahead and transport it?
Bake and chill the cheesecakes; transport them chilled, but for best appearance and to prevent strawberries from weeping, pack the stabilized cream and fresh strawberries separately and finish assembly at your destination.
Are malted milk balls necessary for the nose?
No—use any small round candy or a toasted hazelnut (if no allergy risk) to achieve the same look and texture; keep in mind some substitutes may be less stable under the whipped cream.
About the author
Jake WoodsHello, I'm Jake. I started this recipe site with the idea that I hated recipe websites that overwhelm you with long stories and ads just to see plain content that's not helpful. My goal is to provide you with quality recipes, simple ideas and a fun cooking experience. There's lots of fun things to cook, and I think as you browse the site you'll find that TopShelf.Recipes is the place for quality recipes on the web.
See all recipes by Jake Woods →Ratings & Reviews
Did you make this recipe?
Be the first to share your experience.
Nutrition Facts
Per serving: 1 serving
Nutrition values are estimated from USDA ingredient data and may vary based on preparation, brands, and portion sizes. Values are provided for informational purposes only.
Keep Reading
Guides & articles for this recipe
Recipes
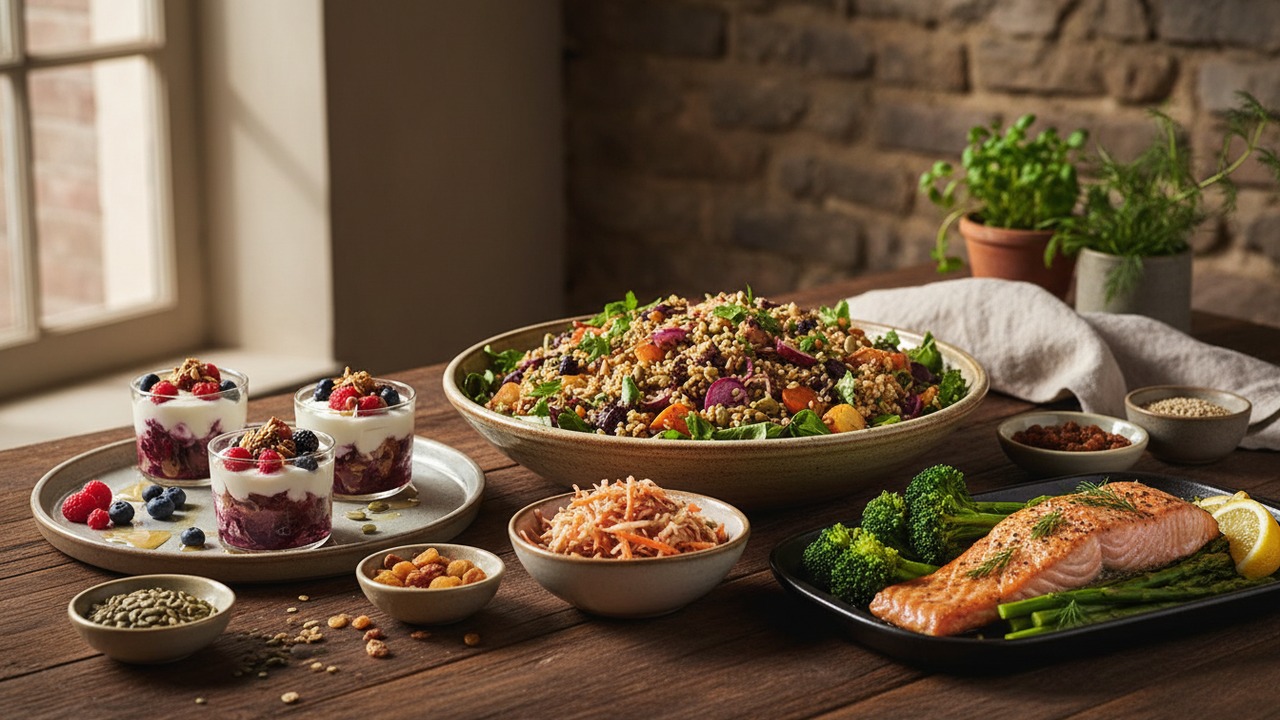
Gut-Healthy Recipe Roundup
A practical collection of recipes that emphasize fiber, prebiotics, and fermented foods to support a diverse microbiome. Mix breakfasts, snacks, bowls and mains to build meals that feel good to eat and are gentle on digestion.
Recipes
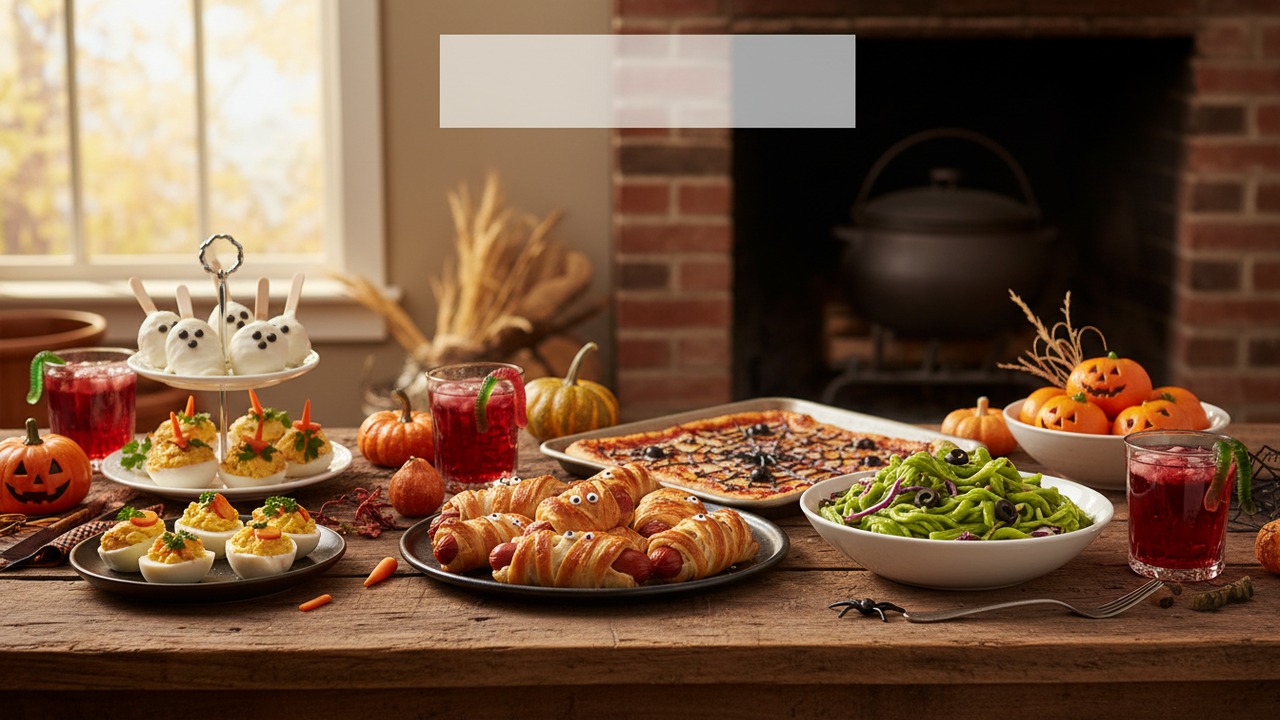
Fun Kid-Friendly Halloween Recipes
Easy, playful Halloween recipes that kids can help make or will happily eat. From no-bake classroom treats to spooky grilled sweets, this roundup groups tried ideas for parties, after-school snacks, and trick-or-treat gatherings.
Seasonal
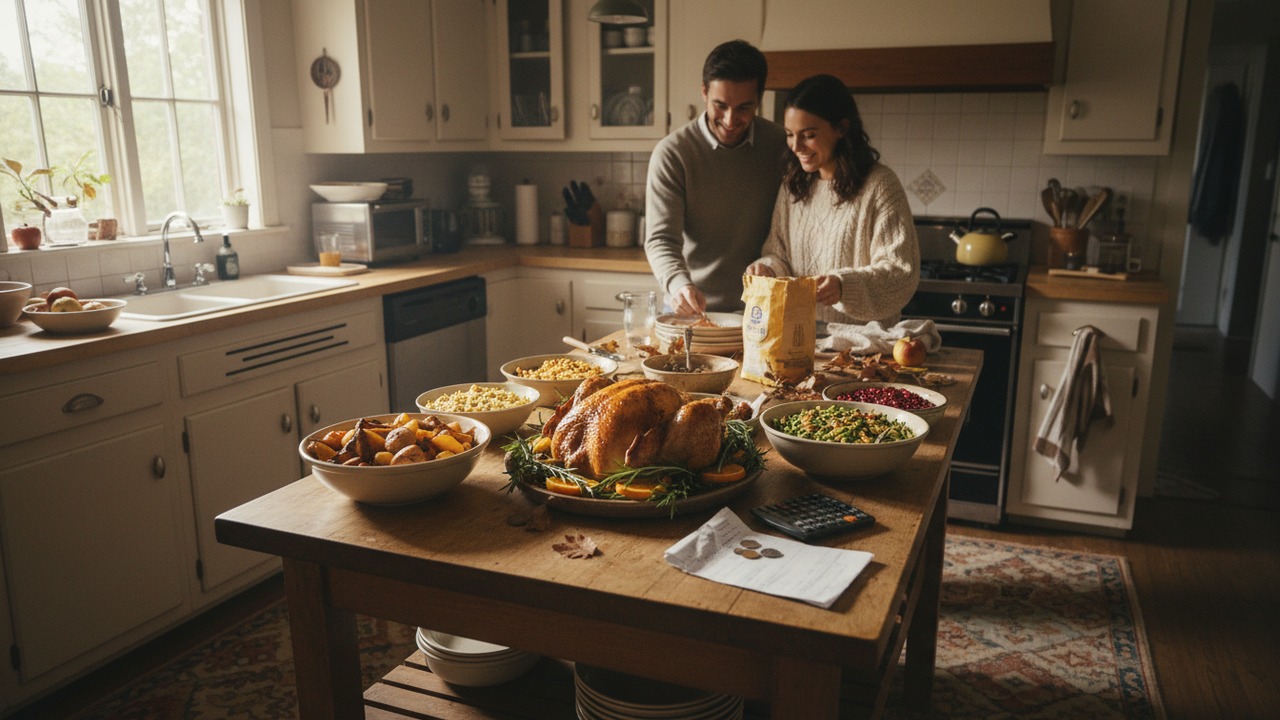
Thanksgiving on a Budget
Practical strategies for hosting a full-flavored Thanksgiving without overspending. Actionable planning, shopping and cooking tips that help you cut costs while serving classic crowd-pleasers.
More from General
View all General recipes →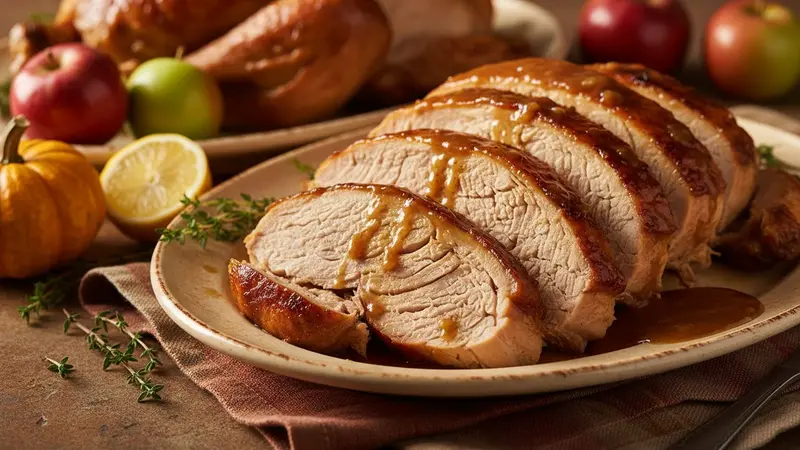
Oven Roasted Thanksgiving Turkey
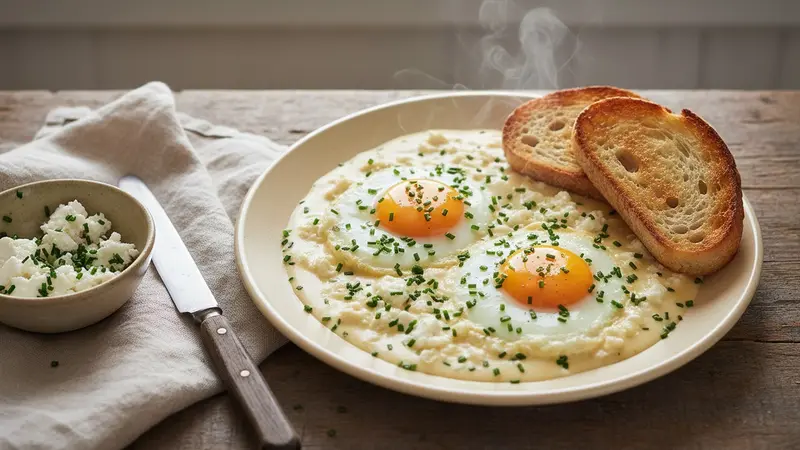
Goad Cheese and Chive Cream-Fried Eggs
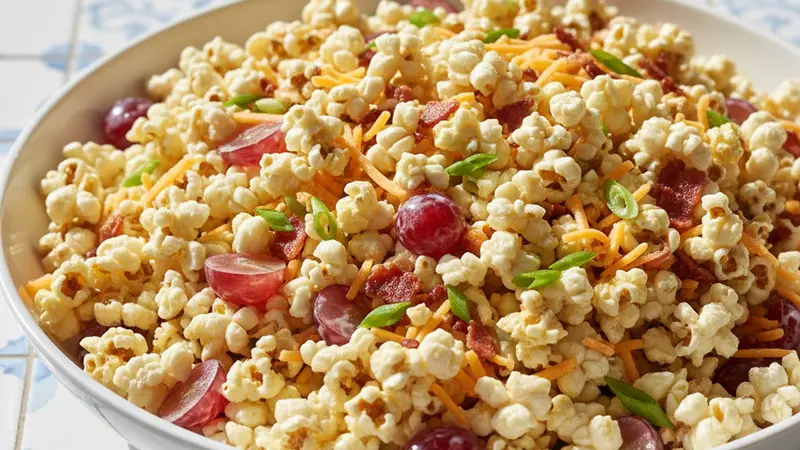
Molly Yeh Popcorn Salad

Jack Frost Mimosa

Authentic Mai Tai
Viral Dr Pepper Butter
Dragon Fruit Salsa
White Chocolate Cherry Skulls
Classic Cherries In The Snow
Ask me anything about this recipe — substitutions, scaling, techniques, timing.
Powered by AI · 6 questions per 5 minutes, 30 per day