Beer‑Can Chicken
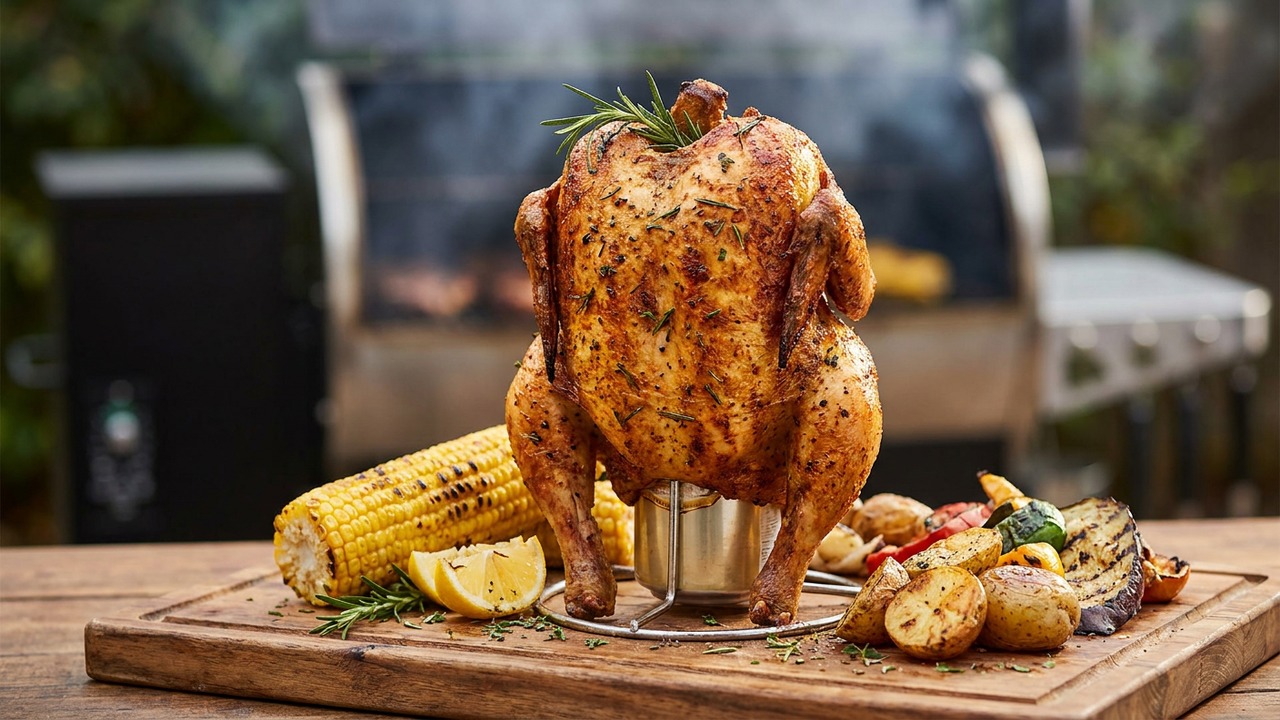
Classic beer-can chicken cooked on a pellet grill for juicy, flavorful meat and a crisp, seasoned skin. This straightforward method is great for feeding a small crowd and frees up your hands while the grill does the work.
Jake Woods's note
"This recipe shines at backyard gatherings — it’s simple to prep and delivers a show-stopping presentation. Expect tender, moist meat and a nicely seasoned, crispy exterior."
About This Recipe
Beer‑can chicken is one of those recipes that looks theatrical but is entirely approachable — especially on a pellet grill where the steady indirect heat and wood-smoke notes do a lot of the work for you. In this version I keep the seasoning simple: olive oil to encourage even browning, a salty, garlicky rub and a few sprigs of rosemary tucked into a half‑emptied can of beer. The beer steams gently from inside the cavity, carrying a faint maltiness and herb perfume into the breast while the upright position lets fat render down the thighs, so you end up with crisp, seasoned skin and surprisingly uniform doneness from top to bottom.
This method is great for cooks who want hands‑off confidence for a small crowd — set it, monitor with a probe, baste once toward the end and let the grill finish. The tweaks that matter here are stability of the can, patience on the internal temperatures (thighs will be higher than breasts), and a short rest so the juices redistribute; follow those and a 3.5–5 lb bird turns out reliably juicy and flavorful every time. It’s a forgiving, social centerpiece that pairs well with bright, acidic sides to cut the richness.
Ingredients for Beer‑Can Chicken
- 1 whole Whole chicken (3.5–5 lb / 1.6–2.3 kg)
- 2 tbsp Olive oil
- 2 tsp Kosher salt
- 1 tsp Freshly ground black pepper
- 2 tsp Paprika
- 1 tsp Garlic powder
- 12 fl oz Beer (12 fl oz / 355 ml can), about half used as support
- 2 sprigs Fresh rosemary sprigs
- 2 tbsp Unsalted butter (for basting)
How to Make Beer‑Can Chicken
Step 1: Trim and season the chicken
Remove any giblets and pat the chicken dry with paper towels. Rub the entire bird with olive oil, then mix salt, pepper, paprika and garlic powder and rub evenly over and under the skin where possible for maximum flavor.For this step
- 1 wholeWhole chicken (3.5–5 lb / 1.6–2.3 kg)
- 2 tbspOlive oil
- 2 tspKosher salt
- 1 tspFreshly ground black pepper
- 2 tspPaprika
- 1 tspGarlic powder
Step 2: Prepare the beer can
Open the beer and pour out (or drink) about half so the can sits stable; leave roughly half the beer in the can. Drop the rosemary sprigs into the can to infuse aromatics while the bird cooks, then carefully set the can on a solid surface.For this step
- 12 fl ozBeer (12 fl oz / 355 ml can), about half used as support
- 2 sprigsFresh rosemary sprigs
Step 3: Preheat pellet grill and mount chicken
Preheat your pellet grill to 375°F (190°C) with a drip pan under the grill grate if possible. Center the open beer can on the grill, then lower the chicken onto the can so the can fits into the cavity and the bird stands upright; position so it’s stable and balanced.Step 4: Grill until internal temperature is safe
Close the lid and cook until the thigh reaches 175–185°F (80–85°C) and the breast reaches 165°F (74°C), about 60–90 minutes depending on size. In the last 10–15 minutes, baste the breast with melted butter to encourage browning and crisp skin; monitor with a probe thermometer for accuracy.For this step
- 2 tbspUnsalted butter (for basting)
Step 5: Rest, remove can and carve
Carefully remove the chicken from the grill and transfer to a cutting board; allow to rest upright or on its back for 10–15 minutes so juices redistribute. Using caution, remove and discard the beer can, then carve the chicken and serve warm.


- Remove any giblets and pat the chicken dry with paper towels. Rub the entire bird with olive oil, then mix salt, pepper, paprika and garlic powder and rub evenly over and under the skin where possible for maximum flavor.
- Open the beer and pour out (or drink) about half so the can sits stable; leave roughly half the beer in the can. Drop the rosemary sprigs into the can to infuse aromatics while the bird cooks, then carefully set the can on a solid surface.
- Preheat your pellet grill to 375°F (190°C) with a drip pan under the grill grate if possible. Center the open beer can on the grill, then lower the chicken onto the can so the can fits into the cavity and the bird stands upright; position so it’s stable and balanced.
- Close the lid and cook until the thigh reaches 175–185°F (80–85°C) and the breast reaches 165°F (74°C), about 60–90 minutes depending on size. In the last 10–15 minutes, baste the breast with melted butter to encourage browning and crisp skin; monitor with a probe thermometer for accuracy.
- Carefully remove the chicken from the grill and transfer to a cutting board; allow to rest upright or on its back for 10–15 minutes so juices redistribute. Using caution, remove and discard the beer can, then carve the chicken and serve warm.
Beer‑Can Chicken Tips
Pat Dry Thoroughly
Drying the skin with paper towels before oiling ensures the rub adheres and the skin crisps instead of steaming.
Loosen Skin Carefully
Slide your fingers gently between the breast skin and meat to push some of the seasoning underneath for more direct flavor in the white meat.
Stabilize the Can
Drain about half the beer and place the can on a flat surface or a small ring before lowering the bird to avoid tipping while transferring to the grill.
Use a Probe Thermometer
Monitor the thigh and breast with a probe thermometer so you can remove the chicken as soon as the dark meat hits 175–185°F and the breast reaches 165°F for juicy results.
Baste Late for Crispness
Brush melted butter on the breast in the last 10–15 minutes of cooking to promote golden browning without steaming the skin.
Beer‑Can Chicken Variations and Substitutions
Citrus‑Herb Beer
Drop a few lemon or orange wedges and a strip of lemon peel into the can with the beer and use thyme instead of rosemary for a brighter, citrusy aroma.
Non‑alcoholic Swap
Use 50/50 apple juice and carbonated water in the can to mimic malt sweetness and steam without alcohol; reduce sugar in any glaze to keep flavors balanced.
Smoky Spice Rub
Add 1 tsp smoked paprika and 1/2 tsp cumin to the rub for a deeper, barbecue‑style profile that stands up to the grill's smoke.
Compound Butter Finish
Mix the butter with chopped herbs, lemon zest and a pinch of salt; slather over the breasts right after resting for an extra glossy, flavored finish.
How to Store and Make Beer‑Can Chicken Ahead
Store leftover carved chicken in an airtight container in the refrigerator for up to 3–4 days. To reheat, warm gently in a 325°F oven covered with foil for 10–15 minutes or slice and briefly saute in a pan with a tablespoon of butter to keep the meat moist; avoid high heat that will dry the breast.
What to Serve With Beer‑Can Chicken
Serve the carved bird with a bright cabbage slaw or a lemony potato salad to cut the richness, and a simple pan sauce from the drippings with a splash of vinegar for contrast. For drinks, pair with the same style of beer used in the can or a crisp white like unoaked riesling to complement the malt and herb notes.
Beer‑Can Chicken FAQs
Is beer‑can chicken safe?
Yes — as long as you use a clean, unopened can and cook to the recommended internal temperatures; the majority of the flavor comes from steam and the herbs, not any chemicals leaching from the can. If you have concerns, use a purpose‑built vertical roaster or an oven‑safe jar instead.
What if I don’t have a pellet grill?
You can achieve the same result on a charcoal or gas grill using an indirect heat zone, or in an oven at 375°F; smoke flavor will be reduced without wood pellets, so consider adding a handful of soaked wood chips to a charcoal fire or using smoked paprika in the rub.
Why does the breast near the can sometimes stay undercooked?
If the can blocks heat or the breast meat is thin, it can lag; loosen the skin and season underneath to help heat penetrate, and make sure the bird is centered over the drip pan with even air circulation around it.
Can I stuff the cavity?
Avoid dense stuffing in the cavity because it can insulate the interior and prevent the thigh from reaching safe temperatures; aromatics like rosemary or citrus wedges in the can are fine because they’re mostly for steam flavor, not bulk.
How do I know when it’s done?
Use a probe thermometer: the thigh should reach 175–185°F for fully rendered dark meat, and the breast should be at 165°F; remove at these temps and rest for 10–15 minutes so carryover heat evens out the juices.
About the author
Jake WoodsHello, I'm Jake. I started this recipe site with the idea that I hated recipe websites that overwhelm you with long stories and ads just to see plain content that's not helpful. My goal is to provide you with quality recipes, simple ideas and a fun cooking experience. There's lots of fun things to cook, and I think as you browse the site you'll find that TopShelf.Recipes is the place for quality recipes on the web.
See all recipes by Jake Woods →Ratings & Reviews
Did you make this recipe?
Be the first to share your experience.
Nutrition Facts
Per serving: about 2¼ cups
Nutrition values are estimated from USDA ingredient data and may vary based on preparation, brands, and portion sizes. Values are provided for informational purposes only.
Keep Reading
Guides & articles for this recipe

Guides
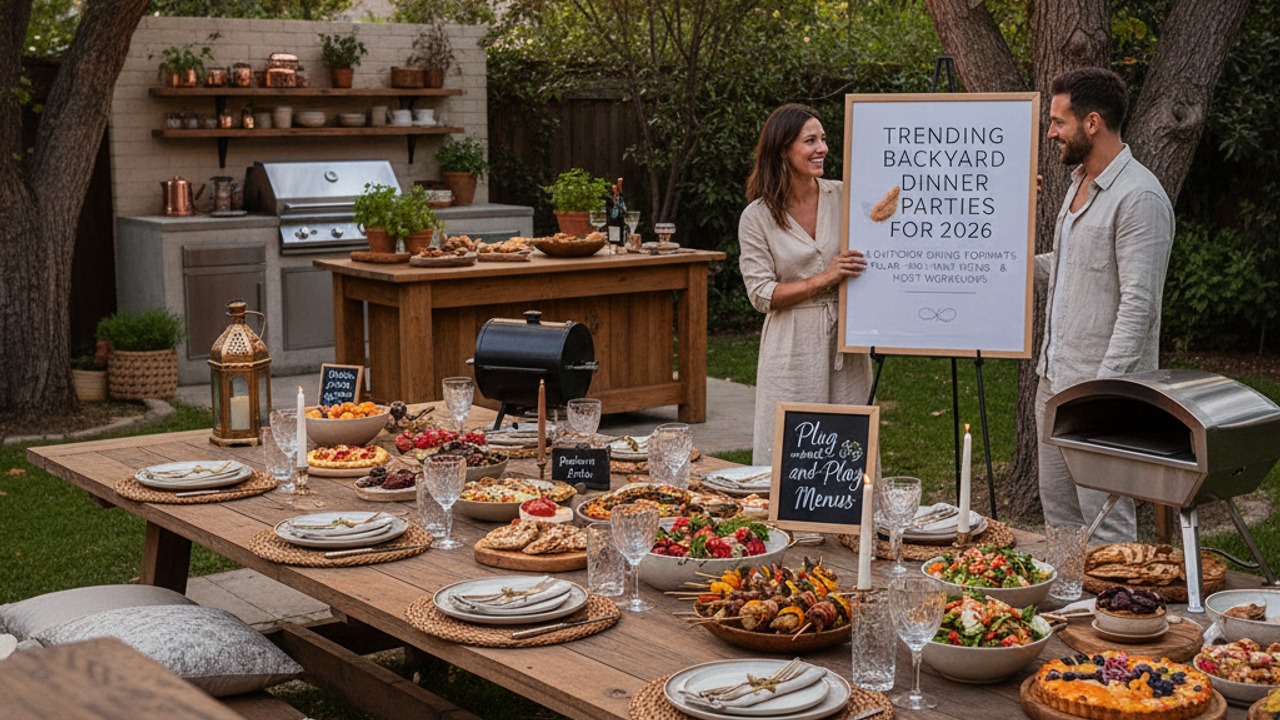
Trending Backyard Dinner Parties for 2026: 8 Outdoor Dining Formats, Ready‑Made Menus & Host Workflows
Discover the eight backyard dining formats taking off in 2026, with plug‑and‑play menu templates, grill timing and workflow checklists, decor shortcuts, and social‑media and sustainability tips. This practical guide turns your yard into a seamless, shareable dining experience—whether you're hosting a casual progressive grill or an intimate fireside chef demo.
Guides
Trending Backyard Dinner Parties for 2026: 8 Outdoor Dining Formats, Plug‑and‑Play Menus & Host Workflows
Discover eight backyard dinner-party formats taking off in 2026, each with plug‑and‑play menu templates, step‑by‑step host workflows, grill timing tips, decor shortcuts, and social & sustainable ideas. Turn your yard into a memorable, stress‑free dining experience.

Healthy Eating
Gluten-Free Weeknight Grilling Plan
A 7-day gluten-free weeknight grilling plan with quick, family-friendly recipes, prep-ahead timelines, and a printable shopping list that spotlights late-summer produce and pantry staples. Includes clear cross-contamination safety tips and simple swaps to keep dinners fast and crowd-pleasing.
More from Dinner
View all Dinner recipes →
Grilled Lemon Herb Chicken Pasta with Arugula and Pine Nuts

Air Fryer Crispy Chicken Cutlet Pasta with Garlic-Parmesan Butter

Classic Bacon Carbonara

Jamaican Jerk Chicken Marinade for Smoking or Grilling

Air Fryer Chicken Sliders

Smoked Chicken Burger

Beer-Can Grilled Whole Chicken

Grilled Chicken with Chimichurri

Campfire‑Smoked Potato Salad with Mustard‑Bacon Vinaigrette — A Labor Day Grilling Side for Steak
Ask me anything about this recipe — substitutions, scaling, techniques, timing.
Powered by AI · 6 questions per 5 minutes, 30 per day