Gluten-Free Pizza Crust — Thin and Crispy (No-Yeast 20-Minute Option)
A quick, thin-and-crispy gluten-free pizza crust that requires no yeast and delivers a satisfying crunch in about 20 minutes. Ideal for weeknights when you want a fast base that holds toppings without getting soggy.
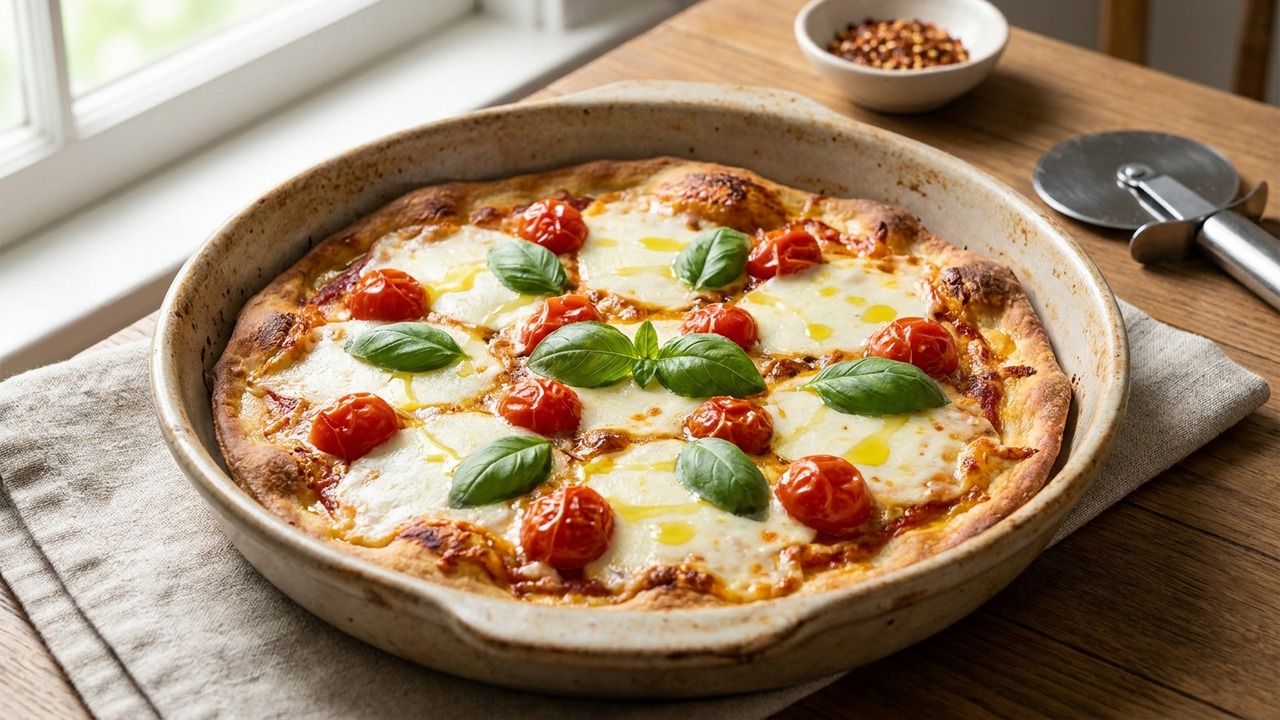
About This Recipe
This thin-and-crispy gluten-free pizza crust is designed for weeknights: minimal fuss, no yeast required, and a finished crust that snaps and holds toppings without turning into a soggy pancake. Because it’s rolled very thin (about 1/8 inch), it bakes almost like a cracker—golden, brittle at the edges and just sturdy enough at the center to support a modest layer of sauce and cheese. If you prefer chew and a bit of lift, there’s a short-yeast option in the method, but the no-yeast route is what makes a 20-minute pizza realistic on a busy evening.
What makes this version work is technique more than mystery ingredients: a very hot baking surface for immediate oven spring, a batter-like dough that’s thin enough to crisp quickly, and the small amount of binding (egg and xanthan gum if needed) that keeps it from crumbling. Par-baking is essential—set the structure first, then top and finish briefly so the bottom stays crisp. This recipe is for cooks who want a dependable, fast gluten-free base that doesn’t sacrifice texture, and who are willing to keep toppings light and focused for the best results.
Ingredients for Gluten-Free Pizza Crust — Thin and Crispy (No-Yeast 20-Minute Option)
- 1 1/2 cups Gluten-free all-purpose flour (blend with xanthan gum not required)
- 1/2 teaspoon Xanthan gum (add only if your blend does not contain it)
- 1 1/2 teaspoons Baking powder
- 3/4 tsp Fine salt
- 2/3 cup Warm water (about 105–115°F / 40–46°C)
- 1 large Large egg
- 2 tbsp Extra-virgin olive oil
- 1/2 cup Very hot water (about 120–140°F / 49–60°C)
- 1 tablespoon Cornmeal (for dusting the parchment)
- 1 teaspoon Instant yeast (optional — use in place of baking powder for a chewier crust and longer rise)
How to Make Gluten-Free Pizza Crust — Thin and Crispy (No-Yeast 20-Minute Option)
Step 1: Combine the dry ingredients
Preheat the oven to 475°F (245°C) with a pizza stone or inverted baking sheet on the middle rack. In a large bowl, whisk together the gluten-free flour blend, xanthan gum (if using), baking powder and salt until evenly distributed and there are no lumps.For this step
- 1 1/2 cupsGluten-free all-purpose flour (blend with xanthan gum not required)
- 1/2 teaspoonXanthan gum (add only if your blend does not contain it)
- 1 1/2 teaspoonsBaking powder
- 3/4 tspFine salt
Step 2: Mix wet ingredients and form a batter
In a separate bowl, whisk the egg with the very hot water and olive oil until smooth and slightly frothy. Pour the wet mixture into the dry ingredients and stir vigorously until a thick, pourable batter forms; it should be spreadable but not runny—add a tablespoon of water if too stiff.For this step
- 2/3 cupWarm water (about 105–115°F / 40–46°C)
- 1 largeLarge egg
- 2 tbspExtra-virgin olive oil
- 1/2 cupVery hot water (about 120–140°F / 49–60°C)
Step 3: Optional: use yeast for a chewier crust
If you prefer a chewier, slightly puffier crust, skip the baking powder and mix the instant yeast into 1/4–1/3 cup warm water (not boiling) to hydrate, then combine with the flour and remaining wet ingredients; cover and let rest 20–30 minutes for a short proof. Note that using yeast adds resting time and is not the 20-minute no-yeast method described above.For this step
- 1 teaspoonInstant yeast (optional — use in place of baking powder for a chewier crust and longer rise)
Step 4: Shape the thin crust and par-bake
Line a pizza peel or baking sheet with parchment and dust lightly with cornmeal. Pour the batter onto the parchment and use an oiled spatula or the back of a spoon to spread it into a very thin, even circle (about 9–10 inches); transfer to the preheated stone or sheet and par-bake for 6–8 minutes until the edges set and the surface looks matte.For this step
- 1 tablespoonCornmeal (for dusting the parchment)
Step 5: Add toppings and finish baking
Remove the par-baked crust from the oven, add sauce, cheese and toppings of choice (avoid overly wet toppings to keep the crust crisp). Return to the oven and bake 6–8 minutes more until toppings are hot and the crust edge is golden and crisp.Step 6: Rest and crisp before serving
Transfer the pizza to a wire rack and let rest 3–5 minutes to allow steam to escape and the bottom to firm up, which improves crispness. For extra char and crisp, broil 30–90 seconds while watching closely, then slice and serve hot.


- Preheat the oven to 475°F (245°C) with a pizza stone or inverted baking sheet on the middle rack. In a large bowl, whisk together the gluten-free flour blend, xanthan gum (if using), baking powder and salt until evenly distributed and there are no lumps.
- In a separate bowl, whisk the egg with the very hot water and olive oil until smooth and slightly frothy. Pour the wet mixture into the dry ingredients and stir vigorously until a thick, pourable batter forms; it should be spreadable but not runny—add a tablespoon of water if too stiff.
- If you prefer a chewier, slightly puffier crust, skip the baking powder and mix the instant yeast into 1/4–1/3 cup warm water (not boiling) to hydrate, then combine with the flour and remaining wet ingredients; cover and let rest 20–30 minutes for a short proof. Note that using yeast adds resting time and is not the 20-minute no-yeast method described above.
- Line a pizza peel or baking sheet with parchment and dust lightly with cornmeal. Pour the batter onto the parchment and use an oiled spatula or the back of a spoon to spread it into a very thin, even circle (about 9–10 inches); transfer to the preheated stone or sheet and par-bake for 6–8 minutes until the edges set and the surface looks matte.
- Remove the par-baked crust from the oven, add sauce, cheese and toppings of choice (avoid overly wet toppings to keep the crust crisp). Return to the oven and bake 6–8 minutes more until toppings are hot and the crust edge is golden and crisp.
- Transfer the pizza to a wire rack and let rest 3–5 minutes to allow steam to escape and the bottom to firm up, which improves crispness. For extra char and crisp, broil 30–90 seconds while watching closely, then slice and serve hot.
Gluten-Free Pizza Crust — Thin and Crispy (No-Yeast 20-Minute Option) Tips
Preheat the stone thoroughly
Heat your pizza stone or inverted sheet for at least 30 minutes to ensure a scorching surface that crisps the bottom immediately.
Watch water temperature
Use warm water around 105–115°F to hydrate the flour without cooking the egg; very hot water can help loosen the batter but avoid scalding the egg.
Roll paper-to-paper
Spread the batter between two sheets of parchment to get an ultra-thin, even circle without sticking to your rolling pin or spatula.
Par-bake before topping
Bake the plain crust until it just sets and looks matte—this prevents soggy middles and ensures a crisp finish once toppings are added.
Limit wet toppings
Pat moist toppings dry and use a light hand with sauce so the crust remains crisp; reserve juicier ingredients for after baking if possible.
Gluten-Free Pizza Crust — Thin and Crispy (No-Yeast 20-Minute Option) Variations and Substitutions
Yeast for chewiness
Replace the baking powder with 1 tsp instant yeast hydrated in 1/4–1/3 cup warm water and rest 20–30 minutes for a slightly chewier, puffier crust.
Vegan egg substitute
Use 3 tablespoons whisked aquafaba (liquid from a can of chickpeas) plus 1–2 tbsp additional olive oil to mimic the egg’s binding and browning without animal products.
Crispier tapioca edge
Blend 20–30% of your all-purpose gluten-free mix with tapioca starch to add extra crispness to the edges without changing flavor.
Whole-grain gluten-free
Use a blend with sorghum or buckwheat for more depth of flavor; expect a slightly denser texture and increase hydration by a tablespoon if the batter seems stiff.
How to Store and Make Gluten-Free Pizza Crust — Thin and Crispy (No-Yeast 20-Minute Option) Ahead
Leftover pizza stores best uncut in the refrigerator for up to 3 days; reheat on a preheated skillet or in a 425°F oven on a wire rack for 5–8 minutes to restore crispness. You can par-bake crusts and freeze them flat for up to 2 months—thaw in the fridge and finish baking with toppings straight from cold. For single slices, toast in a toaster oven or skillet to avoid sogginess from microwaving.
What to Serve With Gluten-Free Pizza Crust — Thin and Crispy (No-Yeast 20-Minute Option)
Serve this crisp pizza with a bright, vinegary salad (arugula with lemon, shaved fennel, or a fennel–orange salad) to cut through the olive oil and cheese. Offer a light dipping oil—good extra-virgin olive oil with a pinch of chili flakes and flaky salt—or a small bowl of spicy tomato sauce. For drinks, a crisp lager or a zippy dry rosé complements the cracker-like crust without overpowering delicate toppings.
Gluten-Free Pizza Crust — Thin and Crispy (No-Yeast 20-Minute Option) FAQs
Do I really need xanthan gum?
If your gluten-free flour blend already contains xanthan gum, you don’t need to add more; if not, add about 1 teaspoon total to give the crust elasticity and prevent crumbling.
Why are there two water temperatures listed?
Warm water (105–115°F) hydrates the flour and warms the egg without cooking it, while the slightly hotter water option helps loosen stiffer batters; use the warm water for the no-yeast method and reserve hotter water only if the batter feels too thick.
Can I make the crust thicker for slices?
Yes—spread the batter less thin and par-bake a minute or two longer at the same temperature, then finish with toppings and increase the final bake by 2–4 minutes to ensure the center sets.
Why did my crust become soggy?
Sogginess most often comes from too much sauce or wet toppings, or insufficient par-bake; next time, reduce sauce by a tablespoon or two, pre-cook juicy vegetables, and make sure the crust is well set before adding toppings.
Can I freeze the assembled pizza?
Assembled pizzas can be frozen after the par-bake and initial cool-down; wrap tightly and freeze up to 2 months, then bake from frozen at 425–450°F for 10–14 minutes until heated through and crisp.
About the author
Jake WoodsHello, I'm Jake. I started this recipe site with the idea that I hated recipe websites that overwhelm you with long stories and ads just to see plain content that's not helpful. My goal is to provide you with quality recipes, simple ideas and a fun cooking experience. There's lots of fun things to cook, and I think as you browse the site you'll find that TopShelf.Recipes is the place for quality recipes on the web.
See all recipes by Jake Woods →Ratings & Reviews
Did you make this recipe?
Be the first to share your experience.
Nutrition Facts
Per serving: about ¾ cup
Nutrition values are estimated from USDA ingredient data and may vary based on preparation, brands, and portion sizes. Values are provided for informational purposes only.
Keep Reading
Guides & articles for this recipe
Tips & Techniques
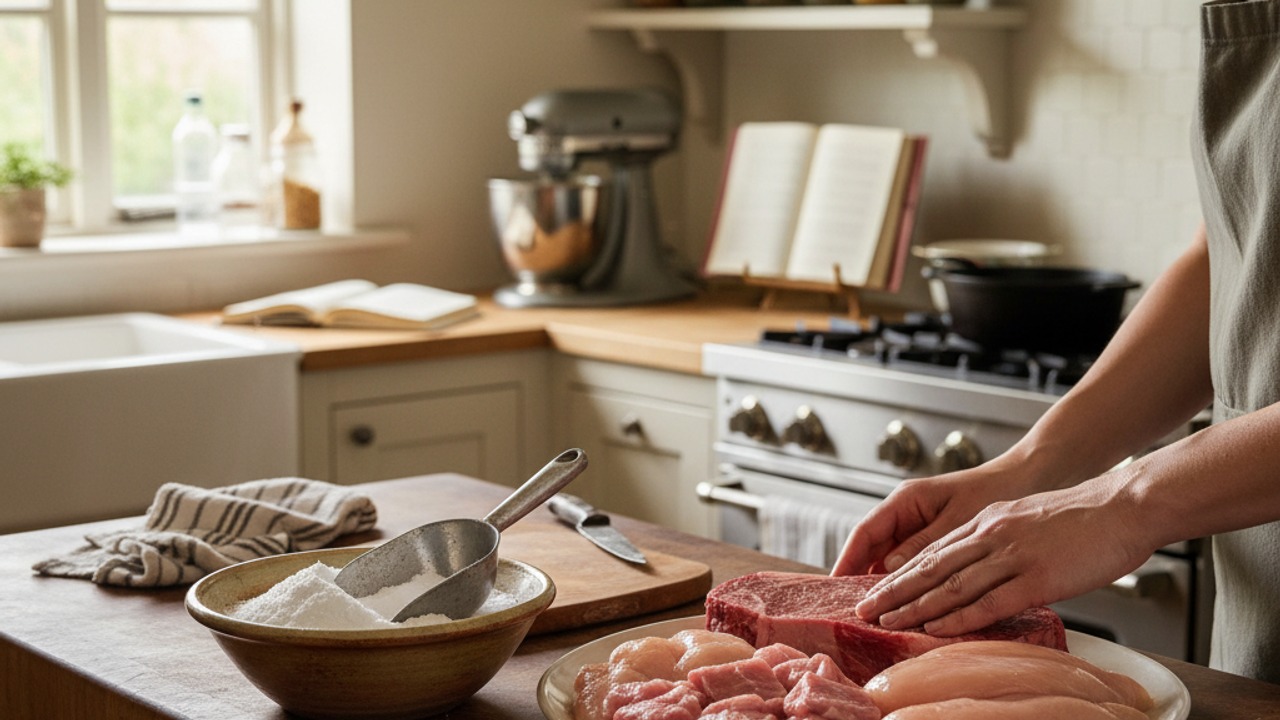
Baking Soda and Tenderized Beef
Learn how baking soda can tenderize, boost browning, and improve moisture for ground beef and other meats. This practical guide covers the science, step-by-step techniques, common mistakes, and recipes to try.

Healthy Eating
Gluten-Free Weeknight Grilling Plan
A 7-day gluten-free weeknight grilling plan with quick, family-friendly recipes, prep-ahead timelines, and a printable shopping list that spotlights late-summer produce and pantry staples. Includes clear cross-contamination safety tips and simple swaps to keep dinners fast and crowd-pleasing.

Healthy Eating
Low-Fat Grill Swaps for Big Flavor
A practical guide to trimming fat from grilled meals without losing juiciness or char. Learn yogurt- and citrus-based marinades, lean protein picks, searing and indirect-heat tricks, plus 5 quick low-fat marinades and a simple weeknight plan.
More from Baking
View all Baking recipes →
Baked Buffalo Chicken Wings with Blue Cheese Dip (Crispy Oven Method)

Gluten-Free Honey Garlic Chicken Thighs with Tamari and Toasted Sesame

Sheet Pan Baked Honey Garlic Chicken Breasts with Roasted Vegetables

Juicy Oven-Baked Chicken Breasts (No-Dryness Method)

Cloud Bread Sandwiches

Honey Mustard Chicken Nuggets

Cheddar Jalapeño Corn Muffins

Basque Burnt Cheesecake

Lemon Butter Salmon
Ask me anything about this recipe — substitutions, scaling, techniques, timing.
Powered by AI · 6 questions per 5 minutes, 30 per day