Hot Cocoa Cookie Cups
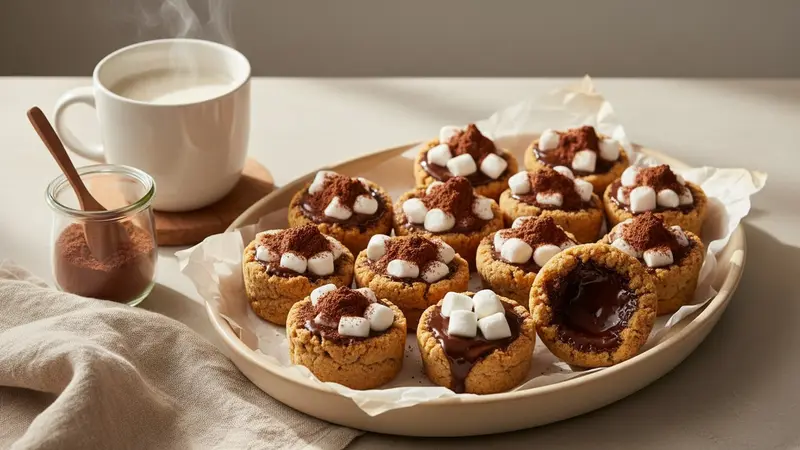
Crunchy, chocolate cookie cups baked in a 12-cup muffin tin, lined with melted semisweet chocolate and filled with hot cocoa mix and mini marshmallows for a giftable, pour-over hot-chocolate experience. Seal the cups with a thin chocolate layer so they hold hot milk when your recipient pours it over the filling.
Jake Woods's note
"Chill the shaped dough in the pan for the full 15 minutes so the cups hold their shape while baking; underchilled dough spreads and ruins the hollow. Make sure cookie cups are completely cool before brushing in the melted chocolate — warm cookies will absorb it and lose the seal you need for pouring hot milk."
About This Recipe
These Hot Cocoa Cookie Cups are a playful, giftable riff on hot chocolate that turns a mug ritual into a hands-on moment: a crunchy chocolate cookie shell, a thin glossy chocolate lining to seal in the crumbs, and a dry stash of instant cocoa and mini marshmallows that dissolve when hot milk is poured in. The result is immediate, comforting cocoa with a satisfying textural contrast — crisp cookie giving way to a velvet chocolate-milk interior studded with melty marshmallows.
This particular method works because the cookie itself is made slightly sturdier than a thin cookie — you press about 1½ tablespoons of dough into each well to make a roughly 2-tablespoon hollow, chill to reduce spread, then fully cool before sealing with 1–2 teaspoons of melted semisweet chocolate. That thin lining is the practical trick: it prevents the cookie from going soggy and makes the cups portable, so they can be wrapped and gifted without leaking. They’re best used within a few days and are especially lovely packaged with a small note of milk temperature and pour volume (6–8 oz) so recipients get the full effect.
Ingredients for Hot Cocoa Cookie Cups
- 1/2 cup unsalted butter, softened
- 2/3 cup packed light brown sugar
- 1 large large egg
- 1 tsp vanilla extract
- 1 1/4 cups all-purpose flour
- 1/3 cup unsweetened cocoa powder
- 1/4 tsp salt
- 4 oz semisweet chocolate (for lining)
- 1 1/2 cups instant hot cocoa mix
- 1 cup mini marshmallows
How to Make Hot Cocoa Cookie Cups
Step 1: Make the chocolate cookie dough
Active 15 min
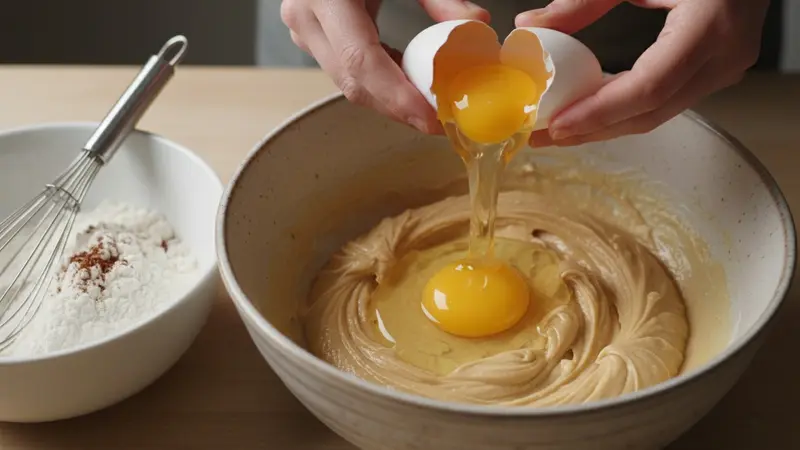
Preheat the oven to 350°F (175°C) and position a rack in the middle. In a medium bowl, beat the softened unsalted butter with the packed light brown sugar until smooth and slightly fluffy (about 2–3 minutes). Add the large egg and vanilla extract and mix until combined. Stir in the all-purpose flour, unsweetened cocoa powder, and salt until a cohesive dough forms; avoid overmixing.For this step
- 1/2 cupunsalted butter, softened
- 2/3 cuppacked light brown sugar
- 1 largelarge egg
- 1 tspvanilla extract
- 1 1/4 cupsall-purpose flour
- 1/3 cupunsweetened cocoa powder
- 1/4 tspsalt
Step 2: Form dough into cups in a 12-cup tin
Active 15 min · Passive 15 min
Using a standard 12-cup muffin tin (no extra grease required if nonstick or silicone), portion the dough into 12 equal pieces — about 1½ tablespoons (≈22 ml) of dough per cavity. Press each piece into the cup and up the sides with your fingers or the back of a small measuring spoon to form a cup with a hollow center roughly 2 tablespoons (≈30 ml) in interior capacity. Chill the pan in the refrigerator for 15 minutes to reduce spread in the oven.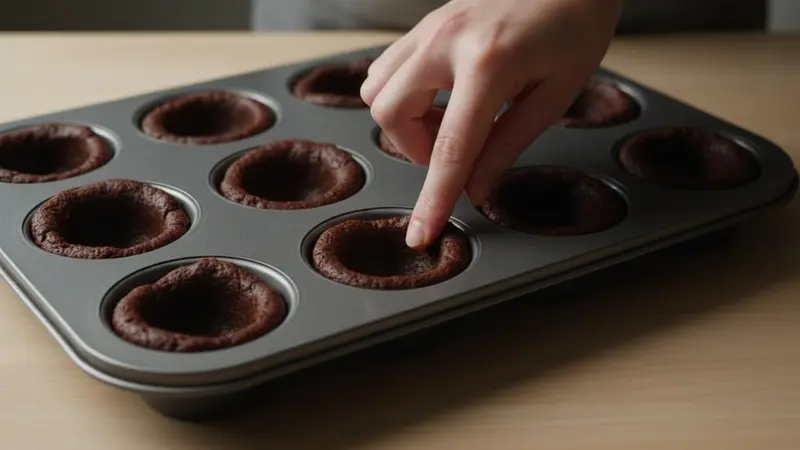
Step 3: Bake until edges set
Active 2 min · Passive 14 min
Bake the chilled cookie cups at 350°F (175°C) for 12–14 minutes, rotating the pan once if your oven runs unevenly. The edges should look set and slightly firm while the centers remain just a bit soft — they will firm as they cool. Let the cups cool in the pan for 10 minutes, then carefully invert onto a wire rack to finish cooling.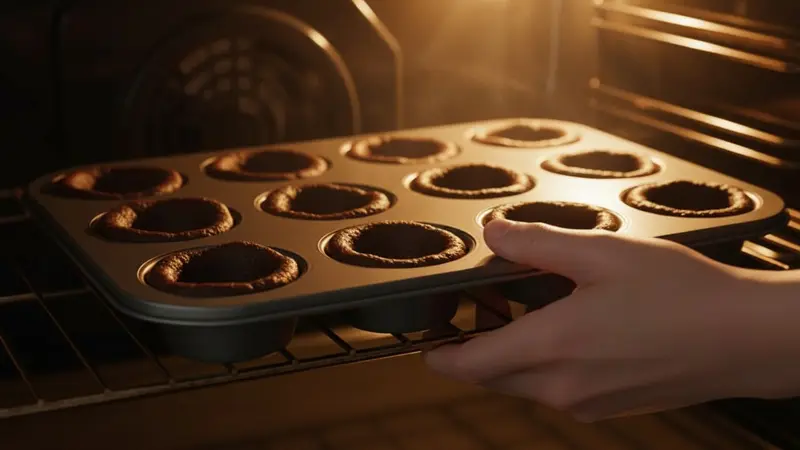
Step 4: Line the cooled cups with semisweet chocolate
Active 10 min · Passive 10 min
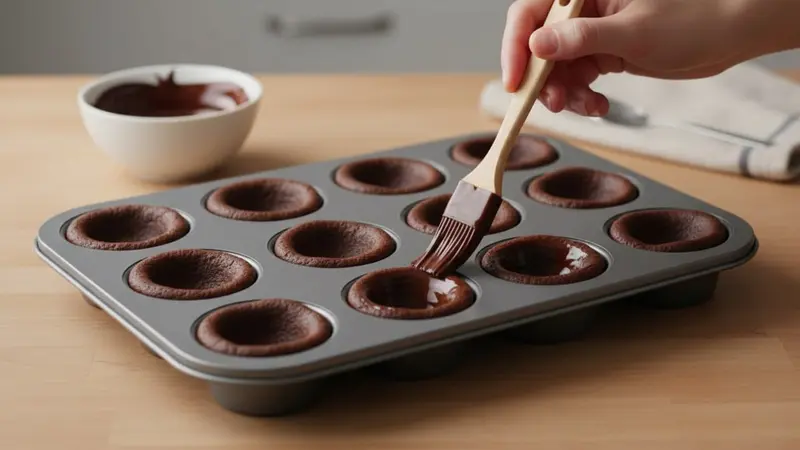
When the cookie cups are fully cool (warm chocolate will melt the filling), melt the semisweet chocolate in a microwave-safe bowl in 20–30 second bursts, stirring between bursts until smooth, or melt over a double boiler. Brush a thin, even layer of melted chocolate inside each cup (about 1–2 teaspoons per cup) to seal crumbs and create a moisture barrier. Chill the lined cups 10 minutes so the chocolate sets.For this step
- 4 ozsemisweet chocolate (for lining)
Step 5: Fill with hot cocoa mix and marshmallows
Active 5 min
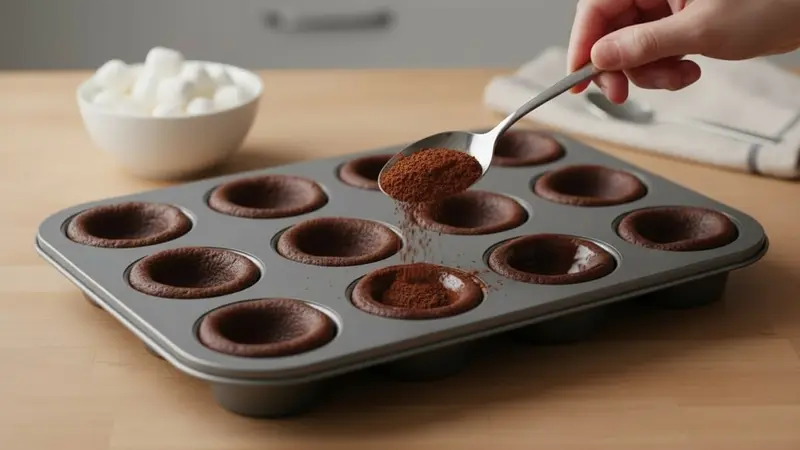
Spoon about 2 tablespoons (≈30 ml) of instant hot cocoa mix into each chocolate-lined cookie cup, then top with a tablespoon (≈6–8) of mini marshmallows. Press down very lightly so the filling sits flush beneath the cup rim. The dry filling and marshmallows are shelf-stable; keep cups dry until ready to use.For this step
- 1 1/2 cupsinstant hot cocoa mix
- 1 cupmini marshmallows
Step 6: Serve, gift, and store
Active 2 min
To serve, place one cookie cup in a mug and pour 6–8 oz (180–240 ml) of hot milk over it; stir until the chocolate lining breaks and the hot cocoa mix dissolves. Store filled cookie cups in an airtight container at room temperature for up to 3 days or freeze up to 1 month; thaw at room temperature before using. Makes 12 finished cups; serve 1 cup per serving (serves 12).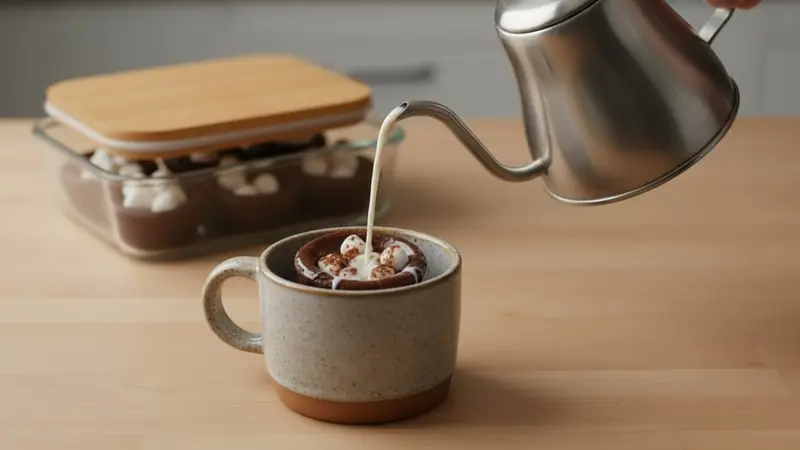
- Preheat the oven to 350°F (175°C) and position a rack in the middle. In a medium bowl, beat the softened unsalted butter with the packed light brown sugar until smooth and slightly fluffy (about 2–3 minutes). Add the large egg and vanilla extract and mix until combined. Stir in the all-purpose flour, unsweetened cocoa powder, and salt until a cohesive dough forms; avoid overmixing.
- Using a standard 12-cup muffin tin (no extra grease required if nonstick or silicone), portion the dough into 12 equal pieces — about 1½ tablespoons (≈22 ml) of dough per cavity. Press each piece into the cup and up the sides with your fingers or the back of a small measuring spoon to form a cup with a hollow center roughly 2 tablespoons (≈30 ml) in interior capacity. Chill the pan in the refrigerator for 15 minutes to reduce spread in the oven.
- Bake the chilled cookie cups at 350°F (175°C) for 12–14 minutes, rotating the pan once if your oven runs unevenly. The edges should look set and slightly firm while the centers remain just a bit soft — they will firm as they cool. Let the cups cool in the pan for 10 minutes, then carefully invert onto a wire rack to finish cooling.
- When the cookie cups are fully cool (warm chocolate will melt the filling), melt the semisweet chocolate in a microwave-safe bowl in 20–30 second bursts, stirring between bursts until smooth, or melt over a double boiler. Brush a thin, even layer of melted chocolate inside each cup (about 1–2 teaspoons per cup) to seal crumbs and create a moisture barrier. Chill the lined cups 10 minutes so the chocolate sets.
- Spoon about 2 tablespoons (≈30 ml) of instant hot cocoa mix into each chocolate-lined cookie cup, then top with a tablespoon (≈6–8) of mini marshmallows. Press down very lightly so the filling sits flush beneath the cup rim. The dry filling and marshmallows are shelf-stable; keep cups dry until ready to use.
- To serve, place one cookie cup in a mug and pour 6–8 oz (180–240 ml) of hot milk over it; stir until the chocolate lining breaks and the hot cocoa mix dissolves. Store filled cookie cups in an airtight container at room temperature for up to 3 days or freeze up to 1 month; thaw at room temperature before using. Makes 12 finished cups; serve 1 cup per serving (serves 12).
Hot Cocoa Cookie Cups Tips
Even Portions Matter
Use a 1½-tablespoon scoop or weigh dough to about 22 g per cup so all cups bake and finish evenly.
Support the Rim
When inverting the pan after the 10-minute cool, press gently around the rim of each cavity to help the cookie release without cracking.
Thin Chocolate Layer
Brush 1–2 teaspoons of melted chocolate into each cool cup, focusing on the seam where the base meets the sides to form a good moisture barrier.
Test One Cup
Before gifting a whole batch, pour 6–8 oz hot milk into one cup to check that the lining holds and the cocoa dissolves cleanly.
Avoid Humidity
Store finished cups in an airtight container in a cool, dry spot to keep marshmallows and cookie crisp; humidity softens both quickly.
Hot Cocoa Cookie Cups Variations and Substitutions
Gluten-Free Shell
Swap equal-weight all-purpose flour for a 1:1 gluten-free flour blend that already contains xanthan gum; expect a slightly more delicate crumb and press the dough gently into cups to avoid tearing.
Vegan Version
Use vegan stick butter (solid, not melted) and a flax egg (1 tbsp ground flax + 3 tbsp water, rested 5 minutes) in place of the egg, plus dairy-free semisweet chocolate and plant-based instant cocoa.
Spiced Cocoa Mix
Stir 1/2–1 teaspoon ground cinnamon and a pinch of cayenne into the instant hot cocoa for a warm, slightly spicy kick that pairs well with semisweet chocolate.
Double Chocolate Upgrade
Fold 2 tablespoons of mini chocolate chips into the cookie dough and line cups with bittersweet chocolate for a deeper chocolate intensity.
How to Store and Make Hot Cocoa Cookie Cups Ahead
Store filled cookie cups in a single layer in an airtight container at room temperature in a cool, dry place for up to 3 days; avoid stacking to prevent crushing. For longer storage freeze the filled cups in a rigid container for up to 1 month and thaw at room temperature before use (about 30–60 minutes); do not microwave assembled frozen cups as marshmallows will become gummy. If you keep leftover prepared drinks, refrigerate within 2 hours and reheat to 165°F/74°C before serving.
What to Serve With Hot Cocoa Cookie Cups
Serve each cup in a mug and pour 6–8 oz (180–240 ml) of steaming milk — dairy or plant-based — to dissolve the mix; stir until the chocolate lining breaks. For gifting, include a small jar or sachet of extra mini marshmallows and a printed instruction card with the recommended milk amount and heating temperature.
Hot Cocoa Cookie Cups FAQs
Can I make the cookie cups ahead of time without filling them?
Yes—baked, cooled, and chocolate-lined cookie cups can be kept in an airtight container at room temperature for up to 3 days or frozen for up to 1 month; fill them just before gifting or serving for best texture.
What if the cookie cups crack when I invert the pan?
Small cracks are cosmetic; press a little extra melted chocolate into the crack to reseal. To prevent cracking, don't overbake and allow the cups to cool the full 10 minutes in the pan before inverting.
Will the chocolate lining keep the cups from getting soggy?
The thin chocolate layer creates an effective moisture barrier for short-term use and gifting, but it won’t be permanent—avoid prolonged exposure to humidity and use within a few days for best results.
Can I use any instant cocoa mix?
Yes—regular instant hot cocoa mixes dissolve quickly; if using a very chunky or luxury mix with sugar crystals or solids, stir a bit more and test one cup to make sure it dissolves smoothly.
Are plant-based milks okay to use when serving?
Yes—almond, oat, and soy milk work well; heat them until steaming but not aggressively boiling, then pour 6–8 oz over the cup and stir until the mix dissolves.
How should I pack these for mailing or gifting?
Place cups in a rigid container with dividers or parchment cups to prevent shifting, cushion with tissue or crumpled paper, and include a note advising recipients to pour hot milk slowly to avoid overflow.
About the author
Jake WoodsHello, I'm Jake. I started this recipe site with the idea that I hated recipe websites that overwhelm you with long stories and ads just to see plain content that's not helpful. My goal is to provide you with quality recipes, simple ideas and a fun cooking experience. There's lots of fun things to cook, and I think as you browse the site you'll find that TopShelf.Recipes is the place for quality recipes on the web.
See all recipes by Jake Woods →Ratings & Reviews
Did you make this recipe?
Be the first to share your experience.
Nutrition Facts
Per serving: 1 serving
Nutrition values are estimated from USDA ingredient data and may vary based on preparation, brands, and portion sizes. Values are provided for informational purposes only.
Keep Reading
Guides & articles for this recipe
Tips & Techniques
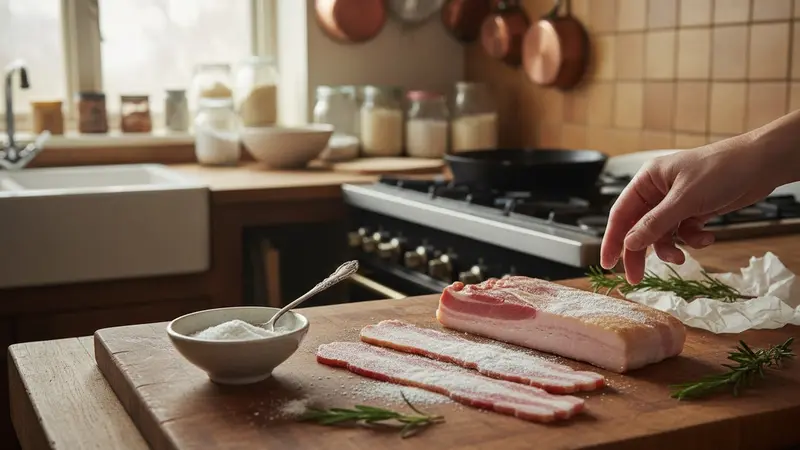
Does Baking Soda Make Bacon Better?
A practical look at the claim that a sprinkle of baking soda makes bacon crisper and better. We test the idea against what you’ll taste, the chemistry behind it, the right way to try it, and safer alternatives.

Tips & Techniques
Baking Soda and Tenderized Beef
Learn how baking soda can tenderize, boost browning, and improve moisture for ground beef and other meats. This practical guide covers the science, step-by-step techniques, common mistakes, and recipes to try.
Healthy Eating
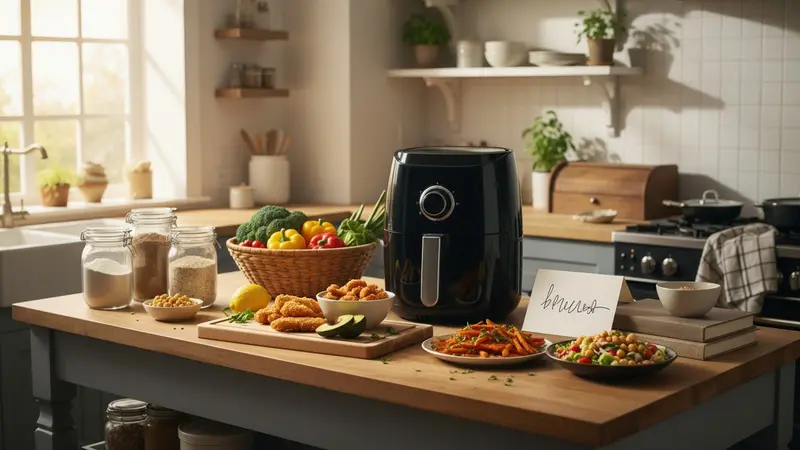
Trending Air-Fryer Gluten-Free Meals
A roundup of quick, healthy gluten-free dishes you can make in the air fryer—weeknight mains, handheld snacks, and veggie-forward sides. Includes practical tips for avoiding cross-contamination and keeping calories in check so you can cook confidently for anyone at the table.
More from Baking
View all Baking recipes →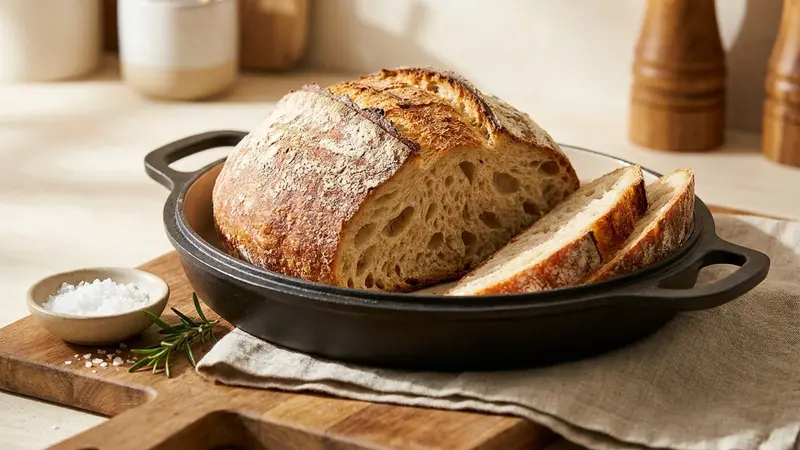
No-Knead Artisan Bread (Easy Home Loaf)
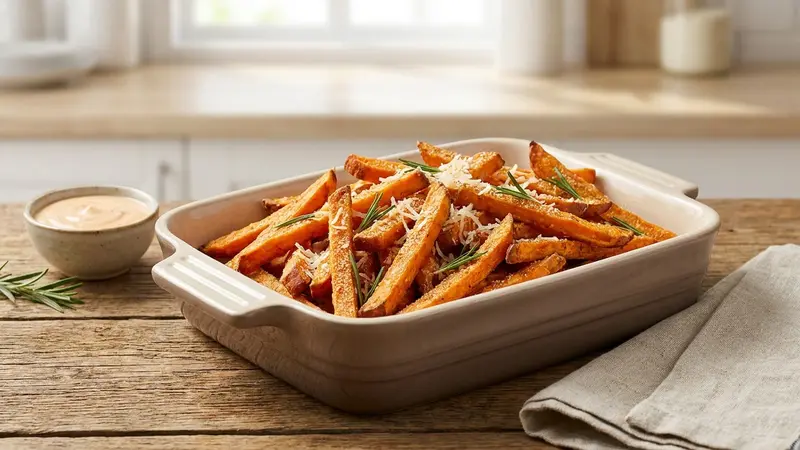
Best Oven-Baked Crispy Sweet Potato Fries with Parmesan and Rosemary
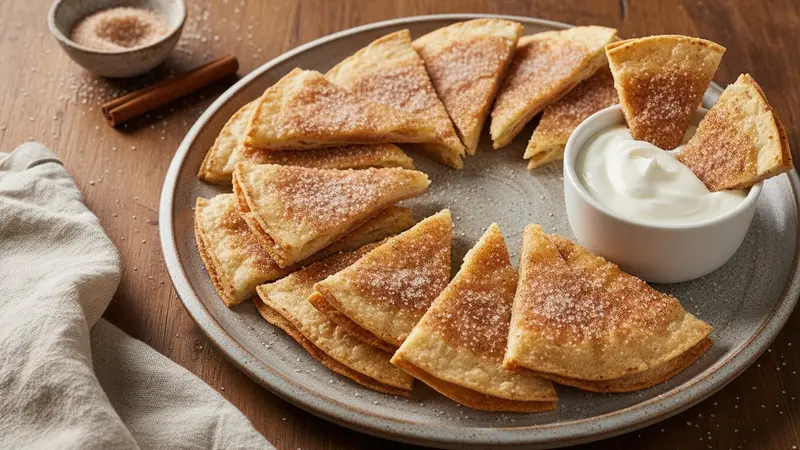
Cinnamon Sugar Tortilla Chips
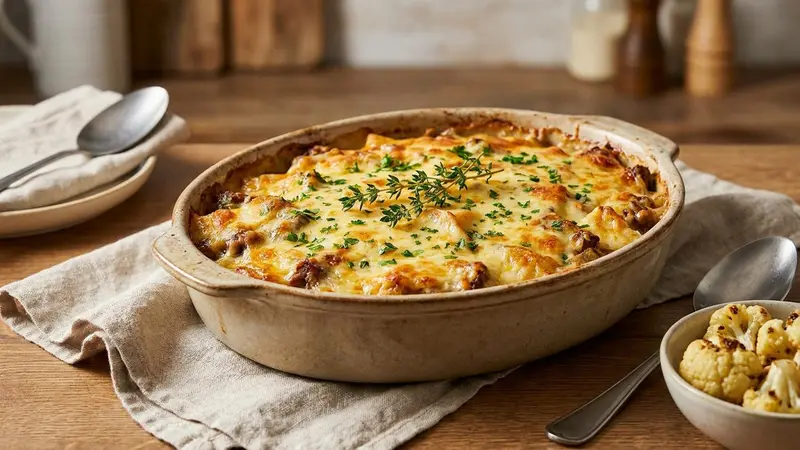
Cheesy Beef Potato Casserole
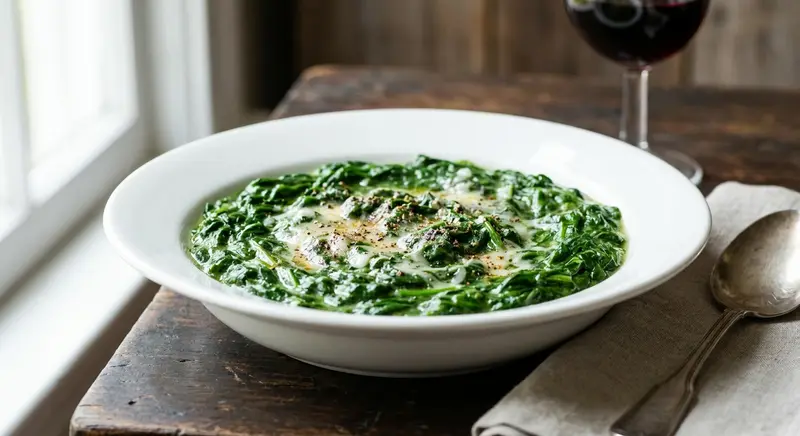
Classic Steakhouse Creamed Spinach

Twice-Baked Loaded Potato Skins with Bacon and Three Cheeses
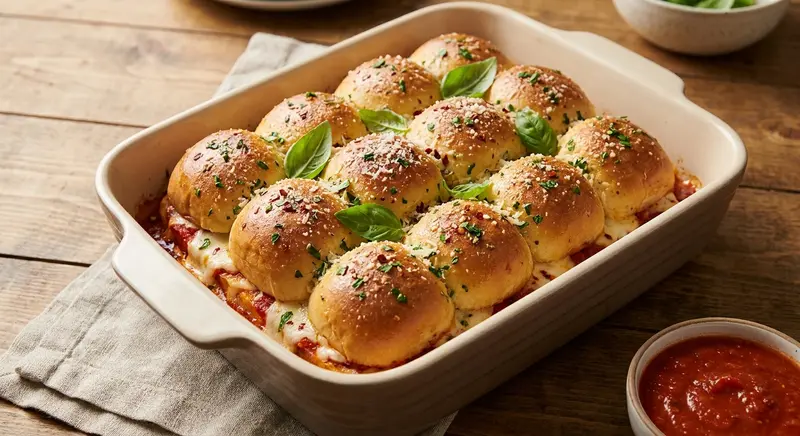
Sheet-Pan Italian Meatball Sliders with Garlic Butter Buns
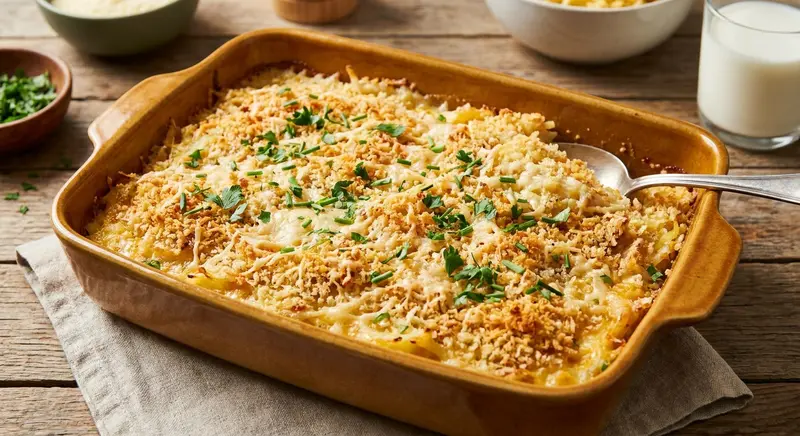
Funeral Potatoes (Hashbrown Casserole) with Crispy Panko Topping

Frank's Red Hot Buffalo Street Corn Dip
Ask me anything about this recipe — substitutions, scaling, techniques, timing.
Powered by AI · 6 questions per 5 minutes, 30 per day