No-Knead Artisan Bread (Easy Home Loaf)
A reliable, hands-off no-knead artisan loaf that yields a crisp crust and open, chewy crumb with minimal effort. Perfect for everyday baking — mix, wait, shape, and bake for bakery-style bread at home.
About This Recipe
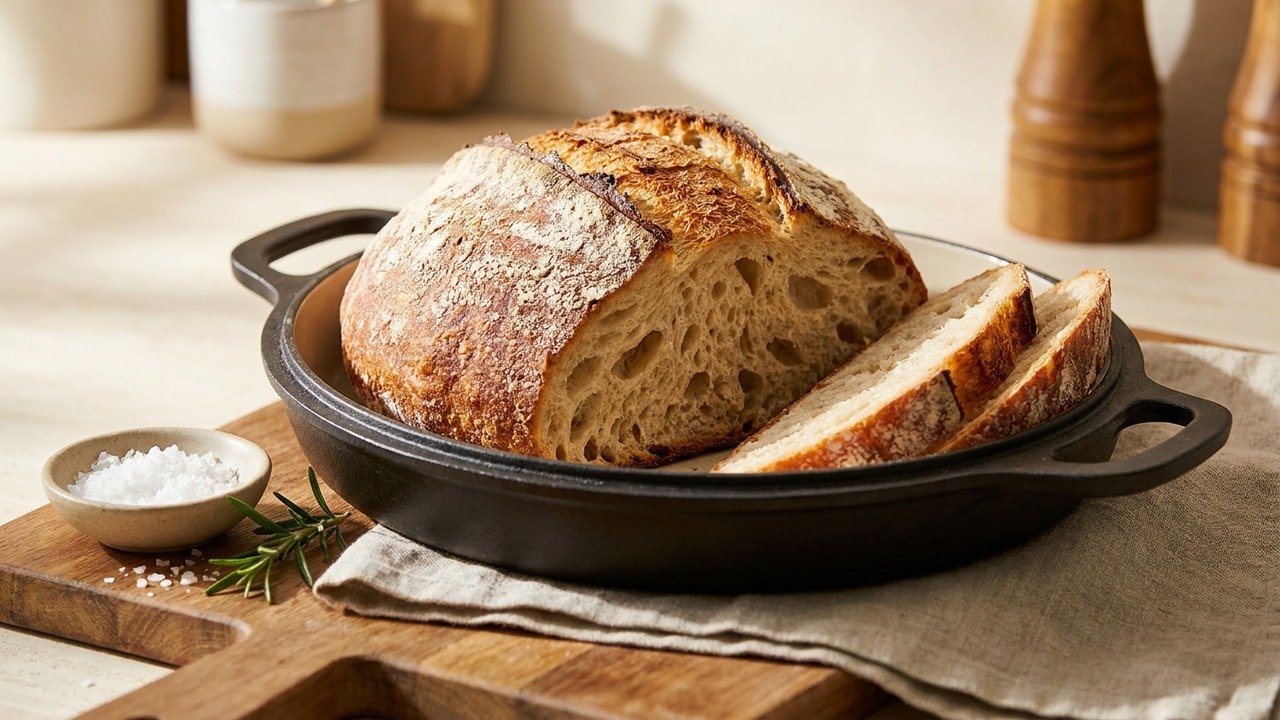
This no-knead artisan loaf is the kind of bread that earns a permanent spot in your weekly rhythm: a rustic, blistered crust with a tender, open crumb and a slightly nutty, pleasantly fermented flavor that comes from very little yeast and a long, slow rise. The dough is intentionally loose and sticky — that wetness is what opens up the interior and yields large irregular holes, while baking in a preheated Dutch oven traps steam so the crust crisps, separates, and darkens without you having to fuss with steaming trays or scoring techniques.
It’s an especially forgiving recipe — great for first-time bakers because the hands-off bulk ferment does the technical work for you, and for busy households because the timeline can flex (12–18 hours) to fit mornings or evenings. Use it as your everyday loaf: tear-off pieces for sandwiches, dunk into soups, or toast thick slices for breakfast. Small touches like oiling your hands for shaping and letting the loaf rest before baking make a big difference in the final shape and crumb, so these few simple rituals are worth keeping even in a hurry.
Ingredients for No-Knead Artisan Bread (Easy Home Loaf)
- 3 cups All-purpose flour
- 1 1/2 cups Water (lukewarm, about 95–105°F / 35–40°C)
- 1/4 teaspoon Instant yeast
- 1 1/2 teaspoons Fine sea salt
- 1 tablespoon Olive oil (for bowl and hands)
- 1 tablespoon Cornmeal or extra flour (for dusting)
How to Make No-Knead Artisan Bread (Easy Home Loaf)
Step 1: Mix the dough
In a large bowl, whisk together the flour, instant yeast, and salt. Pour in the lukewarm water and use a spatula or wooden spoon to mix until a shaggy, sticky dough forms — no kneading required. Scrape down the sides so the dough is well combined.For this step
- 3 cupsAll-purpose flour
- 1 1/2 cupsWater (lukewarm, about 95–105°F / 35–40°C)
- 1/4 teaspoonInstant yeast
- 1 1/2 teaspoonsFine sea salt
Step 2: Bulk ferment
Cover the bowl tightly with plastic wrap or a lid and let the dough rise at room temperature for 12–18 hours, until the surface is dotted with bubbles and has roughly doubled. A longer, slower ferment (closer to 18 hours) develops more flavor; a shorter time yields a milder loaf.Step 3: Shape the loaf
Generously oil your hands and a clean work surface; turn the dough out onto the surface and gently fold the edges toward the center to create tension and a rough round. Let the shaped dough rest, covered with a towel or plastic wrap, for 30–60 minutes to relax and hold its shape.For this step
- 1 tablespoonOlive oil (for bowl and hands)
Step 4: Preheat and prepare the baking vessel
Place a 4- to 6-quart Dutch oven (or heavy oven-safe pot with lid) in the oven and preheat to 450°F (230°C) for at least 30 minutes. Meanwhile, dust a piece of parchment with cornmeal or flour and transfer the rested dough onto it, seam-side down, ready for baking.For this step
- 1 tablespoonCornmeal or extra flour (for dusting)
Step 5: Bake covered then uncovered
Carefully remove the hot Dutch oven, lift the dough on the parchment into the pot, cover, and bake for 30 minutes. Remove the lid and bake an additional 10–15 minutes until the crust is deep golden brown and crisp.Step 6: Cool and serve
Transfer the bread to a wire rack and let it cool at least 45–60 minutes before slicing so the crumb finishes setting. Slice and enjoy warm or at room temperature; store any leftovers in a paper bag for up to two days or freeze for longer storage.


- In a large bowl, whisk together the flour, instant yeast, and salt. Pour in the lukewarm water and use a spatula or wooden spoon to mix until a shaggy, sticky dough forms — no kneading required. Scrape down the sides so the dough is well combined.
- Cover the bowl tightly with plastic wrap or a lid and let the dough rise at room temperature for 12–18 hours, until the surface is dotted with bubbles and has roughly doubled. A longer, slower ferment (closer to 18 hours) develops more flavor; a shorter time yields a milder loaf.
- Generously oil your hands and a clean work surface; turn the dough out onto the surface and gently fold the edges toward the center to create tension and a rough round. Let the shaped dough rest, covered with a towel or plastic wrap, for 30–60 minutes to relax and hold its shape.
- Place a 4- to 6-quart Dutch oven (or heavy oven-safe pot with lid) in the oven and preheat to 450°F (230°C) for at least 30 minutes. Meanwhile, dust a piece of parchment with cornmeal or flour and transfer the rested dough onto it, seam-side down, ready for baking.
- Carefully remove the hot Dutch oven, lift the dough on the parchment into the pot, cover, and bake for 30 minutes. Remove the lid and bake an additional 10–15 minutes until the crust is deep golden brown and crisp.
- Transfer the bread to a wire rack and let it cool at least 45–60 minutes before slicing so the crumb finishes setting. Slice and enjoy warm or at room temperature; store any leftovers in a paper bag for up to two days or freeze for longer storage.
No-Knead Artisan Bread (Easy Home Loaf) Tips
Weigh Ingredients Whenever
Measuring flour and water by weight (grams) gives consistent hydration and crumb; if you must use cups, spoon flour into the cup rather than scooping to avoid packing.
Adjust Water Sensibly
If your dough feels dry or doesn’t show many bubbles, add a tablespoon of water at a time during mixing; conversely, a very sloppy dough is fine — it will firm up during the first rise.
Use a Hot Dutch Oven
Preheating the pot builds immediate spring and crust; heat it for at least 30 minutes so the cast iron or enamel walls stay hot when you add the dough.
Create Surface Tension
When shaping, fold edges toward the center and cup the dough with your palms to build gentle tension; it helps the loaf hold shape while resting and baking.
Don’t Skip the Rest
Letting the shaped dough relax for 30–60 minutes improves oven spring and keeps the crumb from tearing; cold dough bakes unevenly.
Cool Before Slicing
Cool the loaf at least 45 minutes so steam settles inside and the crumb finishes setting — cutting too early yields gummy slices.
No-Knead Artisan Bread (Easy Home Loaf) Variations and Substitutions
Whole Grain Mix
Replace up to 50% of the all-purpose flour with whole wheat and add 10–20% more water; expect a denser crumb and a nuttier flavor with slightly longer fermentation.
Seeded Artisan Loaf
Fold 3–4 tablespoons each of toasted sesame, sunflower, or flax seeds into the dough during shaping for texture and aroma, and sprinkle extra seeds on top before baking.
Herb and Olive
Add 1/3 cup chopped olives and 1–2 tablespoons chopped fresh rosemary or thyme when you shape the dough for a Mediterranean twist that holds up well in sandwiches.
Garlic-Parmesan Crust
Brush the loaf with a little olive oil after the first 30 minutes of covered baking, sprinkle grated Parmesan and minced roasted garlic, then finish uncovered for a savory crust.
Gluten-Free Option
Use a 1:1 gluten-free flour blend with xanthan gum and reduce the water slightly; because gluten-free dough won’t develop the same structure, bake it in a pan rather than free-form and expect a different texture.
How to Store and Make No-Knead Artisan Bread (Easy Home Loaf) Ahead
Store cooled leftover bread in a paper bag or wrapped in a clean kitchen towel at room temperature for up to two days to preserve crust crispness; plastic will keep it softer but invite condensation. For longer storage, slice and freeze in a zip-top bag for up to three months and reheat directly from frozen in a 350°F oven for 10–15 minutes or toast slices for immediate serving.
What to Serve With No-Knead Artisan Bread (Easy Home Loaf)
This loaf is superb with olive oil and flaky sea salt for dipping, or paired with a robust soup like tomato basil or a chunky vegetable stew to soak up broth. For breakfast, serve thick-cut toasted slices topped with ricotta and honey or smashed avocado and a squeeze of lemon; a medium-bodied coffee or a crisp, mineral white wine complements the bread’s crusty exterior and tangy crumb.
No-Knead Artisan Bread (Easy Home Loaf) FAQs
Can I use active dry yeast instead of instant?
Yes — sprinkle active dry yeast into the lukewarm water first and let it bloom for 5–10 minutes until foamy, then mix into the flour; you may notice a slightly slower start but the long ferment compensates.
How do I know the dough has risen enough after bulk ferment?
Look for a surface dotted with bubbles, a slightly domed and airy appearance, and roughly doubled volume; if it smells pleasantly tangy and holds a finger indentation slowly, it’s ready.
What if I don’t have a Dutch oven?
You can bake on a preheated baking stone or sheet and create steam by placing a metal tray of hot water on the oven floor or misting water into the oven at the start, though crust color and lift may be slightly different.
My crumb is dense — what went wrong?
Dense crumb usually means underproofing, insufficient hydration, or too much flour; give the dough more time to ferment, check hydration, and avoid adding extra flour when shaping.
Can I shorten the fermentation time?
Yes, you can shorten to around 8–10 hours in a warmer room, but the flavor will be milder and the crumb less developed; alternatively, do a cold retard in the refrigerator for up to 24 hours for convenience and flavor depth.
How do I get larger holes in the crumb?
Increase hydration slightly, handle the dough gently to preserve gas, and allow a longer, slower bulk ferment; also avoid overworking when shaping so trapped bubbles remain intact.
About the author
Jake WoodsHello, I'm Jake. I started this recipe site with the idea that I hated recipe websites that overwhelm you with long stories and ads just to see plain content that's not helpful. My goal is to provide you with quality recipes, simple ideas and a fun cooking experience. There's lots of fun things to cook, and I think as you browse the site you'll find that TopShelf.Recipes is the place for quality recipes on the web.
See all recipes by Jake Woods →Ratings & Reviews
Did you make this recipe?
Be the first to share your experience.
Nutrition Facts
Per serving: 1 slice (124g)
Nutrition values are estimated from USDA ingredient data and may vary based on preparation, brands, and portion sizes. Values are provided for informational purposes only.
Keep Reading
Guides & articles for this recipe

Guides
Trending Hybrid Grilling Methods for 2026: 8 Heat‑Play Techniques Home Cooks Use to Boost Flavor & Speed
Explore eight hybrid grilling techniques that combine heat sources, tools, and timing tricks to maximize flavor and speed. Practical guidance on what each method does best, ideal foods, equipment options, target temps, and troubleshooting so you can replicate these trends at home.
Tips & Techniques
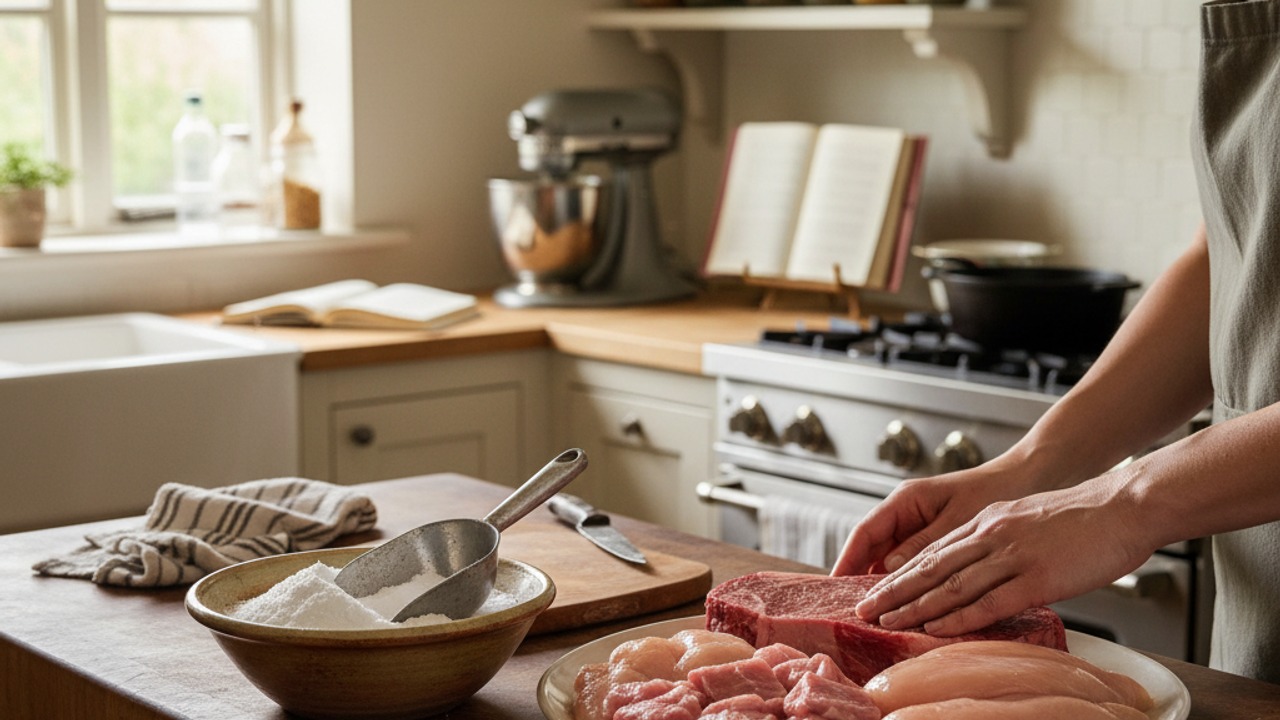
Baking Soda and Tenderized Beef
Learn how baking soda can tenderize, boost browning, and improve moisture for ground beef and other meats. This practical guide covers the science, step-by-step techniques, common mistakes, and recipes to try.

Healthy Eating
Gluten-Free Weeknight Grilling Plan
A 7-day gluten-free weeknight grilling plan with quick, family-friendly recipes, prep-ahead timelines, and a printable shopping list that spotlights late-summer produce and pantry staples. Includes clear cross-contamination safety tips and simple swaps to keep dinners fast and crowd-pleasing.
More from Baking
View all Baking recipes →
Apple Cider Muffins

Baked Buffalo Chicken Wings with Blue Cheese Dip (Crispy Oven Method)

Gluten-Free Honey Garlic Chicken Thighs with Tamari and Toasted Sesame

Sheet Pan Baked Honey Garlic Chicken Breasts with Roasted Vegetables

Juicy Oven-Baked Chicken Breasts (No-Dryness Method)

Cloud Bread Sandwiches

Honey Mustard Chicken Nuggets

Cheddar Jalapeño Corn Muffins

Basque Burnt Cheesecake
Ask me anything about this recipe — substitutions, scaling, techniques, timing.
Powered by AI · 6 questions per 5 minutes, 30 per day