No Bake Peanut Butter Bars
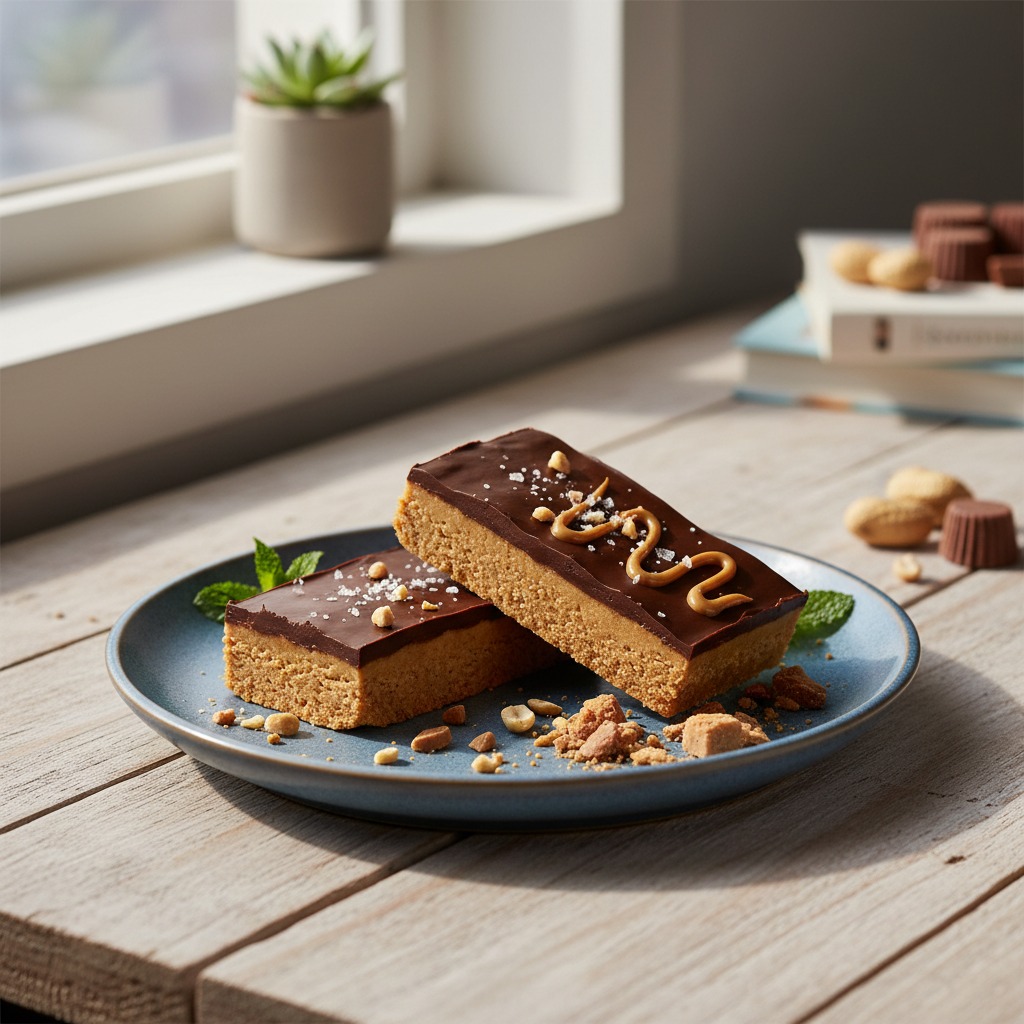
Rich, chocolate-topped peanut butter bars that set in the fridge—no oven required. These easy, make-ahead squares combine a buttery graham base with a silky chocolate-peanut topping for a crowd-pleasing dessert or snack.
Jake Woods's note
"Comforting and portable, these bars are perfect for potlucks, school lunches, or an easy sweet after dinner. They keep well in the fridge and slice neatly after chilling for clean presentation."
About This Recipe
These no-bake peanut butter bars are the kind of sweet that moves easily between roles: a quick after-school snack, a portable potluck offering, or a platter dessert when you need something impressive without an oven. A buttery graham-cracker base gives a faint honey-cinnamon crunch that anchors a dense, creamy peanut butter layer; a glossy chocolate-peanut topping sets into a tender shell that snaps with each bite and reveals the soft, fudgy center. A scattering of flaky sea salt lifts the sweetness and makes the chocolate sing.
What makes this version reliably crowd-pleasing is the balance of structure and silk: powdered sugar and melted butter bind the crumbs into a pressable slab, while holding back a little peanut butter for the melted chocolate keeps the topping shiny and slightly pliable instead of dull and glassy. The whole tray comes together with minimal tools and under an hour of active time, which is why it’s great for busy cooks, lunchbox makers, and anyone who wants nostalgic peanut-butter-chocolate flavor without babysitting an oven.
Ingredients for No Bake Peanut Butter Bars
- 1 cup Graham cracker crumbs
- 4 tbsp Unsalted butter
- 1 cup Creamy peanut butter (divided; reserve ~1/4 cup for topping)
- 1 cup Powdered (confectioners') sugar
- 1 cup Semi-sweet chocolate chips
- 1/2 tsp Flaky sea salt (for sprinkling)
- 1 tsp Pure vanilla extract
How to Make No Bake Peanut Butter Bars
Step 1: Make the crust
Line an 8x8-inch (20x20 cm) square pan with parchment, leaving an overhang for easy lifting. In a medium bowl, microwave the butter until melted (15–30 seconds); stir in 3/4 cup of the peanut butter, vanilla, powdered sugar and graham cracker crumbs until the mixture is evenly combined and holds together when pressed.For this step
- 1 cupGraham cracker crumbs
- 4 tbspUnsalted butter
- 1 cupCreamy peanut butter (divided; reserve ~1/4 cup for topping)
- 1 cupPowdered (confectioners') sugar
- 1 tspPure vanilla extract
Step 2: Press and chill the base
Transfer the base mixture to the prepared pan and use the back of a spoon or a piece of parchment to press it firmly and evenly into an even layer. Refrigerate the pan for about 20 minutes to firm the base while you prepare the topping.Step 3: Prepare the chocolate-peanut topping
Place the chocolate chips and the reserved ~1/4 cup peanut butter in a microwave-safe bowl and microwave in 20–30 second bursts, stirring between each, until the mixture is smooth and glossy. Alternatively, melt together over a double boiler, stirring until fully combined.For this step
- 1 cupSemi-sweet chocolate chips
Step 4: Assemble and set
Pour the warm chocolate-peanut mixture over the chilled base and use an offset spatula to spread it into an even layer. Sprinkle with flaky sea salt, then return the pan to the refrigerator and chill until the topping is firm, about 30–60 minutes (or 20 minutes in the freezer).For this step
- 1/2 tspFlaky sea salt (for sprinkling)
Step 5: Slice and store
Lift the set slab from the pan using the parchment overhang and place it on a cutting board. Cut into 8 bars (or smaller pieces if desired); let bars sit at room temperature a few minutes before slicing for cleaner edges. Store in an airtight container in the refrigerator for up to 1 week or freeze for longer storage.


- Line an 8x8-inch (20x20 cm) square pan with parchment, leaving an overhang for easy lifting. In a medium bowl, microwave the butter until melted (15–30 seconds); stir in 3/4 cup of the peanut butter, vanilla, powdered sugar and graham cracker crumbs until the mixture is evenly combined and holds together when pressed.
- Transfer the base mixture to the prepared pan and use the back of a spoon or a piece of parchment to press it firmly and evenly into an even layer. Refrigerate the pan for about 20 minutes to firm the base while you prepare the topping.
- Place the chocolate chips and the reserved ~1/4 cup peanut butter in a microwave-safe bowl and microwave in 20–30 second bursts, stirring between each, until the mixture is smooth and glossy. Alternatively, melt together over a double boiler, stirring until fully combined.
- Pour the warm chocolate-peanut mixture over the chilled base and use an offset spatula to spread it into an even layer. Sprinkle with flaky sea salt, then return the pan to the refrigerator and chill until the topping is firm, about 30–60 minutes (or 20 minutes in the freezer).
- Lift the set slab from the pan using the parchment overhang and place it on a cutting board. Cut into 8 bars (or smaller pieces if desired); let bars sit at room temperature a few minutes before slicing for cleaner edges. Store in an airtight container in the refrigerator for up to 1 week or freeze for longer storage.
No Bake Peanut Butter Bars Tips
Press Base Firmly
Compact the graham-peanut mixture tightly into the pan so the bars hold together; use the bottom of a measuring cup or a piece of parchment for even pressure.
Warm Before Pouring
Let the melted chocolate-peanut mixture cool for a minute so it thickens slightly; pouring when it's too hot can cause the base to soften or separate.
Microwave in Bursts
Heat the chocolate and reserved peanut butter in 20–30 second intervals, stirring between each, to avoid scorching and graininess.
Use Room-Temp PB
If your peanut butter is chilled, warm it briefly (10–15 seconds) so it blends smoothly into both the base and topping without leaving lumps.
Slice After Slight Rest
Remove the slab from the fridge and let it sit 5–10 minutes at room temperature before cutting; it makes for cleaner edges and less cracking.
No Bake Peanut Butter Bars Variations and Substitutions
Crunchy Peanut Butter Swap
Use crunchy peanut butter in the base or topping for textural contrast, and press some chopped roasted peanuts into the chocolate before it sets.
Almond-Butter Bars
Replace peanut butter with almond butter and use dark chocolate for a slightly less sweet, more sophisticated flavor profile.
Gluten-Free Base
Substitute gluten-free graham crumbs or use finely ground rolled oats plus a pinch of cinnamon to keep the base cohesive and naturally gluten-free.
Vegan/Dairy-Free Option
Swap the butter for coconut oil or a vegan butter and choose dairy-free chocolate chips; chill a bit longer to ensure a firm set.
How to Store and Make No Bake Peanut Butter Bars Ahead
Store bars in an airtight container in the refrigerator for up to one week, layering parchment between pieces to prevent sticking. For longer storage, freeze flat in a single layer for up to 2 months, then transfer to a resealable bag; thaw in the refrigerator or at room temperature for 10–20 minutes before serving. Avoid leaving the bars at room temperature for more than a couple hours, as the chocolate topping will soften.
What to Serve With No Bake Peanut Butter Bars
Serve slightly chilled with cold milk, a café au lait, or an iced latte to balance the richness; a small scoop of vanilla ice cream alongside makes a decadent dessert. For a lighter presentation, plate with fresh berries or sliced apple for a bright contrast to the dense peanut-chocolate squares.
No Bake Peanut Butter Bars FAQs
Can I use crunchy peanut butter instead of creamy?
Yes—crunchy peanut butter works well, especially if you like texture; expect a slightly firmer base and some nutty bits in the topping. If the crunchy peanut butter is oil-separated, stir it well first.
Why is my base crumbly and falling apart?
If the base is crumbly, it likely needs more binding fat or pressure; warm the melted butter slightly and press the mixture more firmly into the pan. You can also add an extra tablespoon of melted butter or a splash of peanut butter to improve cohesion.
How can I get perfectly clean slices?
Run a sharp knife under hot water, dry it, then slice with long, decisive strokes, wiping the blade between cuts. Alternatively, refrigerate until fully firm and let sit 5–10 minutes at room temperature before cutting to reduce cracking.
Can I make these ahead for a party?
Absolutely—make them up to 3 days in advance and keep refrigerated, or freeze for up to 2 months and thaw before serving. If you need faster set time, chill in the freezer for 20–30 minutes but avoid freezing solid if you want a soft bite.
Is powdered sugar necessary in the base?
Powdered sugar helps sweeten and bind the base without grittiness; you can reduce the amount slightly if you prefer less sweetness, but you may need extra butter or peanut butter to maintain the right texture.
About the author
Jake WoodsHello, I'm Jake. I started this recipe site with the idea that I hated recipe websites that overwhelm you with long stories and ads just to see plain content that's not helpful. My goal is to provide you with quality recipes, simple ideas and a fun cooking experience. There's lots of fun things to cook, and I think as you browse the site you'll find that TopShelf.Recipes is the place for quality recipes on the web.
See all recipes by Jake Woods →Ratings & Reviews
Did you make this recipe?
Be the first to share your experience.
Nutrition Facts
Per serving: 1 bar (95g)
Nutrition values are estimated from USDA ingredient data and may vary based on preparation, brands, and portion sizes. Values are provided for informational purposes only.
Keep Reading
Guides & articles for this recipe
Guides
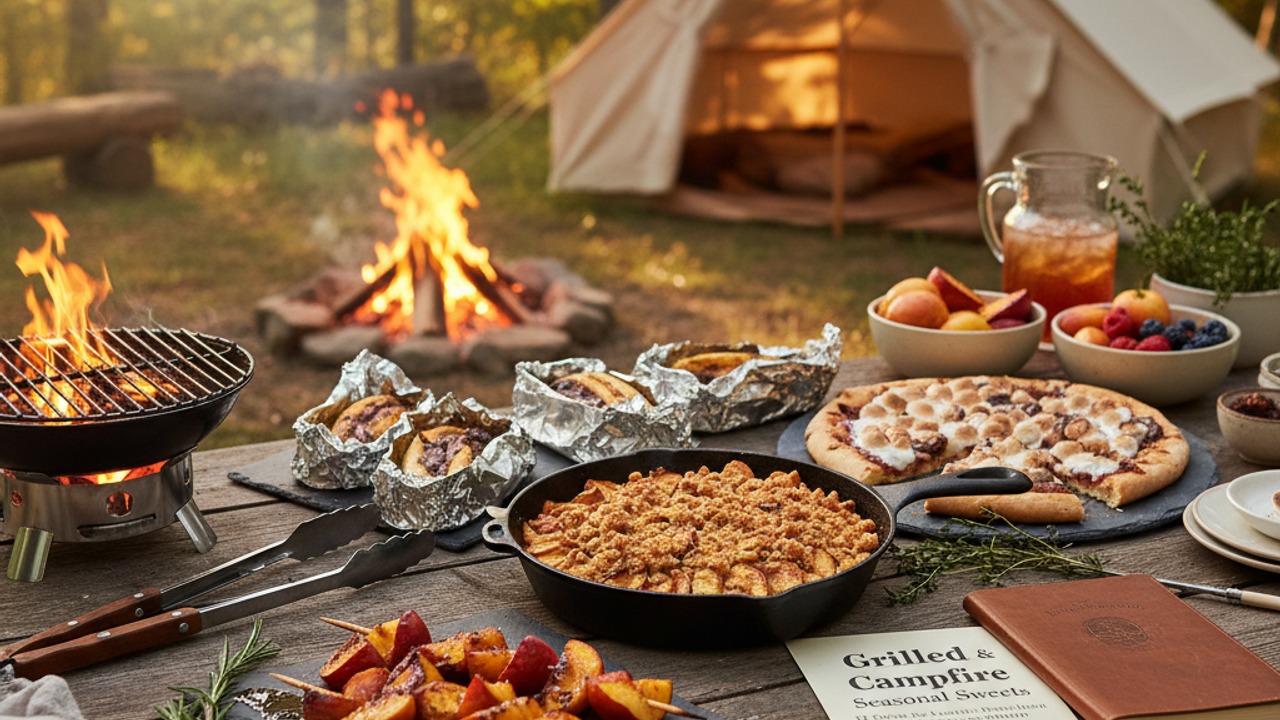
Grilled & Campfire Seasonal Sweets: 12 Crowd‑Favorite Desserts and How to Make Them Year‑Round
A season-by-season guide to 12 grill- and campfire-friendly desserts with flame-safe techniques, make-ahead strategies, vegetarian and gluten-free swaps, plus serving and storage tips so your outdoor sweets shine any time of year.

Guides
Summer Weeknight Grilling Playbook: 4-Week Rotating Meal Plan with Quick Seasonal Recipes, Make‑Ahead Sides & Grill‑First Desserts
A practical, four-week summer grilling playbook built for busy weeknights: 12 fast mains, 8 make‑ahead sides, 4 grill-forward desserts, weekly shopping lists, prep timelines, and smart tips for backyard, tailgate, or campsite cooking. Get the rhythm of easy, seasonal grilling that keeps dinner fresh and fast.

Healthy Eating
Gluten-Free Weeknight Grilling Plan
A 7-day gluten-free weeknight grilling plan with quick, family-friendly recipes, prep-ahead timelines, and a printable shopping list that spotlights late-summer produce and pantry staples. Includes clear cross-contamination safety tips and simple swaps to keep dinners fast and crowd-pleasing.
More from Desserts
View all Desserts recipes →
Easy Peanut Butter Bars

Chocolate Peanut Butter Chex Mix

No-Churn Fresh Berry Ice Cream (No Machine, 5 Ingredients)

Molten Lemon Cake

Boozy Red White Blue Popsicles (Vodka Ice Pops for Adults)

Salted Caramel Stuffed Brownies with Crispy Edges and Sea Salt

Poached Pears with Pistachio

Affogato with Caramel

Canning Peaches Light Syrup
Ask me anything about this recipe — substitutions, scaling, techniques, timing.
Powered by AI · 6 questions per 5 minutes, 30 per day