Witch Hat Brownies
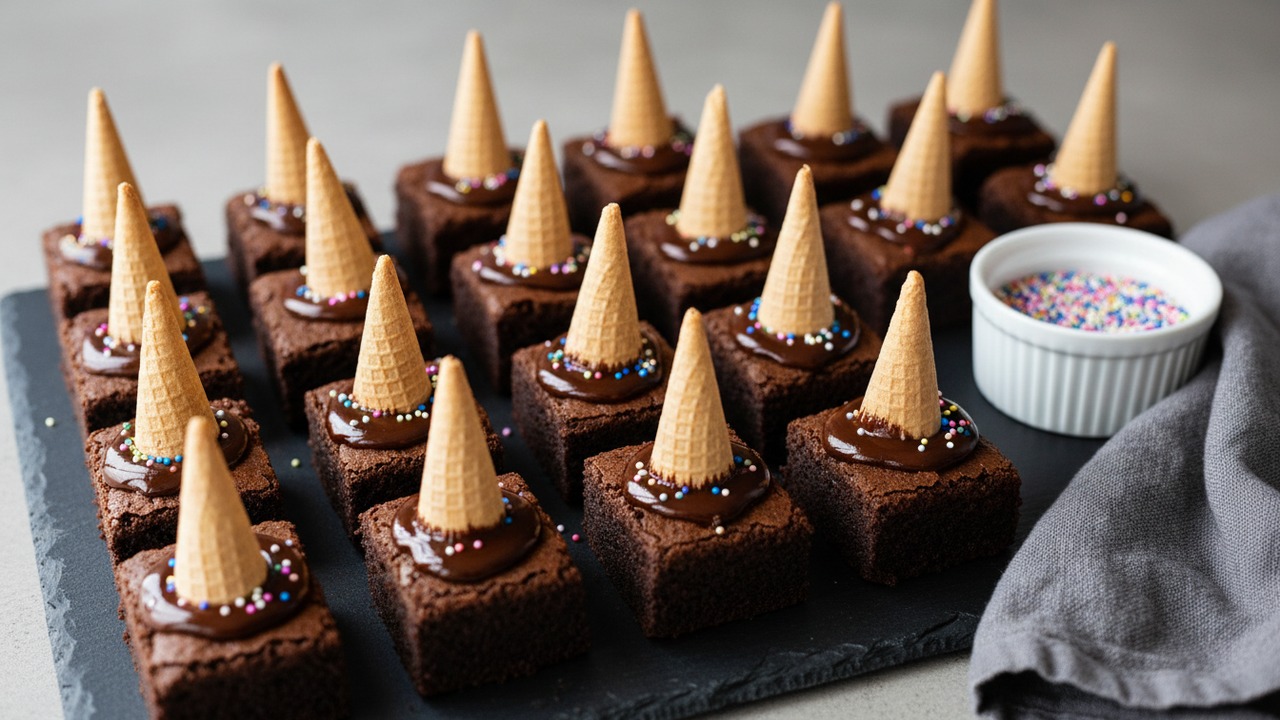
Cute brownie-cone witch hats are a popular bite-sized Halloween treat parents search for for kid parties and bake sales. These easy, whimsical brownie squares are topped with mini sugar cones dipped in melted chocolate and finished with festive sprinkles for a perfect party finger food.
Jake Woods's note
"These witch hat brownies are quick to assemble once the brownies are baked and cooled — great for bake sales, classroom parties, or an easy Halloween after-school treat. Kids love helping dip the cones and add sprinkles, so make it a decorating activity!"
About This Recipe
Witch Hat Brownies are the sort of tiny, theatrical treat that do more than taste good — they announce an occasion. The dense, fudgy brownie base gives each bite the comforting chocolate hit you expect, while the crisp sugar-cone “hat” adds a playful crunch and silhouette that’s irresistible on a party platter. Dipping the cones in semi‑sweet chocolate not only makes them look glossy and finished, it also seals and stabilizes the cone so the whole assembly survives being passed around at bake sales or hauled to school parties.
This version works because it balances ease with a few small techniques that elevate the result: melting butter gently with the sugar for a glossy batter, sifting the cocoa for an even texture, and—most importantly—letting the pan cool completely before slicing so the squares are neat enough to wear a hat. It’s a project parents, teachers, and beginner bakers can tackle in an afternoon, and the components invite simple swaps (dairy‑free butter, gluten‑free flour, caramel or nut butter) if you want to riff on the original without losing that witchy charm.
Ingredients for Witch Hat Brownies
- 1 cup unsalted butter
- 2 cups granulated sugar
- 4 large large eggs
- 1 cup unsweetened cocoa powder
- 1 cup all-purpose flour
- 1 tsp salt
- 1 tsp vanilla extract
- 12 oz semi-sweet chocolate chips (for dipping)
- 24 mini cones mini sugar ice cream cones
- 2 tbsp festive sprinkles (optional)
How to Make Witch Hat Brownies
Step 1: Make the brownie batter
Preheat oven to 350°F (175°C). In a medium saucepan over low heat, melt the butter, then remove from heat and whisk in the sugar until glossy. Whisk in the eggs one at a time, then stir in the vanilla. Sift the cocoa, flour, and salt together and fold into the wet mixture until just combined — do not overmix.For this step
- 1 cupunsalted butter
- 2 cupsgranulated sugar
- 4 largelarge eggs
- 1 cupunsweetened cocoa powder
- 1 cupall-purpose flour
- 1 tspsalt
- 1 tspvanilla extract
Step 2: Bake and cool the brownies
Line a 9x13-inch baking pan with parchment and pour the batter in, smoothing the top. Bake 25–30 minutes, or until a toothpick inserted near the center comes out with a few moist crumbs. Let the brownies cool completely in the pan (about 45–60 minutes) so they will cut cleanly.Step 3: Cut brownies and melt dipping chocolate
Turn cooled brownies out and slice into 24 equal squares with a sharp knife (this recipe yields 24 pieces). Place the squares on a parchment-lined sheet. Meanwhile, melt the chocolate chips in a microwave-safe bowl in 20–30 second bursts, stirring between bursts, until smooth and slightly cooled but still pourable.For this step
- 12 ozsemi-sweet chocolate chips (for dipping)
Step 4: Assemble the witch hats
Spoon about 1 teaspoon of melted chocolate onto the center of each brownie square to act as 'glue.' Immediately press a mini sugar cone (point facing up) into the chocolate, holding for a few seconds so the cone adheres and the chocolate spreads into a hat brim. Work in small batches so the chocolate stays fluid enough to bond.For this step
- 24 mini conesmini sugar ice cream cones
- 2 tbspfestive sprinkles (optional)
Step 5: Decorate and set
While the chocolate is still wet, sprinkle each hat with festive sprinkles or candy. Let the assembled hats sit at room temperature until the chocolate sets, or chill 10–15 minutes in the fridge for quicker setting. Serve as finger food — these make 24 bite-sized witch hat brownies.


- Preheat oven to 350°F (175°C). In a medium saucepan over low heat, melt the butter, then remove from heat and whisk in the sugar until glossy. Whisk in the eggs one at a time, then stir in the vanilla. Sift the cocoa, flour, and salt together and fold into the wet mixture until just combined — do not overmix.
- Line a 9x13-inch baking pan with parchment and pour the batter in, smoothing the top. Bake 25–30 minutes, or until a toothpick inserted near the center comes out with a few moist crumbs. Let the brownies cool completely in the pan (about 45–60 minutes) so they will cut cleanly.
- Turn cooled brownies out and slice into 24 equal squares with a sharp knife (this recipe yields 24 pieces). Place the squares on a parchment-lined sheet. Meanwhile, melt the chocolate chips in a microwave-safe bowl in 20–30 second bursts, stirring between bursts, until smooth and slightly cooled but still pourable.
- Spoon about 1 teaspoon of melted chocolate onto the center of each brownie square to act as 'glue.' Immediately press a mini sugar cone (point facing up) into the chocolate, holding for a few seconds so the cone adheres and the chocolate spreads into a hat brim. Work in small batches so the chocolate stays fluid enough to bond.
- While the chocolate is still wet, sprinkle each hat with festive sprinkles or candy. Let the assembled hats sit at room temperature until the chocolate sets, or chill 10–15 minutes in the fridge for quicker setting. Serve as finger food — these make 24 bite-sized witch hat brownies.
Witch Hat Brownies Tips
Cool Completely Before Cutting
Let the brownies sit in the pan until room temperature or refrigerate briefly; warm brownies compress and smear when you slice them and the cones won’t sit straight.
Temper Chocolate Slightly
Microwave the chips in 20–30 second bursts and let the melted chocolate rest a minute so it’s still pourable but not scalding — too-hot chocolate can soften cones or slide off.
Press Straight Down
When attaching a cone, press it straight down into the chocolate spot and hold for several seconds; twisting can crack the cone and make the 'glue' spread unevenly.
Warm Knife For Clean Cuts
Run a sharp or serrated knife under hot water, dry it, and slice in a single smooth motion between each cut to get neat squares without tearing.
Work In Small Batches
Melt only as much chocolate as you can use before it cools and become thick, reheating gently as needed so each hat bonds cleanly.
Witch Hat Brownies Variations and Substitutions
Gluten-Free Brownies
Swap the all-purpose flour for a 1:1 gluten-free baking flour and add 1/4–1/2 teaspoon xanthan gum if your blend lacks it; bake the same but check for doneness a few minutes earlier.
Dairy-Free Version
Use vegan butter and dairy-free chocolate chips and confirm the cones are egg‑ and dairy‑free; the technique is identical and yields a vegan-friendly treat.
Caramel-Witch Hats
Before pressing on the cone, spoon a small dollop of soft caramel or dulce de leche onto each brownie and finish with a flake of sea salt for a sweet‑salty contrast.
Peanut Butter Swirl
Swirl 1/2 cup creamy peanut butter into the batter before baking or spread a thin layer on cooled squares under the cone for a nutty variation kids love.
Spiced Chocolate Twist
Add 1/2 teaspoon ground cinnamon and a pinch of cayenne to the dry ingredients for a subtle warmth that pairs beautifully with the crunchy cone.
How to Store and Make Witch Hat Brownies Ahead
Store assembled witch hats in a single layer in an airtight container at room temperature for up to 2–3 days to keep the cones crisp; refrigeration will extend life to 5 days but can soften the cones. For longer storage, freeze baked (unassembled) brownie squares tightly wrapped for up to 3 months, then thaw completely and assemble cones with freshly melted chocolate.
What to Serve With Witch Hat Brownies
Serve on a tiered platter or a parchment-lined tray so guests can pick them up without smudging the chocolate; include small napkins or mini dessert forks where kids are present. Pair with cold milk or hot cocoa for children, or offer espresso, cold brew, or mulled apple cider for adult gatherings to balance the sweetness.
Witch Hat Brownies FAQs
Can I make these a day ahead?
Yes — bake the brownies a day ahead and store them, tightly covered, at room temperature. For the best cone crunch, assemble the dipped cones the same day you plan to serve them.
How do I keep the cones from getting soggy?
Create a moisture barrier by brushing a thin layer of melted chocolate inside each cone before attaching it, and store completed hats in an airtight container at room temperature away from humidity.
My cones slid off the brownies — what went wrong?
Usually the chocolate 'glue' was either too thin or too cool; use chocolate that’s fluid but not hot, press the cone straight down and hold for several seconds so the chocolate spreads into a brim and sets underneath.
Can I freeze the finished witch hats?
It’s better to freeze the brownies unassembled; cones lose their crispness in the freezer. Freeze wrapped brownie squares, then thaw and dip/assemble when ready to serve.
How can I get perfectly even squares?
Score the top of the cooled brownies with a ruler and a sharp knife to mark a 4x6 grid before cutting, and wipe the knife clean (or rewarm it) between cuts for neat edges.
What if my melted chocolate seized or thickened?
Gently warm it in short bursts and stir; if it’s grainy from moisture, stir in a teaspoon of neutral oil (like vegetable or coconut) to smooth it, then cool slightly before using so it’s still workable.
About the author
Jake WoodsHello, I'm Jake. I started this recipe site with the idea that I hated recipe websites that overwhelm you with long stories and ads just to see plain content that's not helpful. My goal is to provide you with quality recipes, simple ideas and a fun cooking experience. There's lots of fun things to cook, and I think as you browse the site you'll find that TopShelf.Recipes is the place for quality recipes on the web.
See all recipes by Jake Woods →Ratings & Reviews
Did you make this recipe?
Be the first to share your experience.
Nutrition Facts
Per serving: 1 brownie (60g)
Nutrition values are estimated from USDA ingredient data and may vary based on preparation, brands, and portion sizes. Values are provided for informational purposes only.
Keep Reading
Guides & articles for this recipe
Guides
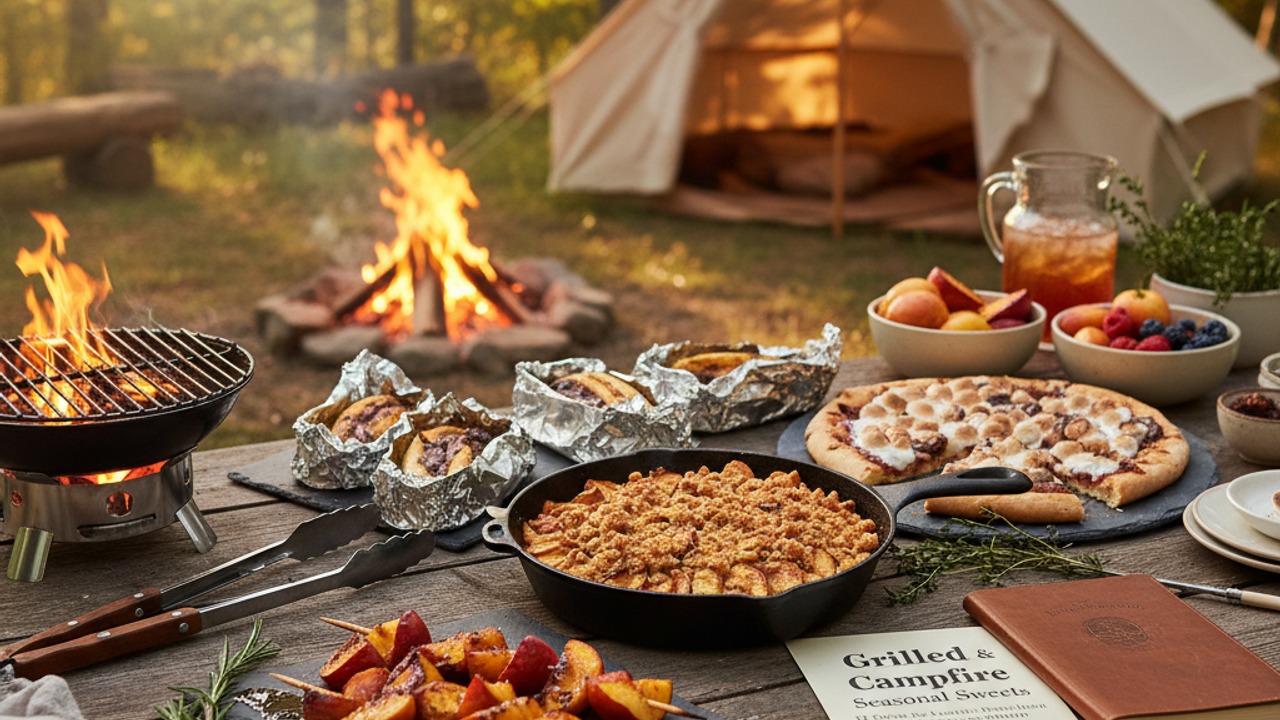
Grilled & Campfire Seasonal Sweets: 12 Crowd‑Favorite Desserts and How to Make Them Year‑Round
A season-by-season guide to 12 grill- and campfire-friendly desserts with flame-safe techniques, make-ahead strategies, vegetarian and gluten-free swaps, plus serving and storage tips so your outdoor sweets shine any time of year.

Guides
Summer Weeknight Grilling Playbook: 4-Week Rotating Meal Plan with Quick Seasonal Recipes, Make‑Ahead Sides & Grill‑First Desserts
A practical, four-week summer grilling playbook built for busy weeknights: 12 fast mains, 8 make‑ahead sides, 4 grill-forward desserts, weekly shopping lists, prep timelines, and smart tips for backyard, tailgate, or campsite cooking. Get the rhythm of easy, seasonal grilling that keeps dinner fresh and fast.

Healthy Eating
Gluten-Free Weeknight Grilling Plan
A 7-day gluten-free weeknight grilling plan with quick, family-friendly recipes, prep-ahead timelines, and a printable shopping list that spotlights late-summer produce and pantry staples. Includes clear cross-contamination safety tips and simple swaps to keep dinners fast and crowd-pleasing.
More from Desserts
View all Desserts recipes →
Yuzu Matcha Gelato

Sicilian Pistachio Gelato
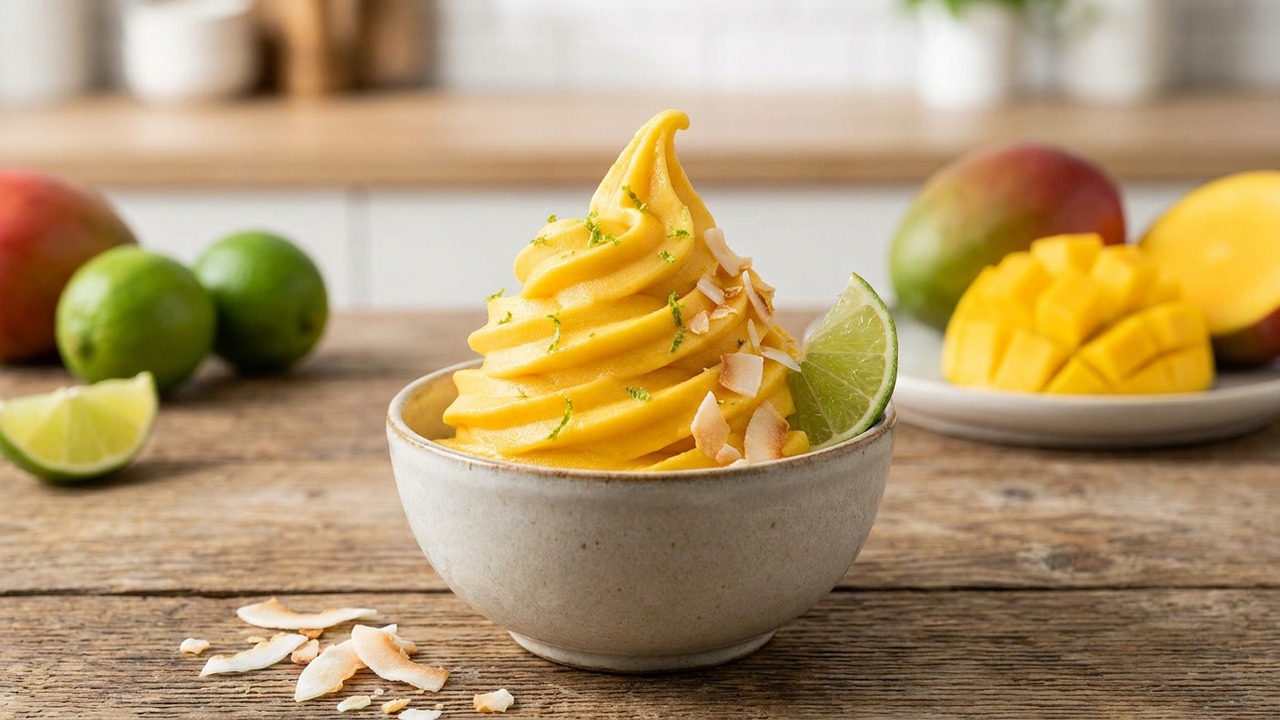
Ninja Slushy Soft Serve Mango Sorbet Bowl with Lime
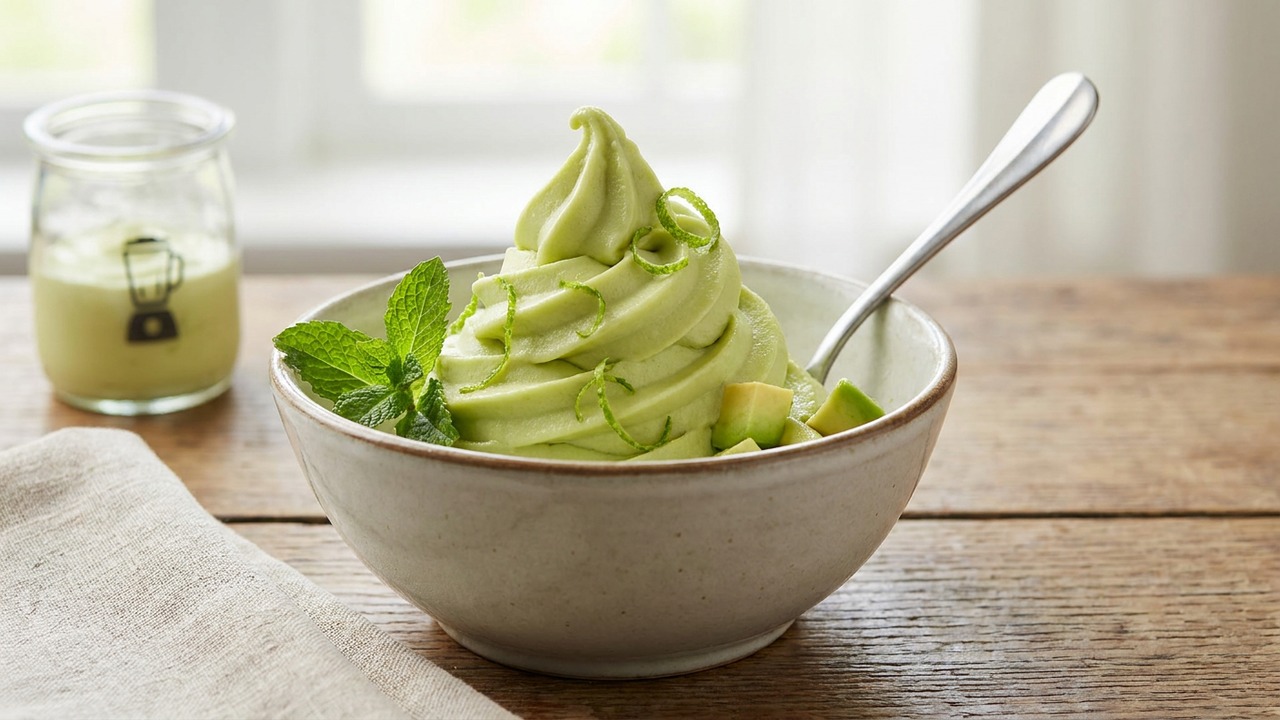
Ninja Keto Avocado Lime Soft Serve — Low Sugar Slushy

Easy Peanut Butter Bars

Chocolate Peanut Butter Chex Mix

Molten Lemon Cake

Boozy Red White Blue Popsicles (Vodka Ice Pops for Adults)

Salted Caramel Stuffed Brownies with Crispy Edges and Sea Salt
Ask me anything about this recipe — substitutions, scaling, techniques, timing.
Powered by AI · 6 questions per 5 minutes, 30 per day