Blackberry Crumble Bar
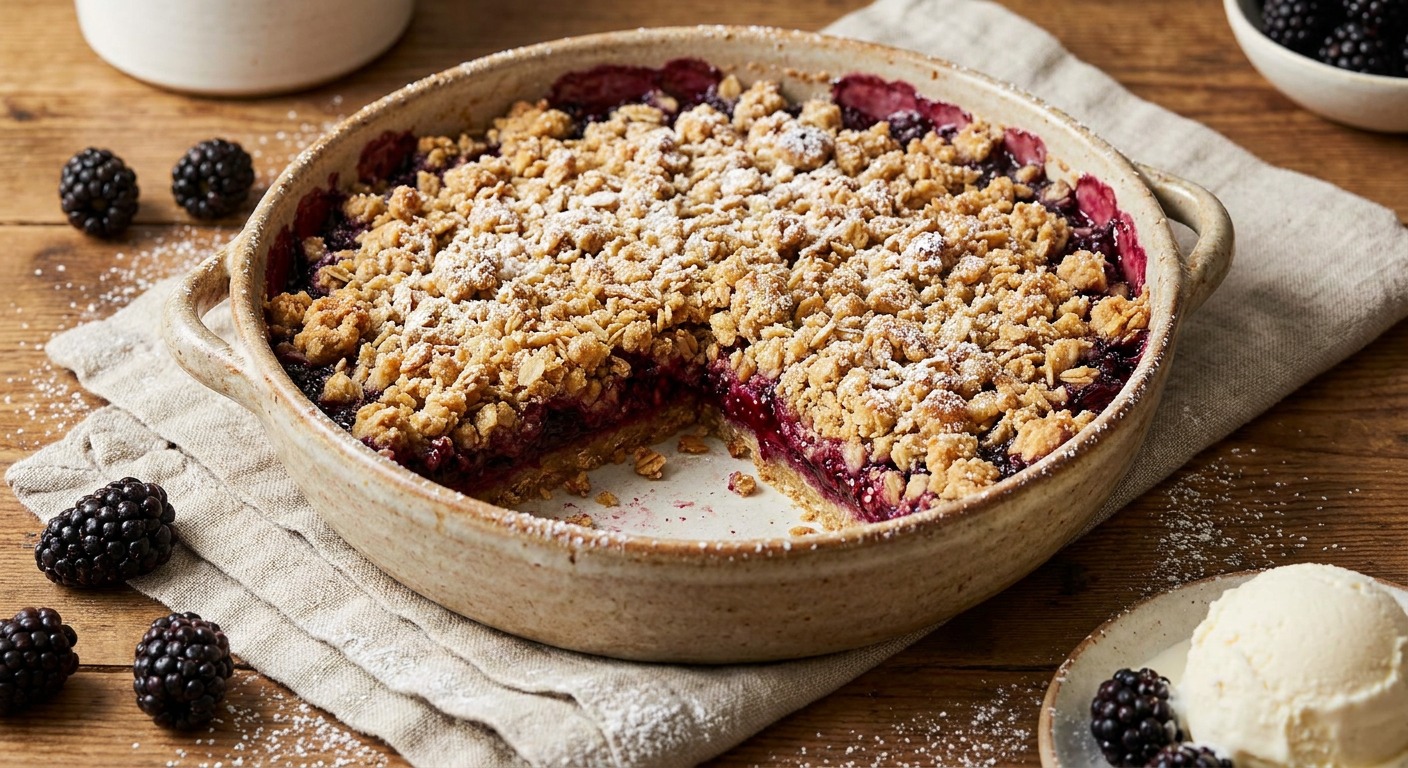
Buttery oat bars layered with a bright, slightly tart blackberry filling and a crunchy oat crumble topping. Easy to make and perfect for summer picnics, teatime, or a simple make-ahead dessert.
Sara's note
"These blackberry crumble bars balance jammy fruit with a nutty oat crumble — they travel well and keep for several days in the fridge. Home bakers will love how the filling firms up as it cools, making clean slices every time."
About This Recipe
These blackberry crumble bars are the sort of dessert that feels both homespun and considered: a dense, buttery oat base that browns at the edges, a glossy, bright-tart blackberry layer, and a crisp oat crumble that gives each bite a satisfying contrast of textures. The recipe leans on old-fashioned rolled oats for chew and light brown sugar for toasty, caramel notes, while a touch of lemon and a little cornstarch keep the fruit bright and spoonable rather than runny. They slice into neat bars once fully chilled, which makes them wonderfully portable for picnics, potlucks, or a week of teatime treats.
What makes this version work is the small but crucial choreography — par-baking the base so it stays firm beneath the fruit, reserving a portion of the oat mixture to create an evenly distributed topping, and cooking the berries just long enough to dissolve the sugar so the filling sets without becoming jammy. The result is rustic but reliable: not too sweet, very berry-forward, and textured in all the right places. These bars are forgiving, easy to scale, and ideal for anyone who wants a summery dessert that travels well and keeps its shape.
Ingredients for Blackberry Crumble Bar
- 2 cups fresh blackberries
- 1 cup all-purpose flour (or gluten-free blend)
- 1/4 cup granulated sugar (adjust to taste)
- 1 cup old-fashioned rolled oats
- 3/4 cup light brown sugar, loosely packed
- 1 tablespoon cornstarch
- 1 tablespoon freshly squeezed lemon juice
- 1/2 teaspoon baking powder
- 1 pinch fine sea salt
- 1/2 cup unsalted butter, melted
How to Make Blackberry Crumble Bar
Step 1: Preheat and prepare pan
Heat the oven to 350°F (175°C). Line an 8x8-inch (20x20 cm) square pan with parchment, leaving an overhang on two sides for easy removal, and lightly grease the parchment.Step 2: Mix the oat crumble base
In a large bowl combine the flour, rolled oats, light brown sugar, baking powder, and pinch of salt. Stir in the melted butter until the mixture holds together in coarse clumps; reserve about 1 1/4 cups of the mixture for the topping and press the remaining mixture firmly and evenly into the prepared pan. Par-bake the base for 10–12 minutes until it just begins to set but is not browned; remove from oven.For this step
- 1 cupall-purpose flour (or gluten-free blend)
- 1 cupold-fashioned rolled oats
- 3/4 cuplight brown sugar, loosely packed
- 1/2 teaspoonbaking powder
- 1 pinchfine sea salt
- 1/2 cupunsalted butter, melted
Step 3: Cook the blackberry filling
In a medium saucepan or bowl, gently mash the blackberries with the granulated sugar, cornstarch, and lemon juice until combined but still slightly chunky. Warm over low heat just until the sugar dissolves and the juices thicken slightly (about 2–4 minutes) — you want a glossy, spoonable filling, not a full jam.For this step
- 2 cupsfresh blackberries
- 1/4 cupgranulated sugar (adjust to taste)
- 1 tablespooncornstarch
- 1 tablespoonfreshly squeezed lemon juice
Step 4: Assemble and top
Spread the blackberry filling evenly over the par-baked oat base. Scatter the reserved crumble mixture evenly over the fruit, pressing lightly so the topping adheres to the filling.Step 5: Bake until bubbly and golden
Return the pan to the oven and bake 25–28 minutes, or until the filling is bubbling at the edges and the topping is golden brown. If the topping browns too quickly, tent loosely with foil for the last 5–10 minutes.Step 6: Cool, remove, and slice
Let the bars cool completely in the pan (at least 1–2 hours) so the filling sets, then lift them out using the parchment overhang and slice into 8 bars. Store in an airtight container in the refrigerator for up to 4 days or freeze for longer storage.


- Heat the oven to 350°F (175°C). Line an 8x8-inch (20x20 cm) square pan with parchment, leaving an overhang on two sides for easy removal, and lightly grease the parchment.
- In a large bowl combine the flour, rolled oats, light brown sugar, baking powder, and pinch of salt. Stir in the melted butter until the mixture holds together in coarse clumps; reserve about 1 1/4 cups of the mixture for the topping and press the remaining mixture firmly and evenly into the prepared pan. Par-bake the base for 10–12 minutes until it just begins to set but is not browned; remove from oven.
- In a medium saucepan or bowl, gently mash the blackberries with the granulated sugar, cornstarch, and lemon juice until combined but still slightly chunky. Warm over low heat just until the sugar dissolves and the juices thicken slightly (about 2–4 minutes) — you want a glossy, spoonable filling, not a full jam.
- Spread the blackberry filling evenly over the par-baked oat base. Scatter the reserved crumble mixture evenly over the fruit, pressing lightly so the topping adheres to the filling.
- Return the pan to the oven and bake 25–28 minutes, or until the filling is bubbling at the edges and the topping is golden brown. If the topping browns too quickly, tent loosely with foil for the last 5–10 minutes.
- Let the bars cool completely in the pan (at least 1–2 hours) so the filling sets, then lift them out using the parchment overhang and slice into 8 bars. Store in an airtight container in the refrigerator for up to 4 days or freeze for longer storage.
Blackberry Crumble Bar Tips
Press the Base Firmly
Compress the base into the pan using the bottom of a measuring cup so it bakes into a compact layer that won’t crumble when you slice the bars.
Par‑Bake for Structure
Don’t skip the short par-bake — it evaporates excess moisture and prevents a soggy bottom once the blackberry filling is added.
Cook Filling Until Glossy
Heat the mashed berries only until the sugar dissolves and juices thicken slightly; overcooking will gel the fruit into jam rather than a spoonable layer.
Chill Before Slicing
Let the bars cool completely (1–2 hours) in the pan so the filling sets; chilling in the fridge makes cleaner slices.
Sharp Knife, Warmed
For neat edges, run a sharp knife under hot water, dry it, then slice; wipe between cuts to keep clean lines.
Blackberry Crumble Bar Variations and Substitutions
Mixed Berry Swap
Use equal parts raspberries, blackberries and blueberries for a more complex berry flavor; increase cornstarch to 1.5 tablespoons if using a lot of juicy blueberries.
Nutty Oat Crumble
Stir 1/3 cup finely chopped toasted pecans or almonds into the oat mixture for extra crunch and a toasty finish.
Vegan Coconut Butter
Replace melted butter with solid coconut oil or a 1:1 vegan butter alternative; the texture will be similar though slightly less rich.
Lower‑Sugar Version
Reduce granulated sugar by half and cut brown sugar by 2–3 tablespoons; add a pinch more cornstarch if the filling seems loose to help it set.
How to Store and Make Blackberry Crumble Bar Ahead
Store cooled bars in an airtight container in the refrigerator for up to 4 days; layering with parchment prevents sticking. For longer storage, freeze individual bars on a sheet pan, then transfer to a freezer bag for up to 3 months — thaw in the fridge overnight. Reheat briefly in a 300°F oven for 8–10 minutes if you prefer them warm, or serve chilled.
What to Serve With Blackberry Crumble Bar
Serve these bars simply with a dollop of lightly sweetened whipped cream or a scoop of vanilla ice cream to contrast the tart blackberries. For teatime, pair with a bright, citrusy black tea or a cold sparkling rosé for summer gatherings. Plate them on a small square with a sprinkle of powdered sugar or a few fresh berries for a pretty, portable dessert.
Blackberry Crumble Bar FAQs
Can I use frozen blackberries?
Yes — thaw them, drain off excess liquid, and stir in an extra 1/2–1 tablespoon cornstarch to compensate for the added moisture; you may need to simmer the filling a bit longer to reach a glossy thickness.
Why did my filling run when I sliced the bars?
Most likely the bars didn’t cool long enough; the cornstarch needs time to set as the filling cools, so refrigerate at least 1–2 hours before slicing to avoid a loose filling.
How do I prevent the topping from burning?
If the crumble is browning too quickly, tent the pan loosely with foil for the last 5–10 minutes of baking to allow the filling to bubble without over-browning the oats.
Can I make these gluten‑free?
Yes — use certified gluten‑free oats and substitute a 1:1 gluten‑free all-purpose flour blend in place of regular flour for the same texture.
Will the bars be too crumbly without eggs or extra fat?
The combination of melted butter and brown sugar binds the oat mixture; pressing the base firmly and par-baking helps it hold together, and chilling before cutting further reduces crumbliness.
Ratings & Reviews
Did you make this recipe?
Be the first to share your experience.
Nutrition Facts
Per serving: 1 serving
Nutrition values are estimated from USDA ingredient data and may vary based on preparation, brands, and portion sizes. Values are provided for informational purposes only.
Keep Reading
Guides & articles for this recipe
Tips & Techniques
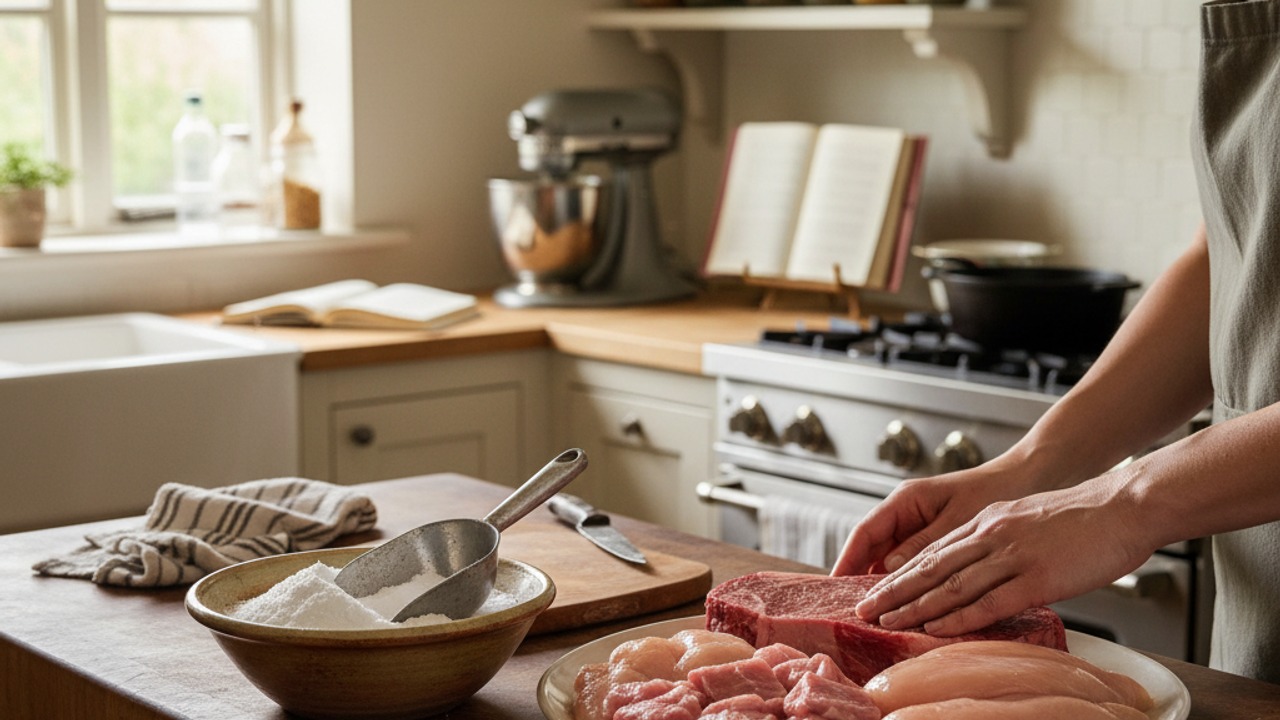
Baking Soda and Tenderized Beef
Learn how baking soda can tenderize, boost browning, and improve moisture for ground beef and other meats. This practical guide covers the science, step-by-step techniques, common mistakes, and recipes to try.

Healthy Eating
Gluten-Free Weeknight Grilling Plan
A 7-day gluten-free weeknight grilling plan with quick, family-friendly recipes, prep-ahead timelines, and a printable shopping list that spotlights late-summer produce and pantry staples. Includes clear cross-contamination safety tips and simple swaps to keep dinners fast and crowd-pleasing.

Healthy Eating
Low-Fat Grill Swaps for Big Flavor
A practical guide to trimming fat from grilled meals without losing juiciness or char. Learn yogurt- and citrus-based marinades, lean protein picks, searing and indirect-heat tricks, plus 5 quick low-fat marinades and a simple weeknight plan.
More from Baking
View all Baking recipes →
Cloud Bread Sandwiches

Honey Mustard Chicken Nuggets

Cheddar Jalapeño Corn Muffins

Basque Burnt Cheesecake

30-Minute Sticky Baked Honey Garlic Chicken Thighs with Crisp Edges

Lemon Butter Salmon

Spritz Cookies

Brown Butter Vanilla Syrup

Honey Glazed Easter Ham
Ask me anything about this recipe — substitutions, scaling, techniques, timing.
Powered by AI · 6 questions per 5 minutes, 30 per day