Easy One-Bowl Lemon Bars
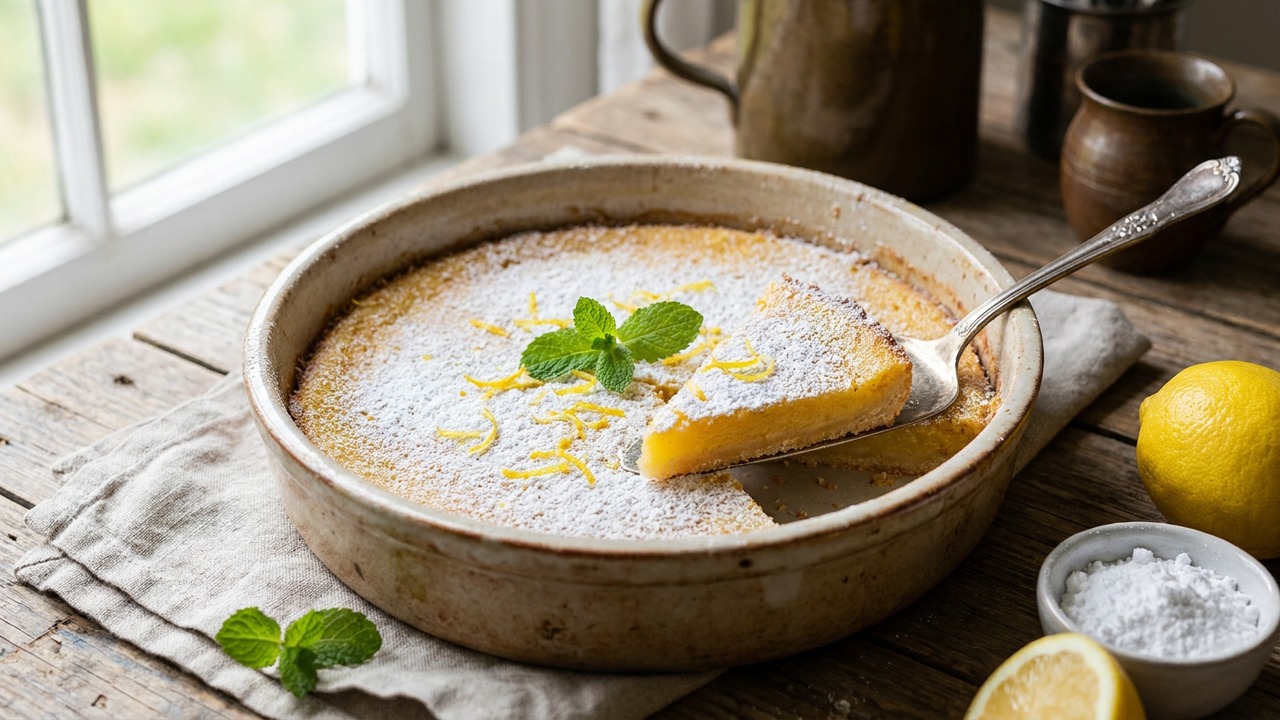
Bright, tangy lemon bars made with minimal fuss and only one bowl — perfect for busy bakers who want big flavor with small cleanup. A buttery shortbread base is topped with a silky lemon curd-like filling for a classic dessert that slices beautifully.
Jake Woods's note
"These lemon bars are ideal for potlucks, picnics, or weeknight treats when you want something bright and homemade without extra dishes. The one-bowl method keeps the process fast and cleanup even faster."
About This Recipe
These Easy One-Bowl Lemon Bars are built around the idea that bright, professional-tasting desserts don’t have to be fussy. A warmly buttery shortbread base gives a nutty, tender counterpoint to a silky, lemon-curd-like filling that sets up thanks to a small addition of flour and a careful bake. Because everything comes together in a single bowl, the recipe trims cleanup without cutting corners on texture: the crust is par-baked so it stays crisp and keeps the filling from turning soggy, while a brief chill firms the topping so the bars slice cleanly.
This version works because it balances convenience with a few deliberate technical choices — melted butter for easy blending, fresh lemon juice and zest for brightness, and a measured wobble at the end of baking so residual heat finishes the set without drying the curd. It’s ideal for busy weeknights, potlucks, or a last-minute dessert when you want something that looks like you spent longer on it than you did. Slice them cold for tidy squares, or bring to room temperature for a softer, creamier mouthfeel.
Ingredients for Easy One-Bowl Lemon Bars
- 1/2 cup (1 stick) unsalted butter (melted)
- 1 1/4 cups granulated sugar (divided)
- 1 1/4 cups all-purpose flour (divided)
- 1/4 tsp salt
- 3 large large eggs
- 1/2 cup fresh lemon juice
- 1 tbsp lemon zest (about 1 lemon)
- 1/4 cup powdered sugar (for dusting)
How to Make Easy One-Bowl Lemon Bars
Step 1: Preheat and make the crust
Preheat the oven to 350°F (175°C) and line an 8x8-inch pan with parchment, leaving an overhang. In the single mixing bowl, stir the melted butter with 1/4 cup of the granulated sugar, 1 cup of the flour, and the salt until a crumbly dough forms; press it evenly into the bottom of the prepared pan. Bake the crust for 12–15 minutes, or until edges are lightly golden, then remove from the oven.For this step
- 1/2 cup (1 stick)unsalted butter (melted)
- 1 1/4 cupsall-purpose flour (divided)
- 1/4 tspsalt
Step 2: Whisk the lemon filling
While the crust is baking, leave the same bowl (no extra bowls required) and whisk together the eggs, the remaining 1 cup granulated sugar, fresh lemon juice, lemon zest, and the reserved 2 tablespoons of flour until smooth and glossy. The small flour addition helps the filling set; scrape the mixture over the hot par-baked crust and spread into an even layer.For this step
- 3 largelarge eggs
- 1/2 cupfresh lemon juice
- 1 tbsplemon zest (about 1 lemon)
Step 3: Bake until set
Return the pan to the oven and bake for 18–22 minutes, or until the filling is mostly set but still has a slight gentle jiggle in the center. Remove from the oven and let the pan cool on a wire rack until it reaches room temperature.Step 4: Chill to firm
For clean slices, chill the cooled bars in the refrigerator for at least 1 hour (longer is fine) so the filling fully firms. Chilling also concentrates the lemon flavor and makes removal from the pan easier.Step 5: Dust and slice
Lift the bars from the pan using the parchment overhang and dust the top with powdered sugar. Using a sharp knife, slice into 8 bars, wiping the blade between cuts for neat edges, and serve chilled or at room temperature.For this step
- 1/4 cuppowdered sugar (for dusting)


- Preheat the oven to 350°F (175°C) and line an 8x8-inch pan with parchment, leaving an overhang. In the single mixing bowl, stir the melted butter with 1/4 cup of the granulated sugar, 1 cup of the flour, and the salt until a crumbly dough forms; press it evenly into the bottom of the prepared pan. Bake the crust for 12–15 minutes, or until edges are lightly golden, then remove from the oven.
- While the crust is baking, leave the same bowl (no extra bowls required) and whisk together the eggs, the remaining 1 cup granulated sugar, fresh lemon juice, lemon zest, and the reserved 2 tablespoons of flour until smooth and glossy. The small flour addition helps the filling set; scrape the mixture over the hot par-baked crust and spread into an even layer.
- Return the pan to the oven and bake for 18–22 minutes, or until the filling is mostly set but still has a slight gentle jiggle in the center. Remove from the oven and let the pan cool on a wire rack until it reaches room temperature.
- For clean slices, chill the cooled bars in the refrigerator for at least 1 hour (longer is fine) so the filling fully firms. Chilling also concentrates the lemon flavor and makes removal from the pan easier.
- Lift the bars from the pan using the parchment overhang and dust the top with powdered sugar. Using a sharp knife, slice into 8 bars, wiping the blade between cuts for neat edges, and serve chilled or at room temperature.
Easy One-Bowl Lemon Bars Tips
Press Crust Firmly
Use the bottom of a measuring cup to compact the crust into an even, dense layer so it bakes into a crisp shortbread base rather than a loose crumb.
Use Fresh Lemons
Freshly squeezed juice and finely grated zest give a brighter, cleaner citrus flavor than bottled juice and ensure the filling tastes lively rather than flat.
Watch the Jiggle
Remove the bars when the filling is mostly set with a slight center wobble; residual heat will finish the set and prevent a curd that’s grainy from overbaking.
Chill Fully Before Slicing
Refrigerate for at least an hour (longer if possible) so the filling firms; this makes slicing clean squares and prevents the filling from running.
Warm Knife Between Cuts
Dip a thin, sharp knife in hot water and wipe it dry before each cut to get neat edges and prevent powdered sugar from smearing.
Easy One-Bowl Lemon Bars Variations and Substitutions
Gluten-Free Lemon Bars
Use a 1:1 gluten-free all-purpose flour blend for both crust and filling and add 1 tablespoon cornstarch to the filling to help it set; press the crust well and bake a minute or two longer if it seems soft.
Coconut-Lemon Twist
Fold 1/3 cup finely shredded unsweetened coconut into the crust for texture and replace 2 tablespoons of the lemon juice with coconut milk for a tropical note.
Lime or Grapefruit Variation
Swap equal parts lime or pink grapefruit juice and zest for lemon to change the citrus profile, and slightly reduce sugar if using sweeter grapefruit.
Blueberry Swirl Bars
Stir 3/4 cup fresh or thawed frozen blueberries with 1 tablespoon sugar and a pinch of cornstarch, dollop over the filling before baking, and swirl gently with a toothpick.
How to Store and Make Easy One-Bowl Lemon Bars Ahead
Store leftover bars in an airtight container in the refrigerator for up to 4–5 days; they keep best chilled to maintain the filling's texture. For longer storage, wrap tightly and freeze for up to one month, then thaw in the refrigerator overnight and bring to room temperature before serving. Avoid leaving them at room temperature for more than a few hours because the filling is egg-based.
What to Serve With Easy One-Bowl Lemon Bars
Serve chilled squares dusted with powdered sugar alongside lightly sweetened whipped cream or a spoonful of crème fraîche to complement the tartness. Pair with bright beverages like Earl Grey tea, a fizzy Prosecco, or an espresso to cut richness, and garnish with extra lemon zest or a few fresh berries for color.
Easy One-Bowl Lemon Bars FAQs
Why did my filling come out grainy?
Graininess usually means the filling was overbaked and the eggs coagulated too quickly; next time remove it while the center still has a gentle jiggle and let residual heat finish the set. Also make sure you whisk the eggs and sugar until smooth before adding the lemon.
Can I use bottled lemon juice instead of fresh?
You can in a pinch, but bottled juice lacks the bright, volatile oils from fresh zest — if you must use bottled, add extra zest to reclaim some freshness and consider reducing sugar slightly to balance flavor.
My bars are too soft after chilling — how can I fix that?
Soft bars usually need a bit more bake time or more chilling; return them to the oven for 3–5 minutes if underbaked or chill longer. For future batches, add an extra 1 tablespoon of flour or 1 teaspoon cornstarch to the filling for more stability.
How do I get perfectly straight slices?
Chill the bars fully, then lift them from the pan using the parchment overhang; use a long, thin blade warmed in hot water and wiped dry between cuts to produce clean edges.
Can I make these ahead for an event?
Yes — make them a day ahead and refrigerate; chilling improves sliceability and flavor. If making further in advance, freeze the cooled bars and thaw in the fridge the day before serving.
About the author
Jake WoodsHello, I'm Jake. I started this recipe site with the idea that I hated recipe websites that overwhelm you with long stories and ads just to see plain content that's not helpful. My goal is to provide you with quality recipes, simple ideas and a fun cooking experience. There's lots of fun things to cook, and I think as you browse the site you'll find that TopShelf.Recipes is the place for quality recipes on the web.
See all recipes by Jake Woods →Ratings & Reviews
Did you make this recipe?
Be the first to share your experience.
Nutrition Facts
Per serving: 1 bar (95g)
Nutrition values are estimated from USDA ingredient data and may vary based on preparation, brands, and portion sizes. Values are provided for informational purposes only.
Keep Reading
Guides & articles for this recipe
Tips & Techniques
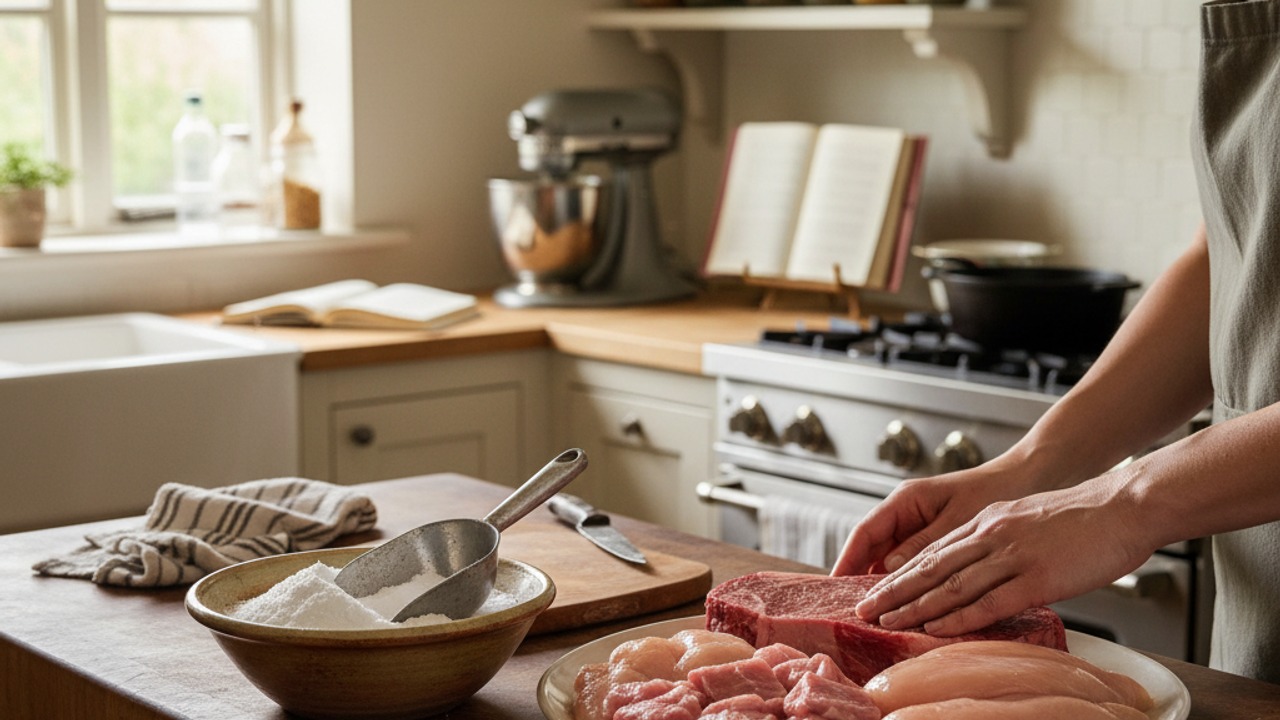
Baking Soda and Tenderized Beef
Learn how baking soda can tenderize, boost browning, and improve moisture for ground beef and other meats. This practical guide covers the science, step-by-step techniques, common mistakes, and recipes to try.

Healthy Eating
Gluten-Free Weeknight Grilling Plan
A 7-day gluten-free weeknight grilling plan with quick, family-friendly recipes, prep-ahead timelines, and a printable shopping list that spotlights late-summer produce and pantry staples. Includes clear cross-contamination safety tips and simple swaps to keep dinners fast and crowd-pleasing.

Healthy Eating
Low-Fat Grill Swaps for Big Flavor
A practical guide to trimming fat from grilled meals without losing juiciness or char. Learn yogurt- and citrus-based marinades, lean protein picks, searing and indirect-heat tricks, plus 5 quick low-fat marinades and a simple weeknight plan.
More from Baking
View all Baking recipes →
Gluten-Free Soft Pretzels

Sticky Gochujang Spare Ribs (Oven-Baked Korean-Inspired)

Apple Cider Muffins

Baked Buffalo Chicken Wings with Blue Cheese Dip (Crispy Oven Method)

Gluten-Free Honey Garlic Chicken Thighs with Tamari and Toasted Sesame

Sheet Pan Baked Honey Garlic Chicken Breasts with Roasted Vegetables

Juicy Oven-Baked Chicken Breasts (No-Dryness Method)

Cloud Bread Sandwiches

Honey Mustard Chicken Nuggets
Ask me anything about this recipe — substitutions, scaling, techniques, timing.
Powered by AI · 6 questions per 5 minutes, 30 per day