Instant Pot Chicken Alfredo Casserole — Creamy Pasta Bake Made Fast
A speedy, comforting casserole that turns creamy chicken Alfredo into a hands-off Instant Pot pasta bake. Tender chicken, al dente penne and a silky cream-cheese Alfredo finish under a melty cheese topping for a weeknight crowd-pleaser.
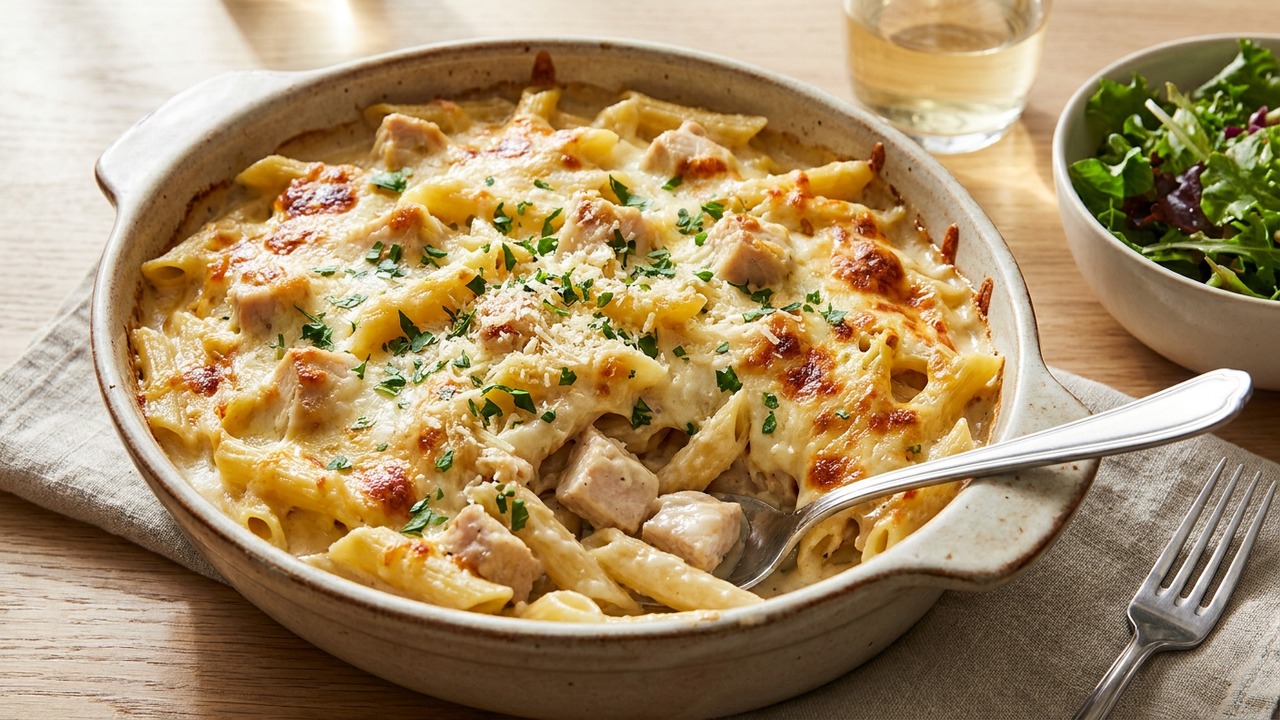
About This Recipe
I created this Instant Pot Chicken Alfredo Casserole to capture the silky richness of a homemade Alfredo while keeping dinner practically hands-off. A quick sear on the chicken builds real savory depth, and dollops of cream cheese plus heavy cream melt into the broth to form a clingy, velvety sauce that coats al dente penne. Frozen peas add a tender pop of sweetness and color, while shredded mozzarella — or a minute beneath a hot broiler — delivers the melty, browned top that makes a casserole feel like comfort food.
What makes this version work in under 35 minutes is technique: deglaze the pot well to avoid bitter scorch, layer the pasta on top of the liquid to prevent sticking, and shred the chicken back into the sauce so the meat soaks up creaminess without drying out. It’s designed for busy weeknights, picky eaters, and anyone who wants a one-pot dish that’s both substantial and fuss-free; it’s easy to scale for leftovers or to finish under the broiler for a party-ready crust. Read the tips below for small timing and texture adjustments that really improve the finished dish.
Ingredients for Instant Pot Chicken Alfredo Casserole — Creamy Pasta Bake Made Fast
- 1 lb Boneless skinless chicken breasts
- 1 tbsp Olive oil
- 1 batch (1 onion + 3 cloves) Aromatics (1 medium onion, diced + 3 garlic cloves, minced)
- 1 tsp salt + 1/2 tsp pepper Salt and black pepper
- 2 cups Low-sodium chicken broth
- 12 oz Uncooked penne pasta
- 1 cup Heavy cream
- 4 oz Cream cheese (softened)
- 1 1/2 cups Shredded mozzarella
- 1 cup Frozen peas
How to Make Instant Pot Chicken Alfredo Casserole — Creamy Pasta Bake Made Fast
Step 1: Sauté aromatics and brown the chicken
Set the Instant Pot to Sauté and heat the olive oil until shimmering. Season the chicken breasts with salt and pepper, then brown 2–3 minutes per side until golden; transfer to a plate. Add the diced onion and minced garlic to the pot and cook 1–2 minutes until softened and fragrant, scraping up browned bits.For this step
- 1 lbBoneless skinless chicken breasts
- 1 tbspOlive oil
- 1 batch (1 onion + 3 cloves)Aromatics (1 medium onion, diced + 3 garlic cloves, minced)
- 1 tsp salt + 1/2 tsp pepperSalt and black pepper
Step 2: Add liquids, cream and pasta
Pour in the chicken broth and heavy cream and scrape any stuck bits from the bottom with a wooden spoon to deglaze the pot. Spread the uncooked penne in an even layer over the liquid (do not stir), then dollop the cream cheese around the pasta so it melts into the sauce while cooking.For this step
- 2 cupsLow-sodium chicken broth
- 12 ozUncooked penne pasta
- 1 cupHeavy cream
- 4 ozCream cheese (softened)
Step 3: Pressure-cook the pasta and chicken
Return the browned chicken to the top of the pasta, close the lid, and set the valve to Sealing. Pressure cook on High for 5 minutes, then perform a Quick Release once the timer finishes. Carefully remove the lid.Step 4: Shred chicken and finish the sauce
Remove the chicken to a cutting board, shred with two forks, then return it to the pot. Stir in the shredded mozzarella and frozen peas; switch to Sauté for 2–3 minutes until the cheese is melted and the sauce has thickened to your liking.For this step
- 1 1/2 cupsShredded mozzarella
- 1 cupFrozen peas
Step 5: Optional broil and serve
If you want a golden top, transfer the mixture to a shallow casserole dish, set under a hot broiler for 2–4 minutes until bubbly and lightly browned, then remove. Serve hot, adjusting salt and pepper to taste.


- Set the Instant Pot to Sauté and heat the olive oil until shimmering. Season the chicken breasts with salt and pepper, then brown 2–3 minutes per side until golden; transfer to a plate. Add the diced onion and minced garlic to the pot and cook 1–2 minutes until softened and fragrant, scraping up browned bits.
- Pour in the chicken broth and heavy cream and scrape any stuck bits from the bottom with a wooden spoon to deglaze the pot. Spread the uncooked penne in an even layer over the liquid (do not stir), then dollop the cream cheese around the pasta so it melts into the sauce while cooking.
- Return the browned chicken to the top of the pasta, close the lid, and set the valve to Sealing. Pressure cook on High for 5 minutes, then perform a Quick Release once the timer finishes. Carefully remove the lid.
- Remove the chicken to a cutting board, shred with two forks, then return it to the pot. Stir in the shredded mozzarella and frozen peas; switch to Sauté for 2–3 minutes until the cheese is melted and the sauce has thickened to your liking.
- If you want a golden top, transfer the mixture to a shallow casserole dish, set under a hot broiler for 2–4 minutes until bubbly and lightly browned, then remove. Serve hot, adjusting salt and pepper to taste.
Instant Pot Chicken Alfredo Casserole — Creamy Pasta Bake Made Fast Tips
Brown the chicken first
Searing the breasts for just 2–3 minutes per side adds deep flavor and those fond bits that deglaze into the sauce—don’t skip this step.
Deglaze thoroughly
After browning, pour in the broth and scrape the bottom until there are no stuck bits; this prevents burn notices and gives the sauce a savory base.
Layer pasta, don’t stir
Spread the penne in an even layer on top of the liquids without stirring so the pasta cooks evenly and the starches don’t settle and trigger burning.
Use softened cream cheese
Bring the cream cheese to room temperature or cut into small pieces so it melts quickly and disperses into a smooth sauce during pressure cooking.
Quick release carefully
Perform a quick release as instructed to avoid overcooking the pasta; if you prefer a creamier, more tender result, allow 2 minutes of natural release instead.
Instant Pot Chicken Alfredo Casserole — Creamy Pasta Bake Made Fast Variations and Substitutions
Chicken thighs instead
Substitute boneless skinless thighs for juicier, more forgiving meat; use the same cook time but reduce searing time to avoid over-browning.
Vegetarian Alfredo bake
Replace chicken with roasted mushrooms and artichoke hearts and use vegetable broth; add a tablespoon of lemon juice for brightness.
Gluten-free swap
Use a 12-ounce package of gluten-free penne and be mindful that some brands absorb more liquid—add 1/4 cup extra broth if the sauce seems dry after cooking.
Lighter dairy option
Use half-and-half mixed with a tablespoon of cornstarch and reduced-fat cream cheese to cut calories while maintaining creaminess; skip the broil for lower fat content.
How to Store and Make Instant Pot Chicken Alfredo Casserole — Creamy Pasta Bake Made Fast Ahead
Cool the casserole to room temperature and refrigerate in an airtight container for up to 3–4 days. Reheat gently on the stovetop over low heat with a splash of milk or broth to loosen the sauce, or microwave in 45–60 second bursts, stirring between intervals. You can freeze portions for up to 2 months—thaw overnight in the fridge and reheat slowly; texture softens slightly after freezing, so avoid broiling until reheated and served.
What to Serve With Instant Pot Chicken Alfredo Casserole — Creamy Pasta Bake Made Fast
Serve with a bright, acidic side to cut the richness—an arugula salad dressed with lemon vinaigrette or roasted broccoli with flaky salt works beautifully. A crisp white wine like unoaked Chardonnay or Pinot Grigio pairs well, or choose a light Italian lager for a casual meal. Garnish with chopped parsley or a few red pepper flakes for color and an extra flavor lift.
Instant Pot Chicken Alfredo Casserole — Creamy Pasta Bake Made Fast FAQs
Can I use chicken thighs instead of breasts?
Yes—boneless skinless thighs will give a richer, slightly more forgiving result; keep the same pressure-cook time but reduce sear time so they don’t overbrown.
What if I get a ‘burn’ notice on my Instant Pot?
Stop, deglaze thoroughly by scraping the bottom with broth until all browned bits are loosened, then rebuild the layers; ensure the pasta is spread on top of the liquid and not buried under dense aromatics to avoid starch sticking.
My pasta was a little mushy — how can I prevent that?
Use a short, sturdy shape like penne and follow the liquid ratio closely; if you consistently get mushy pasta, reduce the pressure time by 1 minute or use a firmer-brand pasta next time.
Can I assemble this ahead of time and cook later?
Yes—assemble through step 2, refrigerate covered for up to 24 hours, then return to room temperature for 15–20 minutes before pressure cooking; bring the vessel to pressure may take longer from cold.
Why do you instruct not to stir the pasta into the liquid?
Stirring can cause the starches to clump and settle on the bottom, which increases the risk of sticking and burn warnings; layering helps the pasta hydrate evenly from the liquid below.
Can I add more vegetables or mix-ins?
You can—add quick-cooking vegetables like spinach or peas at the end, or small-diced carrots and bell peppers that will become tender during pressure cook; avoid large, dense vegetables unless you pre-cook them so they finish at the same time as the pasta.
About the author
Jake WoodsHello, I'm Jake. I started this recipe site with the idea that I hated recipe websites that overwhelm you with long stories and ads just to see plain content that's not helpful. My goal is to provide you with quality recipes, simple ideas and a fun cooking experience. There's lots of fun things to cook, and I think as you browse the site you'll find that TopShelf.Recipes is the place for quality recipes on the web.
See all recipes by Jake Woods →Ratings & Reviews
Did you make this recipe?
Be the first to share your experience.
Nutrition Facts
Per serving: 1 serving
Nutrition values are estimated from USDA ingredient data and may vary based on preparation, brands, and portion sizes. Values are provided for informational purposes only.
Keep Reading
Guides & articles for this recipe

Guides
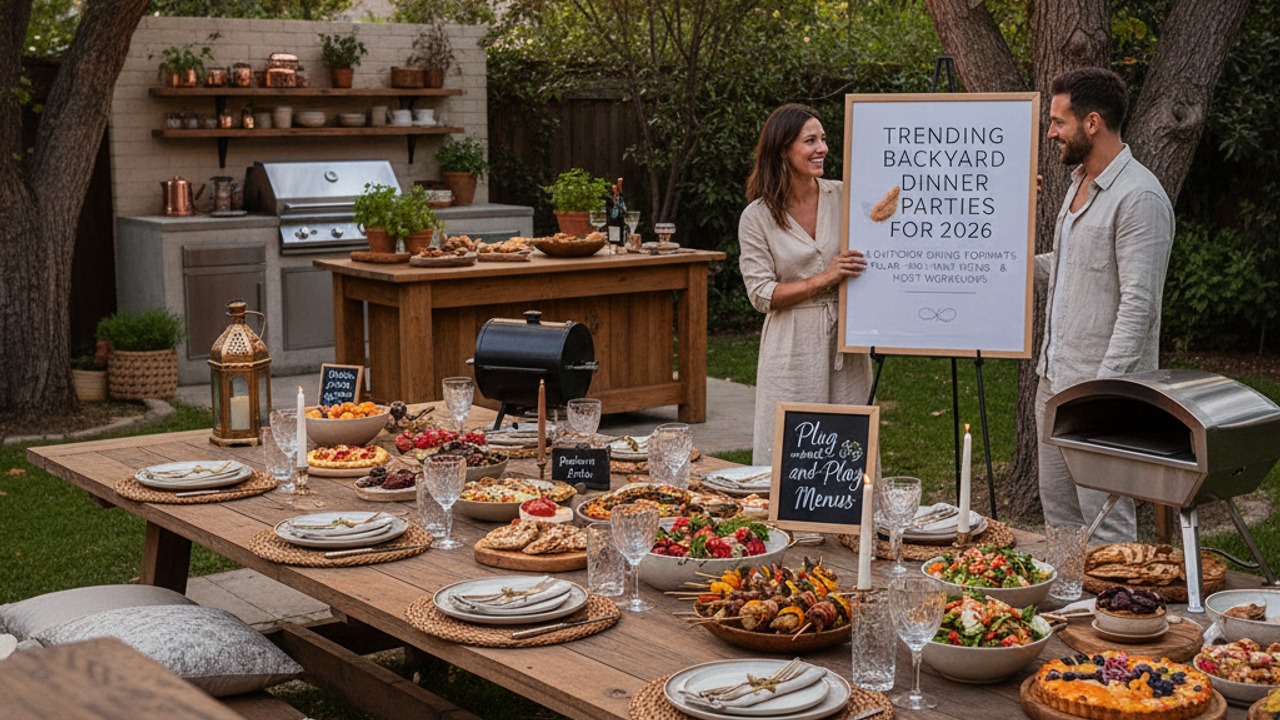
Trending Backyard Dinner Parties for 2026: 8 Outdoor Dining Formats, Ready‑Made Menus & Host Workflows
Discover the eight backyard dining formats taking off in 2026, with plug‑and‑play menu templates, grill timing and workflow checklists, decor shortcuts, and social‑media and sustainability tips. This practical guide turns your yard into a seamless, shareable dining experience—whether you're hosting a casual progressive grill or an intimate fireside chef demo.
Guides
Trending Backyard Dinner Parties for 2026: 8 Outdoor Dining Formats, Plug‑and‑Play Menus & Host Workflows
Discover eight backyard dinner-party formats taking off in 2026, each with plug‑and‑play menu templates, step‑by‑step host workflows, grill timing tips, decor shortcuts, and social & sustainable ideas. Turn your yard into a memorable, stress‑free dining experience.

Healthy Eating
Gluten-Free Weeknight Grilling Plan
A 7-day gluten-free weeknight grilling plan with quick, family-friendly recipes, prep-ahead timelines, and a printable shopping list that spotlights late-summer produce and pantry staples. Includes clear cross-contamination safety tips and simple swaps to keep dinners fast and crowd-pleasing.
More from Dinner
View all Dinner recipes →
Classic Bacon Carbonara

Al Pastor Tacos

Jamaican Jerk Chicken Marinade for Smoking or Grilling

Air Fryer Chicken Sliders

Smoked Chicken Burger

Beer-Can Grilled Whole Chicken

Grilled Chicken with Chimichurri

Campfire‑Smoked Potato Salad with Mustard‑Bacon Vinaigrette — A Labor Day Grilling Side for Steak

30-Min Steak Grain Bowl with Chimichurri
Ask me anything about this recipe — substitutions, scaling, techniques, timing.
Powered by AI · 6 questions per 5 minutes, 30 per day