Apple Crisp Bars
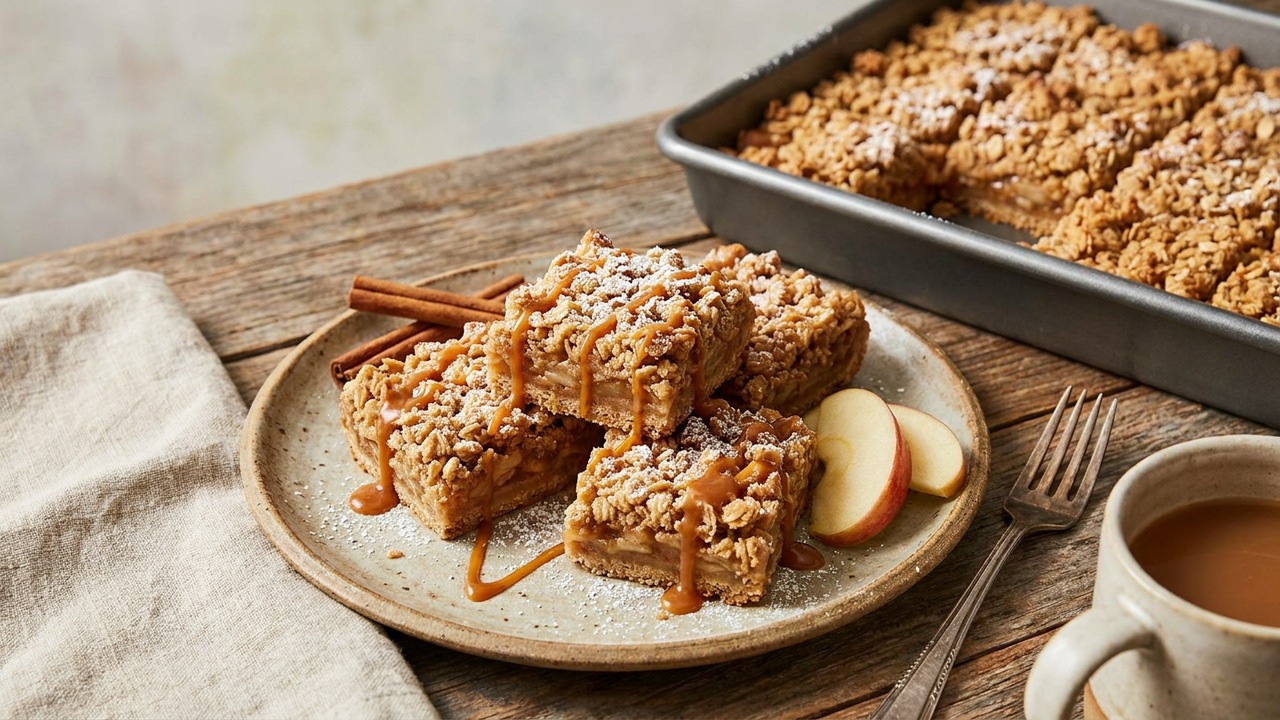
Portable, lunchbox-friendly bars that combine tender spiced apple filling with a buttery oat crisp and a drizzle of salted caramel. These bars bake in a single pan for easy serving at gatherings, school snacks, or afternoon treats.
Jake Woods's note
"These bars turn the classic apple crisp into a tidy, portable treat that shines at potlucks and in lunchboxes. Expect a crisp oat crumb, a warmly spiced apple center, and the finishing kiss of salted caramel."
About This Recipe
These apple crisp bars take everything you love about a classic skillet crisp — tender, warmly spiced apples and a buttery oat streusel — and make it portable and sliceable. The base is the same crumb that becomes both a firm, press-in crust and a crunchy topping; melting the butter first ensures the oats and flour bind evenly so the crust holds together when you slice it. A little flour tossed with the diced apples soaks up excess juice as the filling bakes, while lemon juice brightens the sweetness and keeps the fruit from turning dull. A quick drizzle of salted caramel and a flake of sea salt finishes each bar with a perfect sweet‑salty counterpoint that feels deliberately indulgent without being cloying.
This is a recipe that works for midweek lunchboxes, a neighborhood bake sale, or a simple dessert when you want something homey but tidy. Because it bakes in one pan and benefits from a short chill before cutting, it’s forgiving for home cooks: you can make it a few hours ahead and still get clean squares. Use a firmer eating apple like Honeycrisp, Pink Lady, or a tart Granny Smith if you want more contrast against the sugar and caramel; softer apples will yield a more jammy filling. The result is chewy oats, tender apples, and a caramel kiss on top — exactly the sort of thing friends ask for the recipe to take home.
Ingredients for Apple Crisp Bars
- 1 1/2 cups All-purpose flour
- 1 cup Old-fashioned rolled oats
- 3/4 cup Light brown sugar, packed
- 1 1/2 tsp Ground cinnamon
- 1/2 tsp Kosher salt
- 3/4 cup Unsalted butter, melted
- 3 cups Apples, peeled, cored and diced
- 1 tbsp Lemon juice
- 1/2 cup Salted caramel sauce (store-bought or homemade)
- 1/4 tsp Flaky sea salt (for finishing)
How to Make Apple Crisp Bars
Step 1: Make oat crumb and press crust
Preheat the oven to 350°F (175°C). In a large bowl combine the flour, oats, 1/2 cup of the brown sugar (reserve the rest for the filling), cinnamon, and kosher salt. Stir in the melted butter until mixture is evenly moistened and holds together when pressed. Reserve about half the mixture for the topping, then press the remaining mixture firmly into the bottom of a greased 9x9-inch (23x23 cm) baking pan to form the crust.For this step
- 1 1/2 cupsAll-purpose flour
- 1 cupOld-fashioned rolled oats
- 3/4 cupLight brown sugar, packed
- 1 1/2 tspGround cinnamon
- 1/2 tspKosher salt
- 3/4 cupUnsalted butter, melted
Step 2: Prepare apple filling
Toss the diced apples with the reserved brown sugar (about 1/4 cup), 2 tablespoons of the flour from the crust mixture, lemon juice, and a pinch of additional cinnamon if desired. The flour will thicken the juices as the filling bakes. Spread the apple mixture evenly over the prepared crust.For this step
- 3 cupsApples, peeled, cored and diced
- 1 tbspLemon juice
Step 3: Top with remaining crumb
Crumble the reserved oat mixture evenly over the apples, breaking up any large clumps so the topping bakes crisp. Lightly press so the topping adheres but remains crumbly for a crisp texture.Step 4: Bake until golden and bubbling
Bake the bars in the preheated oven for 35–40 minutes, or until the topping is golden brown and the apple filling is bubbling through in places. Rotate the pan halfway through baking for even browning.Step 5: Drizzle with salted caramel
Remove the pan from the oven and let it cool for 10–15 minutes, then drizzle the warm bars with the salted caramel sauce. Sprinkle lightly with flaky sea salt to balance the sweetness and enhance the caramel flavor.For this step
- 1/2 cupSalted caramel sauce (store-bought or homemade)
- 1/4 tspFlaky sea salt (for finishing)
Step 6: Cool, chill, and slice
Allow the bars to cool completely on a wire rack, then refrigerate for at least 30 minutes for cleaner slices. Use a sharp knife to cut into 8 bars and store airtight in the fridge for up to 4 days or freeze for longer storage.


- Preheat the oven to 350°F (175°C). In a large bowl combine the flour, oats, 1/2 cup of the brown sugar (reserve the rest for the filling), cinnamon, and kosher salt. Stir in the melted butter until mixture is evenly moistened and holds together when pressed. Reserve about half the mixture for the topping, then press the remaining mixture firmly into the bottom of a greased 9x9-inch (23x23 cm) baking pan to form the crust.
- Toss the diced apples with the reserved brown sugar (about 1/4 cup), 2 tablespoons of the flour from the crust mixture, lemon juice, and a pinch of additional cinnamon if desired. The flour will thicken the juices as the filling bakes. Spread the apple mixture evenly over the prepared crust.
- Crumble the reserved oat mixture evenly over the apples, breaking up any large clumps so the topping bakes crisp. Lightly press so the topping adheres but remains crumbly for a crisp texture.
- Bake the bars in the preheated oven for 35–40 minutes, or until the topping is golden brown and the apple filling is bubbling through in places. Rotate the pan halfway through baking for even browning.
- Remove the pan from the oven and let it cool for 10–15 minutes, then drizzle the warm bars with the salted caramel sauce. Sprinkle lightly with flaky sea salt to balance the sweetness and enhance the caramel flavor.
- Allow the bars to cool completely on a wire rack, then refrigerate for at least 30 minutes for cleaner slices. Use a sharp knife to cut into 8 bars and store airtight in the fridge for up to 4 days or freeze for longer storage.
Apple Crisp Bars Tips
Choose the right apples
Use firm, crisp apples (Honeycrisp, Pink Lady, or Granny Smith) to keep distinct apple pieces; softer varieties break down into a more jammy filling.
Toast oats for depth
If you have time, toast the rolled oats in a dry skillet for 3–4 minutes before mixing to deepen the nutty flavor of the crumb.
Press crust firmly
Pack the bottom layer firmly into the pan so the base holds together after baking, but leave the reserved topping loose for a crisp finish.
Control apple juices
Tossing the apples with a tablespoon or two of the flour from the crust absorbs excess moisture; don't skip this or your bars can become soggy.
Drizzle caramel warm
Warm the caramel slightly before drizzling so it flows into crevices but still pools gently, then finish with flaky sea salt for contrast.
Apple Crisp Bars Variations and Substitutions
Gluten-free swap
Use a 1:1 gluten-free all-purpose flour and certified gluten-free oats; press gently as GF crusts can be crumblier and benefit from a brief chill before slicing.
Vegan version
Replace butter with melted coconut oil or vegan butter and use coconut sugar or a vegan brown sugar substitute; top with dairy-free caramel or date caramel.
Add toasted nuts
Fold 1/2 cup chopped toasted pecans or walnuts into the topping for crunch and a toasty flavor that pairs well with caramel.
Spiced pear variation
Substitute diced firm pears for apples and add 1/4 teaspoon ground ginger and a pinch of nutmeg to the filling for a fall-forward twist.
How to Store and Make Apple Crisp Bars Ahead
Store cooled bars in an airtight container in the refrigerator for up to 4 days; the chilled bars cut more cleanly and the flavors mellow. For longer storage, wrap individual bars and freeze for up to 2 months, thawing overnight in the fridge. Reheat gently in a 325°F oven for 8–10 minutes or microwave briefly if you prefer them warm, then add a fresh drizzle of caramel.
What to Serve With Apple Crisp Bars
Serve these bars slightly warm or at room temperature with a dollop of thick vanilla yogurt or a small scoop of vanilla ice cream for contrast. They pair nicely with hot drinks like chai tea or a medium-roast coffee, and make a tidy contribution to a brunch spread alongside granola, fruit, and baked eggs.
Apple Crisp Bars FAQs
Can I use pre-made applesauce instead of diced apples?
I don’t recommend swapping in applesauce — it will make the filling too wet and the bars won’t set properly; diced apples provide needed texture and structure.
Why is my crust soggy after baking?
Sogginess usually comes from underbaked filling or too much apple juice; make sure to toss apples with the reserved flour, press the crust firmly, and bake until you see bubbling around the edges.
Can I make the caramel from scratch?
Yes — homemade salted caramel (a simple sugar, butter, cream, and salt caramel) is excellent here; warm it slightly before drizzling so it disperses evenly over the bars.
How can I get clean slices?
Cool the bars completely, then refrigerate for at least 30 minutes before slicing; use a sharp knife wiped between cuts or warm the blade under hot water and dry it for neat edges.
Can I halve or double the recipe?
You can halve it and bake in a smaller pan or double it in a 9x13-inch pan; adjust baking time as needed until the topping is golden and the filling bubbles — larger pans may need a few extra minutes.
About the author
Jake WoodsHello, I'm Jake. I started this recipe site with the idea that I hated recipe websites that overwhelm you with long stories and ads just to see plain content that's not helpful. My goal is to provide you with quality recipes, simple ideas and a fun cooking experience. There's lots of fun things to cook, and I think as you browse the site you'll find that TopShelf.Recipes is the place for quality recipes on the web.
See all recipes by Jake Woods →Ratings & Reviews
Did you make this recipe?
Be the first to share your experience.
Nutrition Facts
Per serving: 1 bar (95g)
Nutrition values are estimated from USDA ingredient data and may vary based on preparation, brands, and portion sizes. Values are provided for informational purposes only.
Keep Reading
Guides & articles for this recipe

Healthy Eating
Gluten-Free Weeknight Grilling Plan
A 7-day gluten-free weeknight grilling plan with quick, family-friendly recipes, prep-ahead timelines, and a printable shopping list that spotlights late-summer produce and pantry staples. Includes clear cross-contamination safety tips and simple swaps to keep dinners fast and crowd-pleasing.

Healthy Eating
Low-Fat Grill Swaps for Big Flavor
A practical guide to trimming fat from grilled meals without losing juiciness or char. Learn yogurt- and citrus-based marinades, lean protein picks, searing and indirect-heat tricks, plus 5 quick low-fat marinades and a simple weeknight plan.

Recipes
DIY Edible Monster Eyes Candy
Make safe, fun edible monster eyes for cupcakes, cookies, and candy trays. Step-by-step recipes show baking-soda balls, chocolate and fondant eyes, wafer-print options, plus assembly, storage, and kid-friendly safety tips.
More from Snacks
View all Snacks recipes →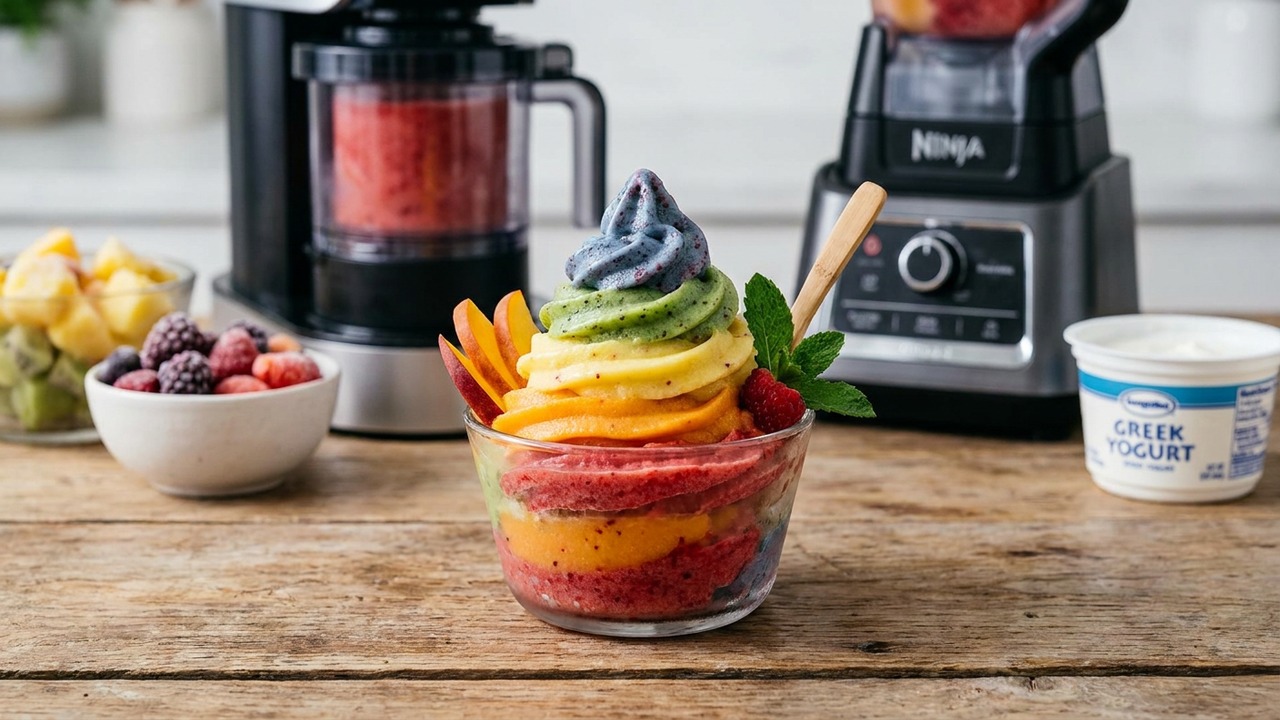
Ninja Kids Rainbow Fruit Slushy Soft Serve — No Added Sugar

Panko Fish and Chips

How to Make Crispy Homemade Potato Chips in a Deep Fryer

Snake River Farms Beef Tallow Crispy Air Fryer Chicken Wings

Easy Peanut Butter Bars

Gluten Free Fried Pickles

Labor Day Grilled Lobster Rolls with Charred Scallion Brown Butter & Lemon‑Herb Aioli

Salt & Vinegar Potato Chips

Holiday Cranberry Maple Chex Mix
Ask me anything about this recipe — substitutions, scaling, techniques, timing.
Powered by AI · 6 questions per 5 minutes, 30 per day