Salted Caramel Thumbprints
Buttery shortbread thumbprint cookies filled with warm, melty salted caramel — a modern holiday classic. Tender, buttery dough and just a sprinkle of flaky sea salt balance the sweet, gooey center for a crowd-pleasing tray-bake.
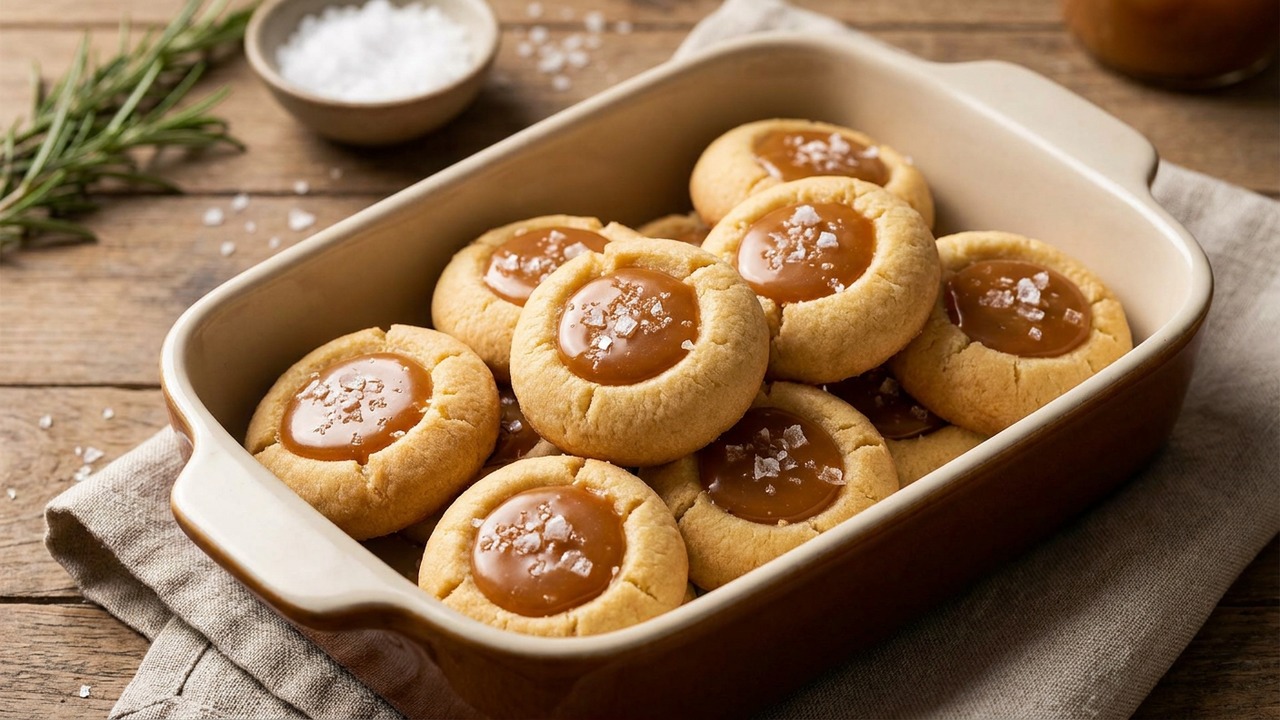
Jake Woods's note
"These buttery thumbprints with a molten salted caramel center are perfect for holiday cookie trays and gift tins. Home bakers will love how the simple dough yields tender cookies that store and travel well."
About This Recipe
These Salted Caramel Thumbprints are built around one simple idea: marry the delicate crumble of shortbread with a molten, slightly smoky caramel and a pop of flaky salt. The dough is intentionally rich — an equal small measure of granulated and light brown sugar with a single egg yolk — so the cookies stay tender, hold their shape, and don’t over-sweeten the caramel center. Chilling the dough and baking just until the edges set keeps the centers pale and soft, creating a shallow well that accepts warm caramel without turning into a sticky puddle.
What makes this version work is the balance of textures and temperatures: a cool, buttery exterior, warm glossy caramel, and the final contrast of bright flaky sea salt. Using soft unwrapped caramels melted with a touch of heavy cream gives a reliably smooth, spoonable filling that sets to the right chewiness at room temperature. These cookies are forgiving enough for an experienced home baker to bake by the dozen, but special enough for a cookie exchange, holiday platter, or a small-batch gift tied with parchment and twine.
Ingredients for Salted Caramel Thumbprints
- 1 cup unsalted butter, softened
- 1/3 cup granulated sugar
- 1/3 cup light brown sugar, packed
- 1 large large egg yolk
- 1 tsp vanilla extract
- 2 cups all-purpose flour
- 1/2 tsp fine sea salt (for dough)
- 12 oz soft caramel candies (unwrapped) or caramel bits
- 3 tbsp heavy cream
- 1/2 tsp flaky sea salt (for finishing)
How to Make Salted Caramel Thumbprints
Step 1: Cream butter and sugars
In a large bowl, beat the softened butter with the granulated and brown sugars until light and fluffy, about 2–3 minutes. Mix in the egg yolk and vanilla until fully incorporated and smooth.For this step
- 1 cupunsalted butter, softened
- 1/3 cupgranulated sugar
- 1/3 cuplight brown sugar, packed
- 1 largelarge egg yolk
- 1 tspvanilla extract
Step 2: Add dry ingredients
Whisk the all-purpose flour with the fine sea salt in a separate bowl. Gradually fold the dry ingredients into the butter mixture until a soft but slightly firm dough forms, taking care not to overwork.For this step
- 2 cupsall-purpose flour
- 1/2 tspfine sea salt (for dough)
Step 3: Chill and preheat
Form the dough into a disk, wrap in plastic, and chill for at least 20 minutes (or up to 2 hours) to make it easier to shape. Meanwhile, preheat the oven to 350°F (175°C) and line 1–2 baking sheets with parchment.Step 4: Shape and bake cookies
Roll dough into 1-inch (2.5 cm) balls and place 1 inch apart on prepared sheets. Use your thumb or the back of a small spoon to press a shallow well in the center of each ball. Bake for 10–12 minutes, until edges are set but centers remain pale; allow to cool on the sheet for 5 minutes, then transfer to a rack.Step 5: Make salted caramel filling
While cookies bake or cool, melt the soft caramels with the heavy cream in a small saucepan over low heat, stirring constantly until smooth (or microwave in short bursts, stirring between). If needed, add a teaspoon more cream for a pipeable consistency; keep warm but not boiling.For this step
- 12 ozsoft caramel candies (unwrapped) or caramel bits
- 3 tbspheavy cream
Step 6: Fill cookies and finish
Spoon or pipe a small amount of warm caramel into each thumbprint. Let the caramel set at room temperature for 20–30 minutes, then finish with a light sprinkle of flaky sea salt. Store in an airtight container at room temperature for up to 4 days.For this step
- 1/2 tspflaky sea salt (for finishing)


- In a large bowl, beat the softened butter with the granulated and brown sugars until light and fluffy, about 2–3 minutes. Mix in the egg yolk and vanilla until fully incorporated and smooth.
- Whisk the all-purpose flour with the fine sea salt in a separate bowl. Gradually fold the dry ingredients into the butter mixture until a soft but slightly firm dough forms, taking care not to overwork.
- Form the dough into a disk, wrap in plastic, and chill for at least 20 minutes (or up to 2 hours) to make it easier to shape. Meanwhile, preheat the oven to 350°F (175°C) and line 1–2 baking sheets with parchment.
- Roll dough into 1-inch (2.5 cm) balls and place 1 inch apart on prepared sheets. Use your thumb or the back of a small spoon to press a shallow well in the center of each ball. Bake for 10–12 minutes, until edges are set but centers remain pale; allow to cool on the sheet for 5 minutes, then transfer to a rack.
- While cookies bake or cool, melt the soft caramels with the heavy cream in a small saucepan over low heat, stirring constantly until smooth (or microwave in short bursts, stirring between). If needed, add a teaspoon more cream for a pipeable consistency; keep warm but not boiling.
- Spoon or pipe a small amount of warm caramel into each thumbprint. Let the caramel set at room temperature for 20–30 minutes, then finish with a light sprinkle of flaky sea salt. Store in an airtight container at room temperature for up to 4 days.
Salted Caramel Thumbprints Tips
Bring butter to room temp
Softened — not melted — butter beats airy with the sugars, giving shortbread its tender lift; overly warm butter will make a greasy, spreading dough.
Use only egg yolk
The lone yolk adds richness and binding without extra water from a white, which helps the cookies keep their short, crumbly texture.
Chill before shaping
A 20–30 minute chill firms the dough so you can roll neat 1-inch balls and prevents excessive spreading while baking.
Re-press wells after baking
If the centers puff during baking, gently press them again with the back of a spoon while the cookies are warm to restore a shallow well for the caramel.
Melt caramels slowly
Warm caramels with cream over low heat (or short microwave bursts), stirring constantly to prevent scorching; add a teaspoon more cream if the mixture is too stiff to pipe.
Salted Caramel Thumbprints Variations and Substitutions
Brown-butter shortbread
Brown the butter before creaming for a nutty, toasted backbone that deepens the caramel flavors; cool slightly before mixing so it doesn't melt the dough.
Chocolate-caramel center
Stir 2 tablespoons of good-quality cocoa powder into the dough and finish each cookie with a swirl of dark chocolate ganache on top of the caramel for a chocolate-salted caramel hybrid.
Dulce de leche swap
Use spoonable dulce de leche in place of melted caramels for a richer, less sticky filling that still takes a sprinkle of flaky salt beautifully.
Gluten-free almond flour
Substitute a 1-to-1 gluten-free flour blend or use 1¾ cups almond flour plus ¼ cup tapioca starch; expect a slightly denser, more tender cookie.
How to Store and Make Salted Caramel Thumbprints Ahead
Store baked, filled cookies in a single layer or separated with parchment in an airtight container at room temperature for up to 4 days; the caramel will remain soft but set. For longer storage, freeze unfilled baked cookies or shaped dough (balls or pressed wells) for up to 3 months, then thaw and fill after warming the caramel. To refresh slightly chilled caramel, microwave a cookie 5–8 seconds to soften the center before serving.
What to Serve With Salted Caramel Thumbprints
Arrange these thumbprints on a simple platter with a scattering of toasted sea salt flakes and a few lightly crushed toasted pecans for contrast. They pair exceptionally well with an espresso or cortado to cut the sweetness, or a glass of tawny port or aged rum for an adult dessert pairing; vanilla ice cream also makes a decadent companion for an individual plated dessert.
Salted Caramel Thumbprints FAQs
Can I use whole eggs instead of just the yolk?
You can, but the additional water and protein from the white will change the texture and make the cookies a bit cakier and more prone to spreading; the yolk keeps them short and tender.
Why did my caramel sink or run out of the wells?
If centers are too shallow or the caramel is very hot and thin, it can overflow; re-press wells after baking and let the caramel cool until slightly tacky before filling, or thicken it with a little more caramel/less cream.
My cookies spread and lost their shape — what went wrong?
Likely causes are over-soft butter, under-chilled dough, or too much flour compression when rolling; chill the dough longer and handle it gently to preserve the form.
Can I make these ahead for a party?
Yes—bake the cookies a day ahead and fill them the morning of, or prepare and freeze shaped dough balls; filling after thawing ensures the caramel looks glossy and hasn't wept into the cookies.
How do I fix grainy or seized caramel?
If caramels seize, stir in a spoonful more warm cream and continue cooking over the lowest heat; if that fails, strain and start a fresh small batch, as burnt sugar flavor won't be fixable.
About the author
Jake WoodsHello, I'm Jake. I started this recipe site with the idea that I hated recipe websites that overwhelm you with long stories and ads just to see plain content that's not helpful. My goal is to provide you with quality recipes, simple ideas and a fun cooking experience. There's lots of fun things to cook, and I think as you browse the site you'll find that TopShelf.Recipes is the place for quality recipes on the web.
See all recipes by Jake Woods →Ratings & Reviews
Did you make this recipe?
Be the first to share your experience.
Nutrition Facts
Per serving: about 1¼ cups
Nutrition values are estimated from USDA ingredient data and may vary based on preparation, brands, and portion sizes. Values are provided for informational purposes only.
Keep Reading
Guides & articles for this recipe
Tips & Techniques
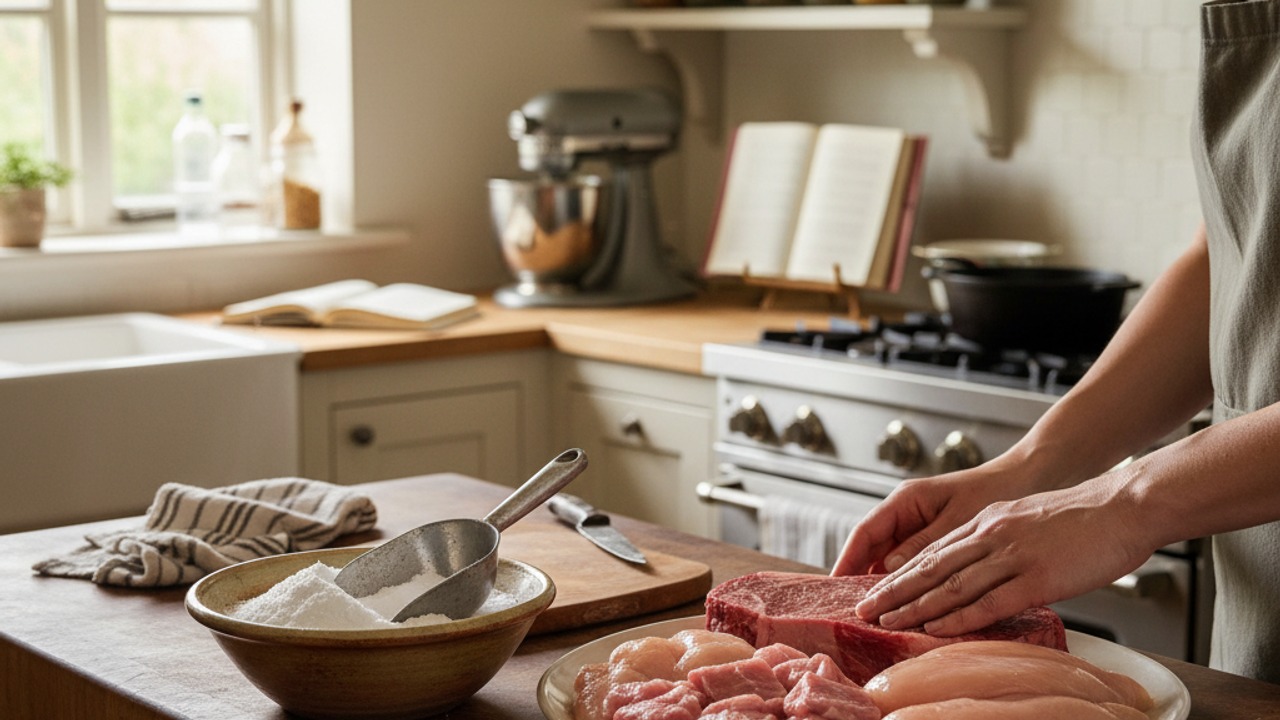
Baking Soda and Tenderized Beef
Learn how baking soda can tenderize, boost browning, and improve moisture for ground beef and other meats. This practical guide covers the science, step-by-step techniques, common mistakes, and recipes to try.

Healthy Eating
Gluten-Free Weeknight Grilling Plan
A 7-day gluten-free weeknight grilling plan with quick, family-friendly recipes, prep-ahead timelines, and a printable shopping list that spotlights late-summer produce and pantry staples. Includes clear cross-contamination safety tips and simple swaps to keep dinners fast and crowd-pleasing.

Healthy Eating
Low-Fat Grill Swaps for Big Flavor
A practical guide to trimming fat from grilled meals without losing juiciness or char. Learn yogurt- and citrus-based marinades, lean protein picks, searing and indirect-heat tricks, plus 5 quick low-fat marinades and a simple weeknight plan.
More from Baking
View all Baking recipes →
Gluten-Free Soft Pretzels

Sticky Gochujang Spare Ribs (Oven-Baked Korean-Inspired)

Apple Cider Muffins

Baked Buffalo Chicken Wings with Blue Cheese Dip (Crispy Oven Method)

Gluten-Free Honey Garlic Chicken Thighs with Tamari and Toasted Sesame

Sheet Pan Baked Honey Garlic Chicken Breasts with Roasted Vegetables

Juicy Oven-Baked Chicken Breasts (No-Dryness Method)

Cloud Bread Sandwiches

Honey Mustard Chicken Nuggets
Ask me anything about this recipe — substitutions, scaling, techniques, timing.
Powered by AI · 6 questions per 5 minutes, 30 per day